The Perfect Pair - Happy Anniversary Card

Monday, April 29, 2019

Happy Monday!  I am sharing a card I created using one of my most used stamp sets from Avery Elle.  It is he 'Berry Good' stamp sweet and has so many sentiment applications, that's why I reach for it so often.  The pears and punny  sentiment in the set is perfect for an anniversary, shower or wedding card!


You can click on my process video below or HERE to go directly to my YouTube Channel.


I am a little obsessed with the fresh green color that comes with emerging new growth in Spring!  Which is perfect to use for most of the products in the Tonic Studios Woodland Walk collection.

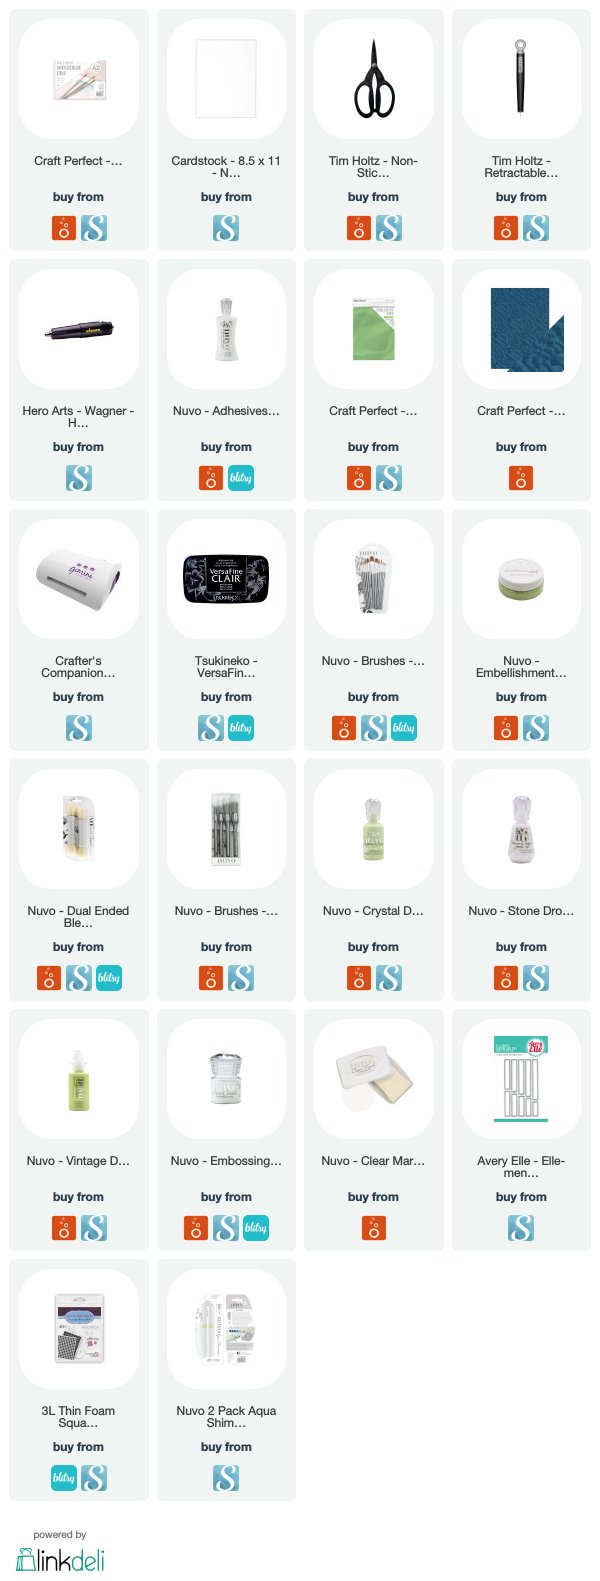
I stamped these sweet pears on watercolor paper and after painting them, layered them with foam adhesive squares onto a piece of Specialty paper from Craft Perfect.  The particular piece of paper is not part of the Woodland Walk collection, but is the back of a piece of specialty paper from a previous Craft Kit.


I used the Nuvo Embellishment Mousse from the WW Trend collection to color the textured waves in the paper as a base background for the pears.  I mounted the pears onto another piece of Craft perfect Classic Cardstock and added several types of Nuvo Drops, Crystal, Vintage & the new Stone Drops.

I finished the card off by heat embossing a sentiment on piece of black cardstock and cut it out using the sentiment strip dies from Avery Elle!  I also added some white gel pen highlights.


These are the kind of cards I need loads of; simple, non-specific for gender and in every type of holiday/scenario needed!  Thanks for stopping by today and I hope you have a great day!

Tonic Studios supplied me with some product used, but the ideas are completely my own.Supplies used listed below.  Some affiliate links are used at no cost to you!


Woodland Walk Trend Release - Tonic Studios April 2019

Friday, April 26, 2019

I wanted to share the cards I created for the Tonic Studios Woodland Walk Trend release in April.  I have shared most of them on Instagram, but wanted to include them on my Blog.


The card below I created by using one of the background panel dies as an embossing panel instead of cutting thru it.  I love this technique and thinks it adds interest without adding too much, especially since I used this Mirror Card.  I cut out the sentiment strip die & its border and layered it on to a scalloped circle.  I embellished the floral details with the Gold Oval gems and some of the Nuvo Jewel Drops.


The thank you card below was made using several of the leaves and flowers from various Adorables stamp sets that I colored using the Nuvo alcohol markers.


I created a wreath of those colored images and layered them over a circle ring die cut from the Specialty Woodgrain paper.  I used a piece of this 6x6 Woodland Walk yellow scalloped paper as the card base background.  I heat embossed the sentiment using the new Golden Sunflower Embossing powder.


For this shaker card, I colored more of the Adorable stamped images "Little Something for Harry" and one of the circle shaker set pieces to create a balloon for the hedgehog to hold. 


I blended the trio of Woodland Walk hybrid inks to blend the background and then heat embossed a sentiment onto vellum.  I filled the shaker "balloon" piece with a mixture of the Nuvo Sunset Yellow Butterfly confetti, the Treasure Chest pure sheen glitter, and the Champagne Shine sequins.


I mounted the card onto one of the pieces of Craft Perfect Kraft Cardstock.  I added a couple Nuvo Drops to the butterfly.


And finally, for this exercise in layered colored images, I used the Adorables collection "Sammy Takes It Easy."  I created lots many layers using the oval dies with two of the Woodland Walk specialty handmade papers.


For the background piece I used multiple layers of the Golden Sparkler Shimmer Powder on the watercolor cardstock.  I used various depths of 3D foam squares with the palm leaves, vines and flowers.


The sloth was the main focus in the center of the card and I embellished all the layers using all four of the Woodland Walk Nuvo drops.


I heat embossed one of the sentiments onto vellum and used the Aqua Shimmer pens on some of the images.  The final touch was some black Nuvo drops on the nose and eyes of the sloth & snail.


I had a lit of fun creating these cards and the Woodland Walk collection makes it easy to coordinate pieces and get inspired!  Make sure you check out the entire collection and all the project ideas on the Tonic Studios website.


hello Card - Woodland Walk Tonic Craft Kit #20

Wednesday, April 24, 2019

Hello!  For my post today for Tonic Studios, I created a card using products included in the Woodland Walk Craft Kit #20, which are also part of the Woodland Walk Trend Collection just released at the beginning of April.


You can click on my process video below or HERE to go directly to my YouTube Channel.


I used the new Glimmer Paste and a circle stencil from The Crafter's Workshop for the background piece.  Then I used the new Shimmer Powder from Woodland Walk to "watercolor" a piece of the Craft Perfect watercolor cardstock.


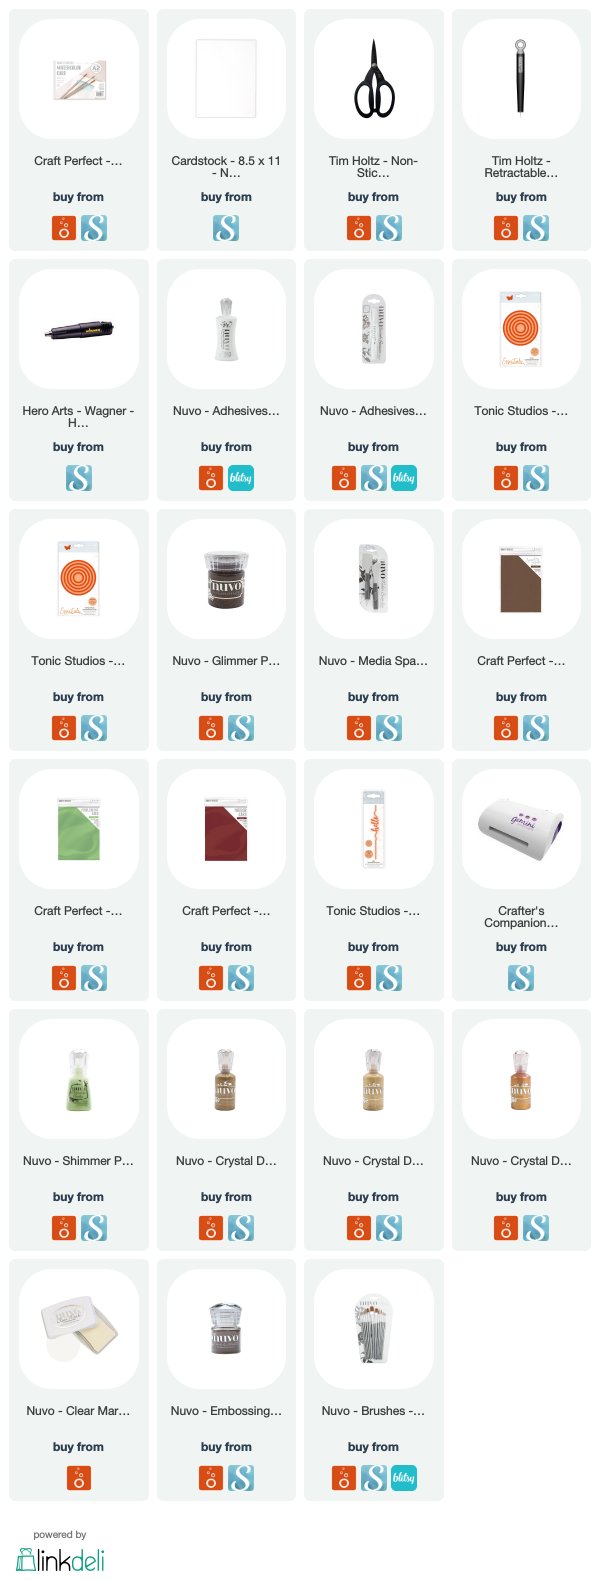
Using the Tonic basic circle dies I cut vellum, some of the Pearlescent in Fresh Mint and finally this amazing specialty woodgrain paper.  Using the Copper Blush embossing powder, not part of this kit, I added some detail to the top circle.


I layered all of these circles, some using foam or dimensional tape, some not.  I used the script sentiment die to cut out 'hello' from the gorgeous "Rustic Dusk" Mirror cardstock.  I added a second sentiment I heat embossed onto vellum and finished off the card with several metallic colors of Nuvo Crystal Drops.


Thanks for stopping by today and I hope you have a great day!

Tonic Studios supplied me with some product used, but the ideas are completely my own.
Supplies used listed below.  Some affiliate links are used at no cost to you!

Quick Haul Video & Giveaway!!

Monday, April 22, 2019

Happy Monday!!
I am sharing a quick haul video on my YouTube Channel and am also giving away a set of 3 Nuvo Alcohol Markers
in 'Indigo Ink' as part of it!  You can click on the video below or HERE to go directly to my YouTube Channel.


If you would like to enter the giveaway, leave comment here, on my Blog and/or on my YouTube Channel.
You must also be a subscriber to my YT Channel.  The Giveaway ends on Thursday April 26th @ 12am CST.
Below is the set of markers I'm giving away.


Thanks for stopping by, have a great day and I hope you check out the video!


Gilded & Glittered Eggs - Tonic Studios

Sunday, April 21, 2019

Hello!  Happy Easter, Passover, Sunday or Earth Day Eve!
I was dying to use the Nuvo Gilding Flakes to decorate some eggs for Easter.
And then couldn't ignore the fact that all the glitters, Nuvo drops, sequins were begging to be used too!


Click the video below or HERE to go to my YouTube Channel directly.
A complete listing of the products I used is at the end of this post.


I created stripes of silver and copper gilded flakes and then added different sequins on each side of the center gilded stripe.


I added sequins as an embellishment around each of the center of the eggs.


I added an assortment of Nuvo Drops or the new Nuvo Stone Drops to detail the area between the gilding and glitter or in another way.


The eggs turned out to be much more "rustic" than I had intended, however this Easter is actually going to be a much smaller, more casual affair than normal years and turns out to be perfect!!


Thanks for stopping by the Blog today!  I hope you check out the video and that it gives you a few tips on Gilding!!  Gilding Flakes are a magical medium, and like everyone says, very, very likely to make a mess!!


Some Bunny Loves You - Card *& Video*

Tuesday, April 16, 2019

I have been dying to get my hands on this adorable set of stamps from Avery Elle...Some Bunny Loves You.  I wanted to create a simple card using very soft colors.


You can click the video below or HERE to go directly to my YouTube Channel.


I stamped the balloon onto watercolor paper and painted it using my Gansai Tambi watercolors.  I stamped the bunny and hearts onto Neenah Classic Crest 110lb. cardstock and colored the tiny images with my Copic markers. 


I used my Life Changing Brushes from Picket Fence to blend a light background onto Bristol smooth paper using Distress Inks, in Spun Sugar and Squeezed Lemonade.  I stamped the sentiment intot he center of the balloon using black ink and then coated it with Hero Arts Clear embossing powder.  I added some of my Nuvo Aqua Shimmer pen onto the bunny's ears and tail and added a generous amount of Nuvo Crystal Glaze over the entire balloon.  


I mounted the piece onto a layer of foam, a piece of Tonic Barely Blush Pearlescent cardstock and finally adhered the whole thing onto my card base.

Thanks for stopping by to check out the card.  I hope you watch the short video and have a wonderful week!


Cake Stencil Decoration - The Crafter's Workshop

Thursday, April 11, 2019

As a little departure from paper crafting, I am sharing a quick video I made using the recently released Cookie/Cake Stencils from The Crafter's Workshop.


These 5.5"x55" stencils are specially made out of food safe materials.  They come in many designs, both as a single element and ones meant to add a repeated pattern.  This is the stencil I chose to use. 


I used it, choosing to repeat it all across the cake top, which was iced with cream cheese frosting that I tinted mauve.  I have a helpful tip you can find in my quick process video below.  You can either click the video below or HERE to go directly to my YouTube Channel!


Thanks for stopping by today!
I hope this inspired you to try out these awesome stencils for yourself and share the love!


Cards for Creativation - Tonic Studios

Wednesday, April 10, 2019

Today, I am going back in time a little bit to share a couple cards I created a few months back for the Tonic Studios booth at Creativation in January.  I wanted to feature the new metal panel dies combined with a some different Nuvo mediums.


I filmed my process which can view by clicking on the video below or HERE to go directly to my YouTube Channel.


For this 'hello' card, I used two of the Nuvo Shimmer Powders in Green Parade and Atlantis Burst on some of the Craft Perfect watercolor cardstock.  Once it dried, I used the 'Sunflower Array' panel die to cut out this intricate layer for the top of my card.


I mounted it onto some white cardstock, a layer of foam and finally a piece of pink patterned paper.
Next, I took the 'hello' Sentiment Strip die to cut out a piece of watercolor paper I had colored with a couple of the watercolor pencils.


I layered the sentiment onto a piece of vellum cut from the border that is part of the sentiment strip and adhered it to the front of the die cut panel.  To finish off the card, I added a few white sequins into the center of some of the flowers.

For this thank you card, I used the Nuvo Expanding Mousse in 'Boatyard Blue' & 'Misted Mauve' in a thick layer onto some plain cardstock.  I heated up the mousse to expand it and create that dimensional texture that the mousse is named for.


I die cut the moussed piece using the 'Classic Quatrefoil' panel die and the coordinating border.  I leave some of the pieces in place and popped some out.  I used some 3D foam squares onto the parts of the panel I left in place and adhered it to a piece of white Pearlescent Cardstock.


I used the same idea with the 'thanks' Sentiment Strip die using the vellum as the border.  I cut the sentiment itself out of some cardstock I colored using the 'Imperial Blue' & 'Silver Mist' Shimmer Markers from Nuvo.  I cut the sentiment twice to stack and give a little bit of blue shadow under silver one.


Thanks for stopping by the Blog today and I hope you check out the video as well!  Below is a list of the products I used, some of which are affiliate based, and at no cost to you to link to.  

Proudly designed by Mlekoshi playground