MERRY Christmas Canvas - The Crafter's Workshop

Saturday, December 26, 2015


Happy Boxing Day stencil lovers!
I am sharing a little home decor project I made using a 14×14 canvas for my December post on The Crafter's Workshop Blog.

I started out by painting the canvas with a coat of watered down gesso.

I mixed red acrylic paint with modeling paste and used a wide palette knife to paint a loose circle on the canvas.

While the canvas dried I moved on to inking the pine cones and greenery.
I used a combination of silver ink and gold ink with all sizes of the 6×6 ‘Mini Pine Cones’ stencil.

I also used Versamark ink to heat emboss gold and silver glittered pinecones.  I inked a few of the greenery leaves with Distress Ink.

Then with lots of patience and a couple shows to catch up with, I fussy cut all of the pieces out leaving a small border around the inked images.

 
By now, the modeling paste had dried and I misted the ‘Geo Explosion’ Doodling Template onto the canvas to use as a guide for my wreath.  I cut a scrap of paper to mask the center off to make the width of my “wreath” smaller.
After the mist had dried, I used my hot glue gun to layer the pine cones and greenery onto the canvas.  I curled up the edges and used more hot glue to give it lots of dimension.
Finally, I inked a piece of cardstock using the 12×12 ‘Art Deco Numbers and More’ stencil to say “MERRY.”

I adore the font of this stencil, cutting the cardstock into a flag banner and inking and distressing the edges a bit.

Lastly, I adhered some ribbon onto the back of the banner and glued the entire piece to the bottom of the canvas.
 Thanks for stopping by the blog today!

You can follow the links below to the stencils I used.
STENCILS Used:

smile - WORTH MENTIONING | Scrapbook Circle December Sketch

Friday, December 18, 2015

Happy Friday everyone!!  Just wanted to post my layout for the December Scrapbook Circle Sketch Challenge.  I used the December "Tell Your Story" main kit, mostly inspired by the Amy Tangerine patterned paper 'Token.'


I loved this paper and wanted to contrast it heavily using a black & white photo.  It also had me itching to paint the background, which I did with watercolor, matching the brush patterns a bit.

  
I used the Scrapbook Circle acrylic word 'smile' for my title.  I mounted the painted cardstock onto another piece black cardstock.


I added a few stickers, journaling cards and stitching for more detail.


Thanks for stopping by today!  Have an amazing weekend!

GIRL POWER - Scrapbook Circle December Kit

Monday, December 14, 2015

Today, I am sharing this layout of my two girls using the December “Tell Your Story” kit and the awesome cut file designed with fellow teamie Jamie Leija!
GIRL POWER_SBC_Nov 2015 border
I decided to take the cut file, separate the alphabet and make a block of the word ‘girl’ and ‘power.’  I chose letters from both the open font and closed font and made a background covered with the repeating phrase.  I painted a light blue watercolor wash on white cardstock and then adhered the 12×12 cut page on top.  I saved a few of the cut letters and misted them a pewter grey.  I randomly added a few of those letters to help reinforce the title.
GIRL POWER_SBC_Nov 2015
Our dog’s fur is so black it almost looks blue, so I used some papers and embellishments to bring it out more.  Then, I added as many embellishments as possible!  I played with all the patterns and colors trying to achieve some balance, but really just had fun!  Stitching through some of the layers helped keep the alphas in place and added texture.

Thanks for stopping by the blog today!
I hope you all have a wonderful week and try out the cut file.


WRAP - Scrapbook Circle November Sketch 2015

Friday, December 11, 2015


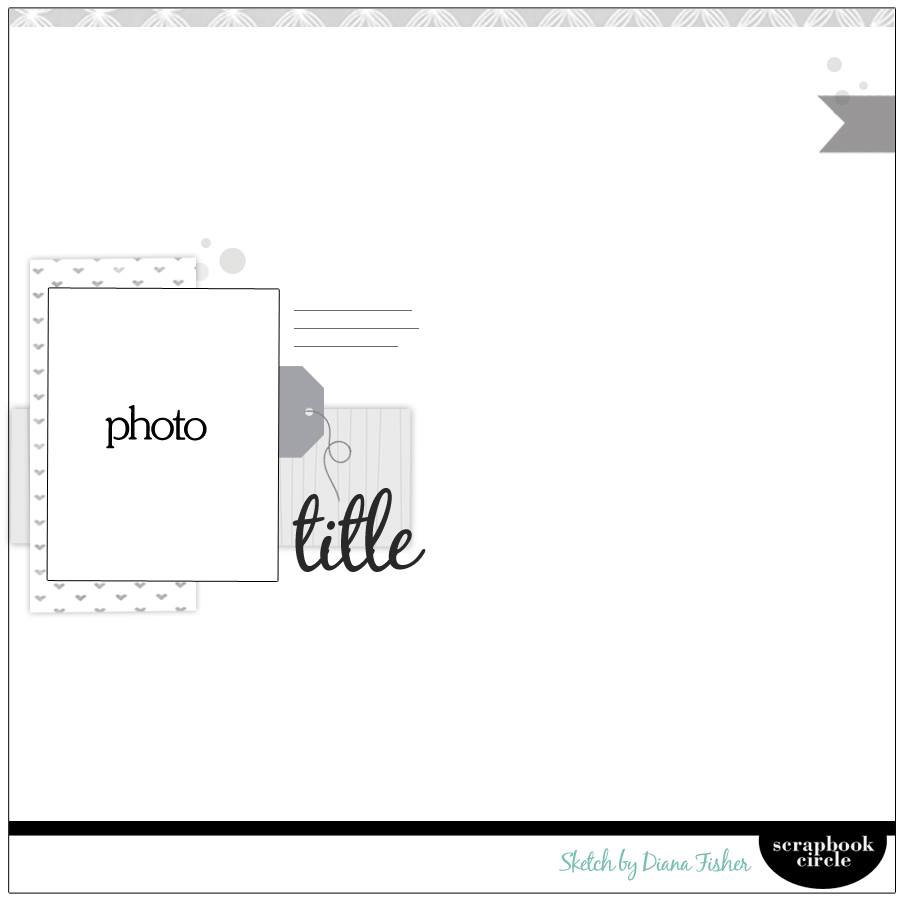
Hi there!   I am way behind on posting these days.  Between kids activities, tummy bugs and getting ready for the holidays, I have been scrambling!   This is a layout I made using the Scrapbook Circle November kit for the sketch last month.


The sketch below was so much fun and a great page to have lots of embellishments and layers. 


SC-sketch-1115

One of my favorite parts of gift giving us the wrapping...it is as much a part of the gift as the present itself.  I used the large Pink Paislee letters and gold embossed the bottom half of my main title.  The Scrapbook Circle exclusive acrylic word "yay" served as my sub-title. 


I loaded up the page with die cuts, sequins and tags from Pinkfresh Studio and Elle's Studio.


Obviously, the November sketch has passed, but this is the perfect time for wrapping things up!  Pun intended! ;)


Thanks for stopping by and have an amazing weekend!

LET IT GLOW | Scrapbook Circle November 2015

Monday, November 30, 2015

I wanted to share another project I did using the Scrapbook Circle November 'Good Cheer' kit.  I used almost exclusively Pinkfresh Studio papers and embellishments, which are unique and inspirational!


Taking cues from the Pinkfresh collection, I kept the color palette to red, white and mint/teal.  It is a fresh and fun take on the traditional Christmas colors, especially with black and white or monochromatic photos.


I always feel like specific die cuts, like the deer or mouse I used, should be relative somehow to the story of a layout or project.  However, these are so fun and whimsical, they are easy to use in any situation!  


I layered the deer die cut directly over the deer in the patterned paper I used for a background, but used 3-dimensional adhesive.


Thanks for stopping by today!  Hope everyone has an amazing beginning of December!!


THANK YOUR LUCKY STARS - Scrapbook Circle November

Friday, November 20, 2015

It's FriYay!!
This is the page I did for the Scrapbook Circle "One Item Wonder" using the acrylic stars included in the November 'Good Cheer' kit.  Unlike the other projects I created with the November kit, this one was not a holiday page.  


This is however one of the shots taken from a little photo shoot for a Christmas card photo.  Hard to tell, since the weather has been so warm, we were still in shorts!


I decided to make the most of the large Pink Paislee alphas and use the majority of the page for my title.  I scattered the stars across the letters and added a couple other Pinkfresh Studio die cuts.


I ran the page under the sewing machine several times and added some journaling on the back of the layout.  Thanks for stopping by the Blog and have an amazing weekend!


Counting Today - The Crafter's Workshop Art Journal

Friday, November 13, 2015

Hi there crafty friends!  For my post today, I am sharing an art journal spread to remind myself about the importance of today & being thankful for it!  I really enjoyed this project because I just went for it without too much of a plan.
make it count_TCW_Nov 2015 final 1
I used the 5 stencils below, but one of them I used both the 6×6 and 12×12 of the same stencil.
FELEstnclLGB  SBC_cf-tcw579s 0000607215PrintComplicatedHearts
I started with lots of mists on top of the pages I prepped with gesso.
make it count_TCW_Nov 2015 (27)
I used the music notes stencil around the edges with a yellow ink and white modeling paste with the Sequin Waste Bit stencil.
make it count_TCW_Nov 2015 (26)
make it count_TCW_Nov 2015 (29)
I added another layer of paint over the modeling paste to help it blend in and added some of the larger starburst pattern with a silver mist.  After finding my quote and printing it out, I was inspired to use the large numbers stencil using a finger dauber and chalk ink.
make it count_TCW_Nov 2015 (5)
make it count_TCW_Nov 2015 (21)
After adhering my quote, I stencil the three hearts with black archival ink.  I used several different black and white paint pens to add some definition and doodles around the spread.
make it count_TCW_Nov 2015 (15)
make it count_TCW_Nov 2015 final 1
Thanks for stopping by the blog today!  I hope this inspires you to make a fun project too!  Carpe Diem!
You can follow the links below to the stencils I used.
STENCILS Used:
Proudly designed by Mlekoshi playground