Showing posts with label Scrapbooking with Stencils. Show all posts

SNUGGLE (&video**) - TONIC Studios USA - November 2018

Wednesday, November 7, 2018

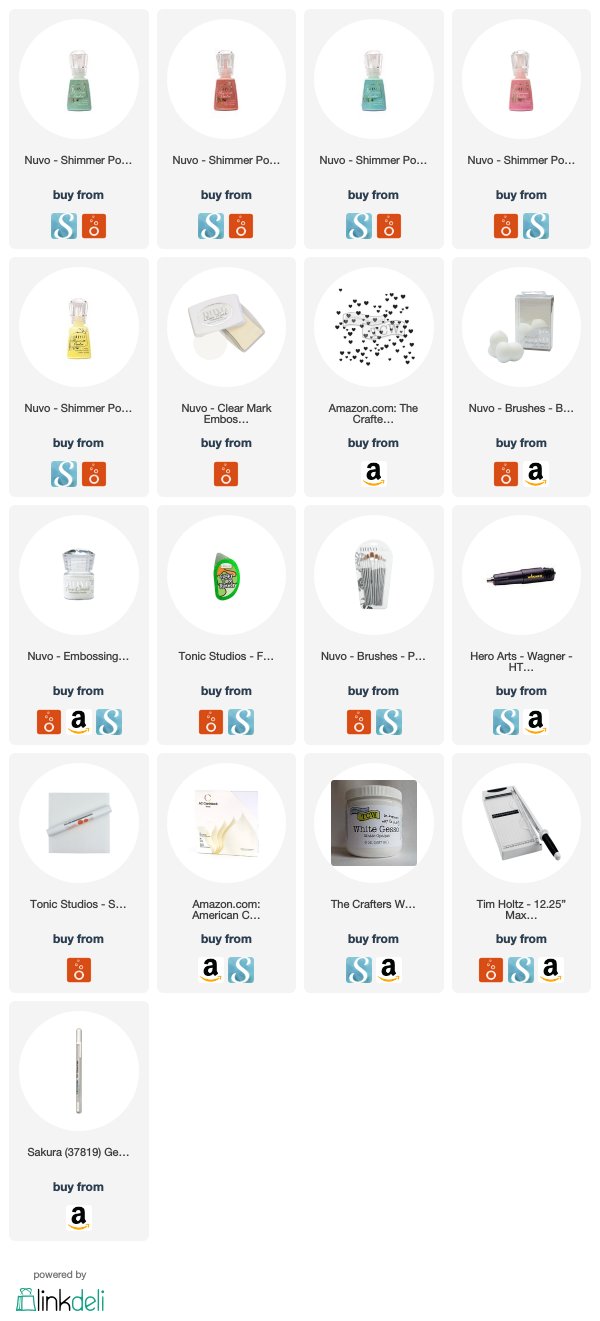
Hello everyone!!  I am excited to share a traditional scrapbook layout for my second project for Tonic Studios!  I played with so many of the lovely Nuvo Shimmer Powders.  All of the tools and supplies I used are linked at the end of this post.


You can click on the video below to watch my process creating the project or click HERE to go to my YouTube Channel.


I wanted to create my own 'patterned paper.'  I started by heat embossing a large stencil onto white cardstock using the Nuvo Fine Detail Embossing Powder in Glacier White.


I wanted the hearts to act as a resist to the Shimmer Powder technique that I imagined as a colorful contrast to my black & white photo.  I used the Green Parade, Atlantis Burst, Catherine Wheel, Solar Flare and Cherry Bomb colors of Shimmer Powder in multiple layers to achieve the pastel colors I wanted.


I added some patterned paper and tags behind my photo and some light turquoise alphas with a gold accent as well.  All of the embellishments and papers are at least a year old, but are among my favorites that couldn't be "purged" from my latest clean out!


I adhered my painted cardstock background onto another piece of navy patterned paper and tried to use several other accents in Blue...our puppy's name. :)


You can find the links to all the products I used below.
Thanks so much for stopping by and I hope you check out the video as well!
Have an amazing day!


Distress Ink Swatch Book - The Crafter's Workshop

Thursday, September 13, 2018

Hey everyone!  I wanted to share this fun project I created using a stencil from The Crafter's Workshop to make a swatch book for my Distress Inks.


I filmed a video showing my process that is on the The Crafter's Workshop YouTube Channel.  You can HERE to go directly to the TCW channel!


I hope you enjoyed this fun, and useful project and get a chance to check out the video!
Thanks for stopping by and have an amazing day!

At The Shores - The Crafter's Workshop July 2018

Tuesday, July 10, 2018

Hello!  Today I am sharing my recent project from The Crafter's Workshop.  The summer is flying by…which is what inspired me to go ahead and document something from earlier this summer!
Below are the stencils and products I used:

The Crafter’s Workshop provided me with some product to create this project.  The opinions I share are solely my own.
Planning to use watercolor, I started out by spreading a thin layer of Clear Gesso on a piece of white  cardstock.  I have found the easiest way to get a thin layer is to use an old gift card or scrapper of some sort.
While the Gesso dried, I used a small branch stencil as a guide and sketched out the outline onto a piece of hot press watercolor paper.
I fussy cut around all the edges and then added watercolor.
I also added the same range of colors to my cardstock, concentrating the color in the center of the page.
I used the new stencil ‘Under the Sea’ and my stencil brushes to add some light coral and blue shades of Distress Inks to the shells.
I then took some of the Gel Medium and added quite a think later over the large coral piece from that stencil.  My plan was to use it as a resist and add another layer of watercolor over it.
I mixed up a peach color of watercolor and dripped it down the dried Gel Medium.  I added a couple layers after the first dried and it created a nice puddle effect with defined edges.
I felt like it still needed something for a pop, so I used the smaller ‘Under the Sea’ stencil and the Champagne Gold Modeling Paste to layer another coral piece on top of the Gel Medium.
At first, I was disappointed I added such a thick layer and didn’t achieve the definition I wanted.  Looking at it after it dried, it is perfect for a coral piece, with the texture and layering!
After fussy cutting out the shells, I layered them with my photo and some other papers and vellum.
I finished the layout up by adding some journaling, onto a piece of paper I slipped into a polka dot bag, tucked behind the photo.  Then I mounted the whole thing onto a piece of patterned paper.
These are some detail shots of the finished page!
Thanks for stopping by the Blog today!  I love to scrapbook old photos and memories, but sometimes documenting the event while it’s fresh in you mind is a great way to extend that memory for a little while longer!
Supplies Used:
TCW709s – 6×6 Doodling Template – Under the Sea

FRESH EGGS - The Crafter's Workshop June 2018

Monday, June 18, 2018

Today I'm going to share a fun scrapbook layout I created inspired by the Rustic Signs stencil from The Crafter's Workshop, and the perfect timing of some awesome friends!

Below are the two stencils and the Clear Modeling Paste I used in my project.


The Crafter’s Workshop provided me with some product to create this project.  The opinions I share are solely my own.


I pulled lots of natural elements to use; kraft cardstock, cork, canvas ribbon letters and cream colored cardstocks.


Utilizing the large 'FARMHOUSE' text in the stencil, I brushed light layers of Distress Ink over the cream cardstock background, offsetting the text on every line.


I wanted to try to match the color of the ceramic egg crate to the color I used with the main title.  I mixed a couple of shades of blue acrylic with the Clear Modeling Paste. 


It was a difficult color blue to match and once I archived it, the Clear Modeling Paste was perfect to get the height and texture without diluting the color.


While the modeling paste dried, I used the 'Antique Linen' Distress Ink and a stencil brush to add some light color to the wood grain part of the 'Hard Textures' stencil.


After layering the two stenciled pieces of cardstock, I added the kraft cardstock for my title as the photo mat.  Below is the finished page and some details shots.


I added a subtitle with these canvas printed letters on ribbon and stitched them to the page.


Finishing off the page with some other embellishments, I mounted the entire background to another piece of patterned paper.


Supplies Used:

Thanks for stopping by the Blog today!  This layout was so much fun because I had a stencil that perfectly matched parts of our life.

bloom - The Crafter's Workshop - February 2018

Monday, March 5, 2018

Hi there!  Today I am going to share a traditional scrapbook layout using 4 of the new stencils and 2 of the new metallic modeling pastes from The Crafter's Workshop.
Below are the stencils and pastes I used in my layout.
     
The Crafter’s Workshop provided me with some product to create this project.  The opinions I share are solely my own.
I started out by misting a couple different colors of green onto white cardstock using two of the 6×6 leaf/botanical stencils.

Having decided to use a recent photo of new blooming daffodils, I chose this 12×12 stencil for the background.  I have wanted to get some of these large stencil brushes for a while and finally bought some for Christmas for myself!  I selected Distress Inks in gradating tones from yellow to orange to pink.
Starting from the top left corner working to the bottom right, I stenciled this Floral pattern onto another piece of white cardstock.
While the ink dried on my background, I fussy cut out the leaves from the 6×6 stencils I misted.
I decided that my photo needed a dark background to provide some contrast.
Since this photo makes me think of the time of year, I thought this number stencil was appropriate.  I thought a black background would provide that contrast along with the new Antique Gold Modeling Paste.
I also stenciled the piece of this 6×6 stencil in the new Champagne Gold Modeling Paste over the “bloom” portion of this stencil for my title.
I created a photo cluster using the black cardstock stenciled with gold as the base and layered the fussy cut leaves underneath my photo.
I matted the entire piece with a piece of 12×12 black & white patterned cardstock.
I added a couple other embellishments, but tried to keep it simple and keep the focus on the background stencil pattern and colors.
Thanks for stopping by the Blog today!  I hope this project gives you a little promise of Spring!
Supplies Used:
TCW758s – Doodling Template – Round Flowers
Proudly designed by Mlekoshi playground