Showing posts with label papercardinal. Show all posts

For the Love of Gnomes & Tea! - Brutus Monroe February 2023

Thursday, March 2, 2023

Hello Friends!  Thanks for stopping by the Blog today.
I have been super busy creating and haven’t taken a minute to post yet.

Now that we are into March, how did that happen, I'm going to share the
February collection from Brutus Monroe is full of a combination of gnomes, mushrooms, teapots, cups, and coordinating accouterments!


I love this card because I like the idea of this little gnome holding a string of hearts...like the kind you would make in elementary school where you cut an arch into a folded piece of paper and when you opened it up, it was a heart.


I used Aqua Pigments to watercolor him and covered the little heart in Pink Candy Coat.  And a pun for a sentiment, my favorite!


The next card is using the February Die Cut of the Month set.
More gnomes, but I added the girl gnome and have them cheering coffee cups.
Well, in my mind, it's coffee!


When I do a certain group of cards on the same day or together,
I usually have a set color palette in mind and usually have colors mixed or
on the palette so I like that these 3 cards, look like they could all be part of a set.


In this final card, I watercolored the background over heat embossing cups I stamp all over. That is one of my favorite techniques with heat embossing. I wanted it to be pretty simple with a busy background, so I used the simple teapot and added a little row of hearts around it.


After, I took one set of photos, I decided to add color to the teapot,
so in this photo it's pink! I die-cut a dimensional banner to
stamp the sentiment onto.


Thanks for stopping by!  The Brutus Monroe Spring Release, Spring Fling just happened and there are so many lovely pieces that you can use in a million ways! And the Design Team has created some amazing projects.  Go to the Brutus Monroe site, HERE, for all the inspiration!

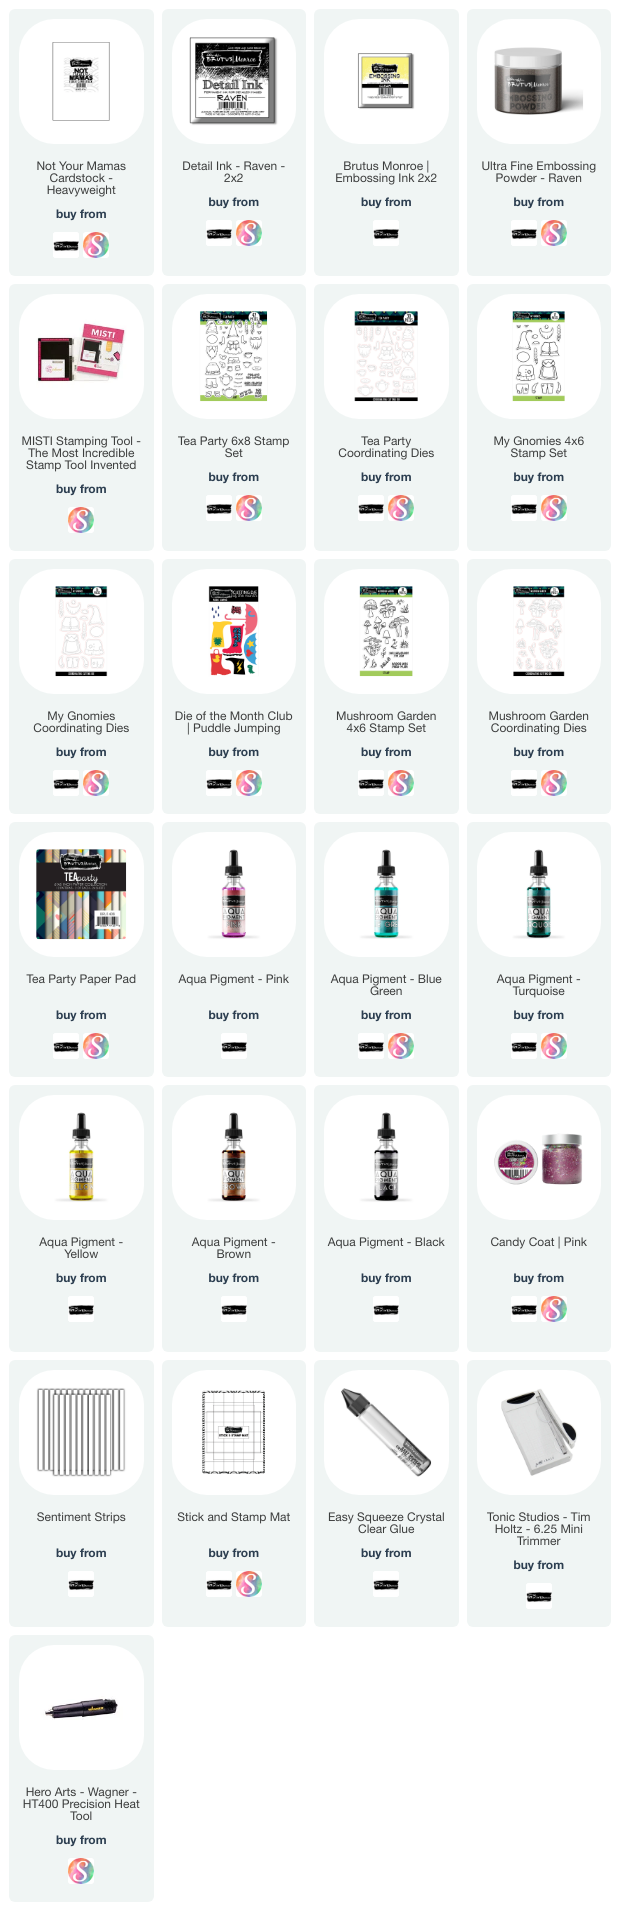
Below is the list of all the products I used and links to where you can buy them.
( Some of these are affiliate links...)

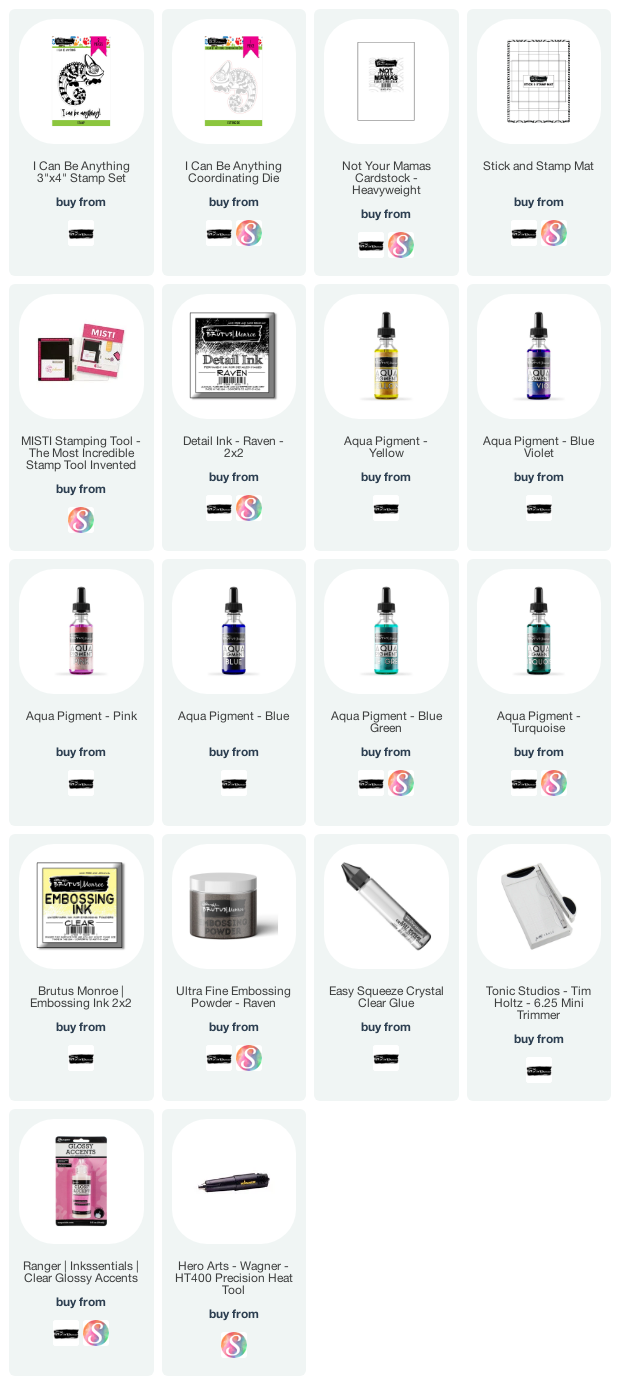
I can be anything! - Chameleon Card + Process VIDEO

Tuesday, January 24, 2023

Hello friends!
I am excited to share this fast, fun card with you today as well as the process video I created.  It is the first video I have edited in a WHILE, so be patient with me!

I adore his stamp set and could not wait to wait to use it.  While I do use mostly Brutus Monroe products, it's not a card for the Inspiration Team exclusively


I created two versions of the same card; one colored "inside the lines," and the other more simple dollops of color blended together.

Click HERE or below to watch my process video!


This is a simple 3x4 stamp and a single sentiment that is part of the set.  There is also the coordinating die, although I didn't use it, choosing to stamp directly onto Tim Holtz Watercolor Cardstock instead.

I stamped the image twice using Brutus Monroe detail ink in Raven and then painted two different styles on each card. I added a sentiment I heat embossed and then mounted the painted cards to a card base.

I added an extra layer of textured turquoise paper on the card base to add a color frame and pop from the white.  Simple, quick, and love that message!


And that's it! So many possibilities!
Thanks for stopping by the Blog today.

Below is a list of supplies I used and a link to where you can find most of them.
(Some affiliate links used that are at no cost to you)

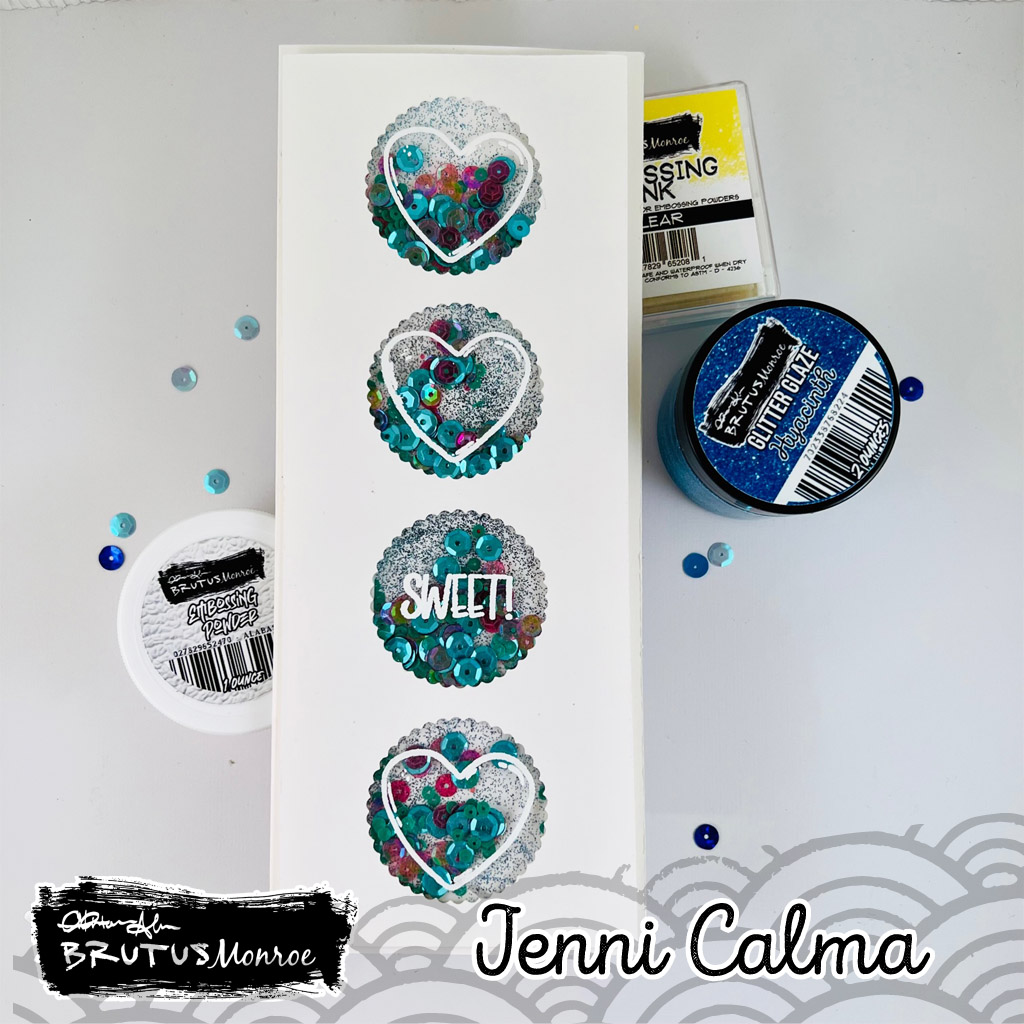
SWEET! Brutus Monroe DT - Slimline Shaker Card

Friday, January 20, 2023

Happy Friday friends!
The sun is shining, the sky is blue and it makes me long for Spring!
But, before that can happen, we need to celebrate Valentine's Day AND another shaker card!


This is a slimline card for the Brutus Monroe Inspiration Team
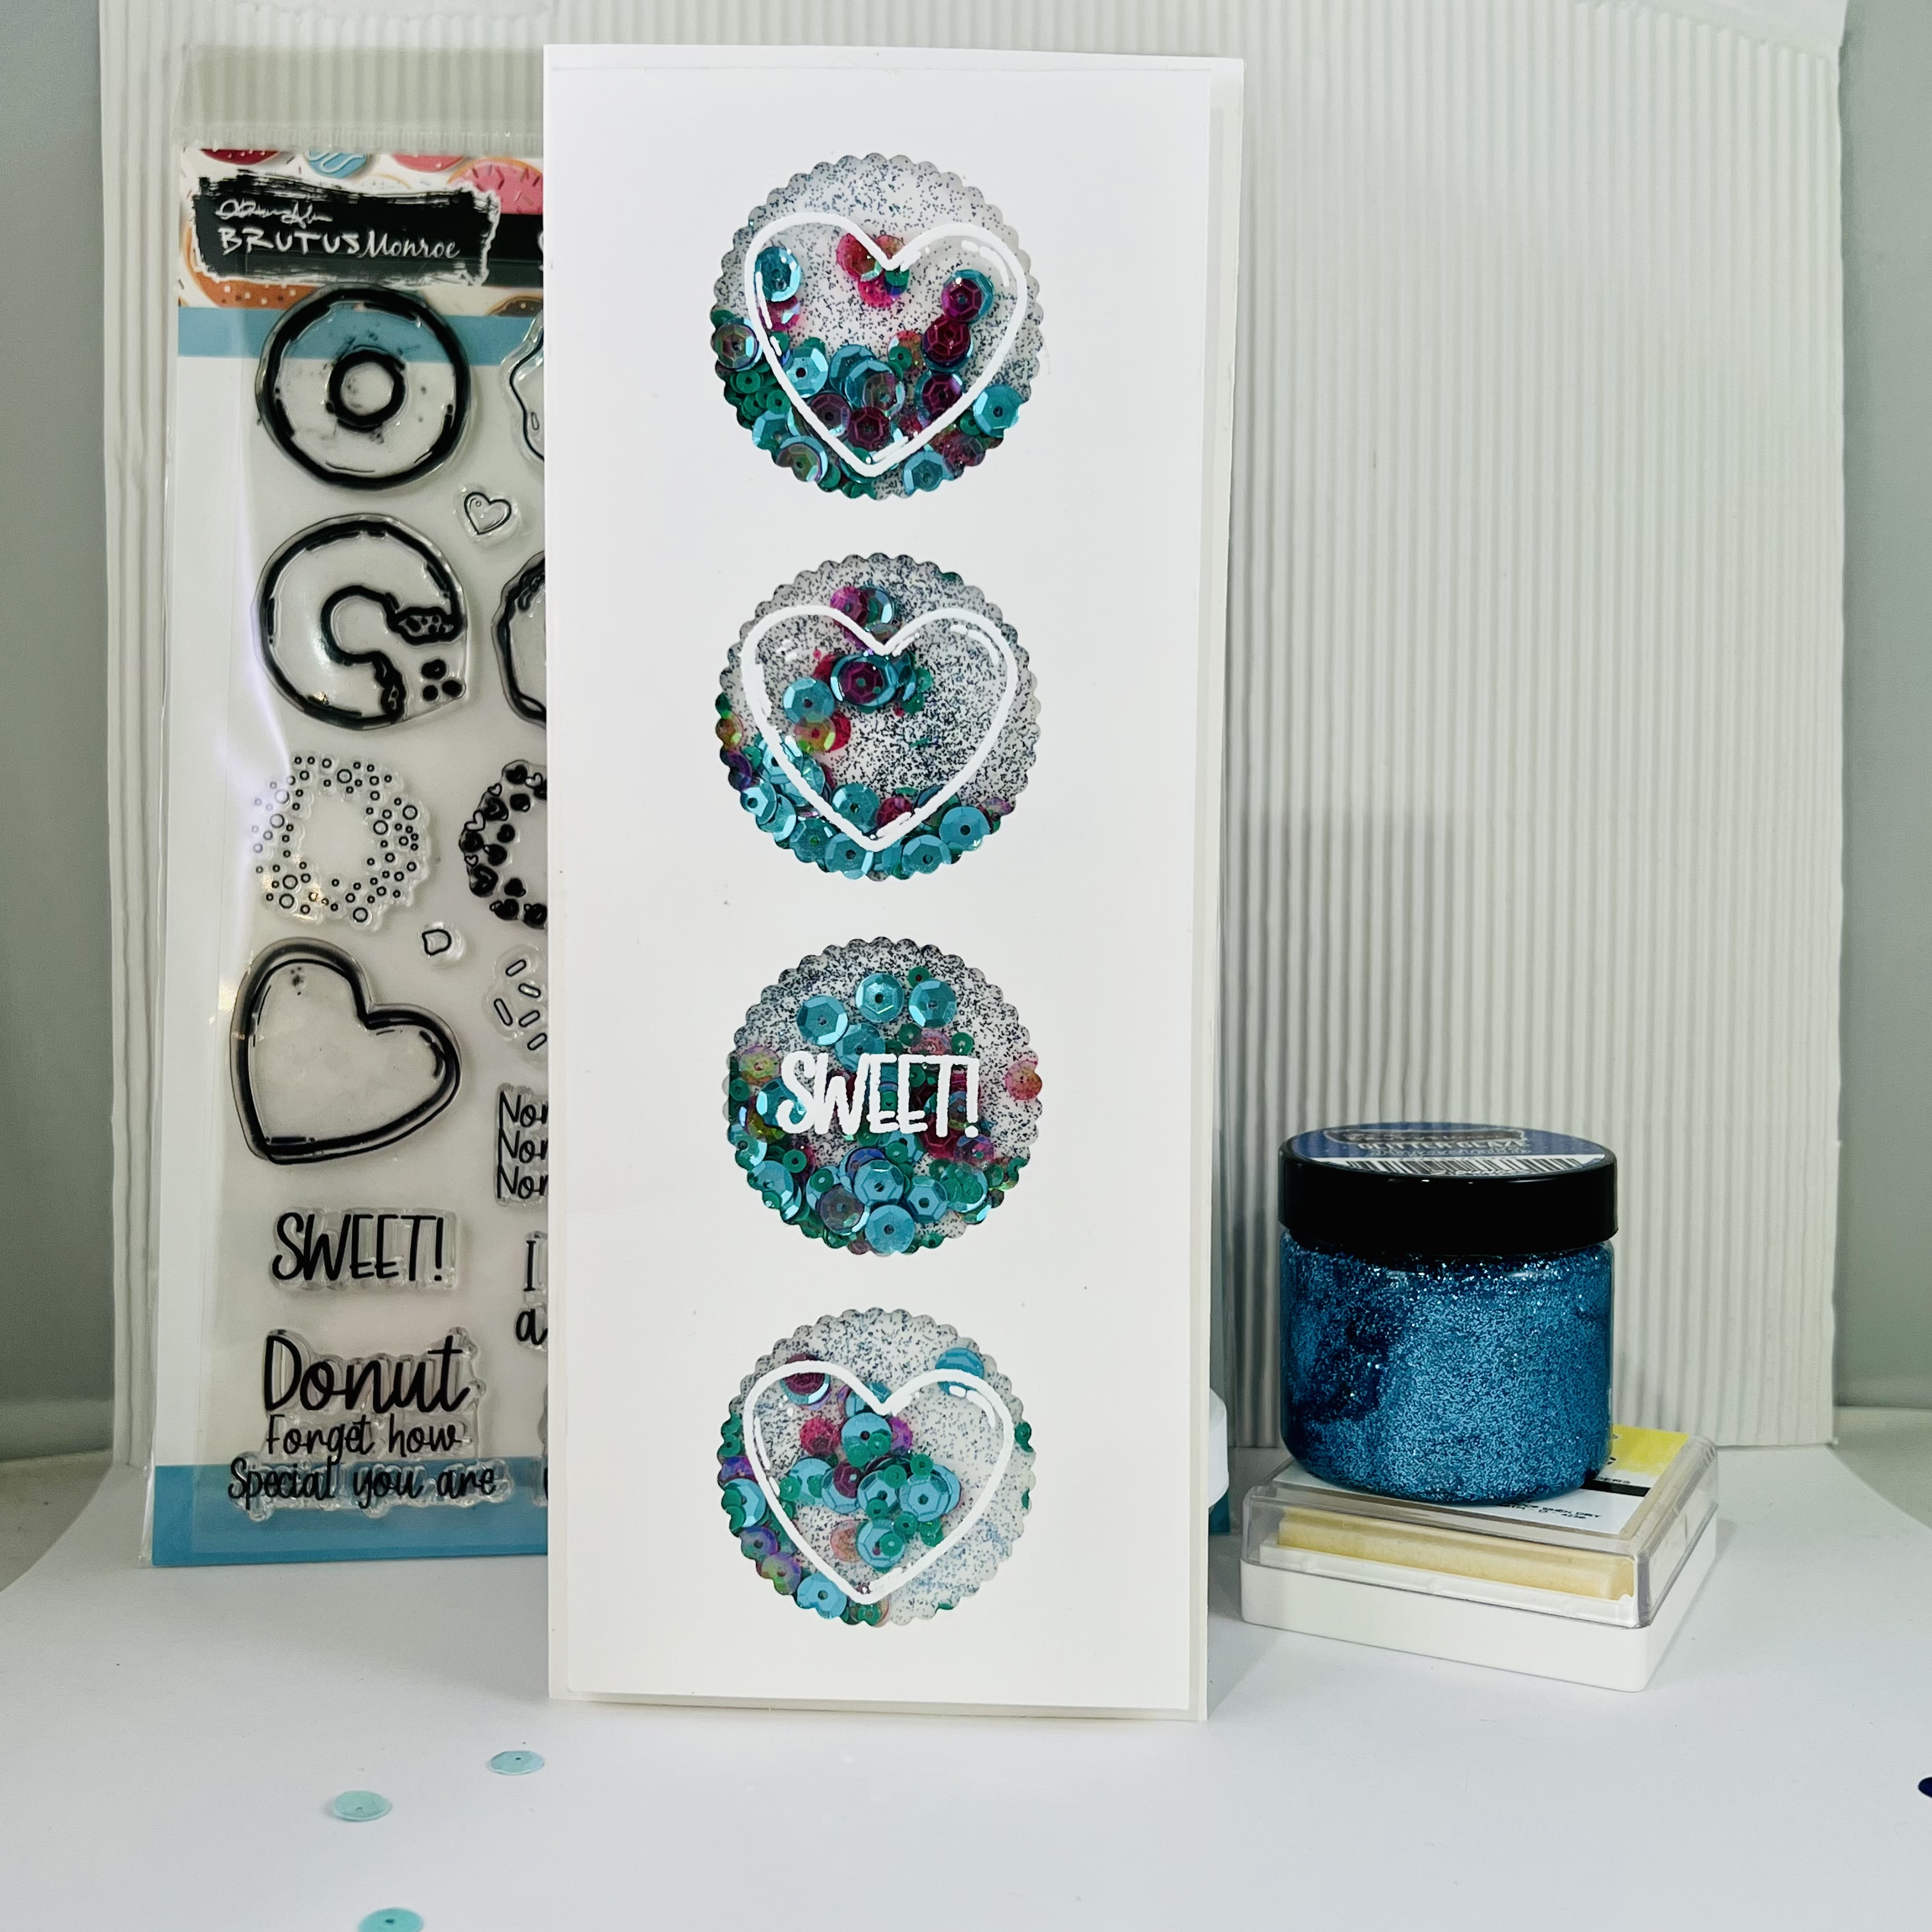
Using the 'Sprinkled With Love' Stamp set.  The stamp set mostly features donuts and sweet treats,
but I wanted to use the hearts to make something a little unexpected.


Using the Chroma Glitter Glaze in Navy, I coated the cardstock behind my shaker openings.
While it was drying, I die cut 4 scalloped circles in the card front and added some foam tape to create space for the shaker areas.


The most difficult part was heat embossing these hearts using Alabaster Embossing Powder onto acetate. I used heat-resistant acetate, but it can still warp if you heat it too directly. Despite using a powder tool, My craft room is full of static and a tornado of dust, glitter, and everything that will stick to acetate. It took a couple tries, but I think the results are totally worth the effort!


Then the fun part, of adding the sequins and putting it all together!

Thanks for stopping by today and hope you have a sweet, sunny weekend!!

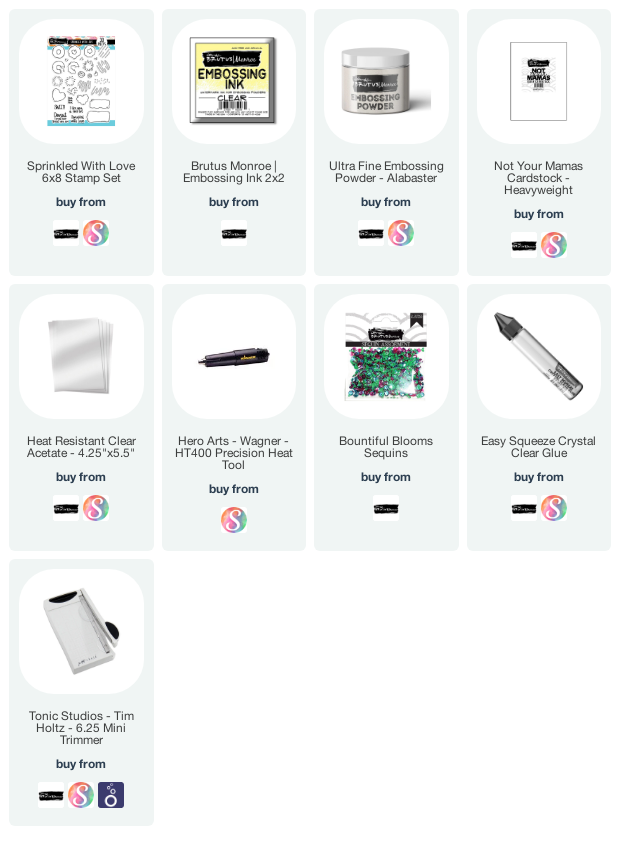
Below is a list of supplies I used and a link to where you can find most of them.
(Some affiliate links used that are at no cost to you)

filled with love - Shaker Card Brutus Monroe

Wednesday, January 18, 2023

Hello everyone! I am a sharing card that I made for 
the Brutus Monroe Design Team a couple weeks ago.


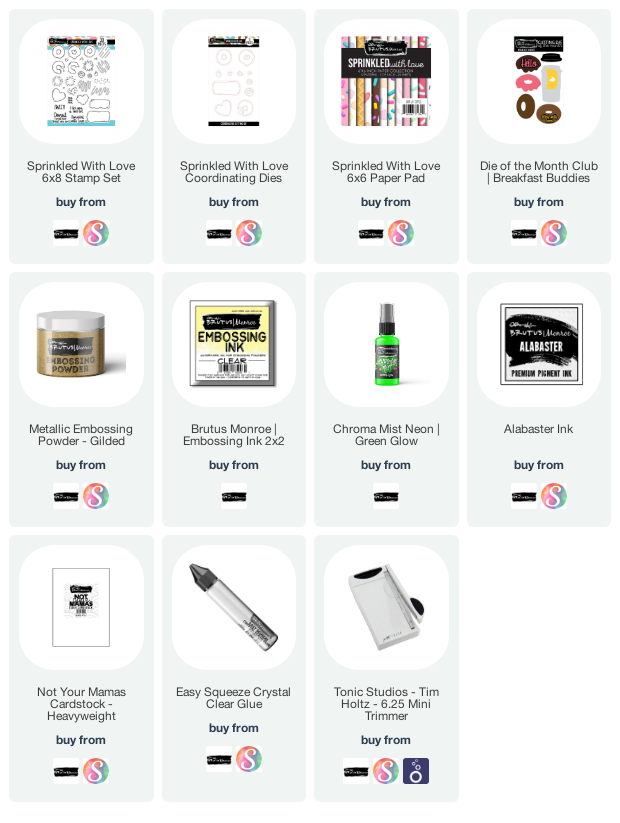
This card was made using the January Die Of The Month, 'Breakfast Buddies'
and a few other stamps and paper pads, part of the January Set.


I love shaker cards.  I love making them, I love giving them, 
and I love receiving them! So when I saw this sentiment that said 'filled with love,'
I immediately thought about being filled with love AND sequins!


I started by die-cutting the pieces of the coffee cup I would need, going for some kraft cardstock and colors that are a little more realistic.  I used a stamp from the January Sprinkled with Love stamps set that is actually supposed to be sprinkled for a donut.  I used them for adding polka dots to the coffee cup with the Alabaster Pigment Ink, which is amazing!


I used the Brutus Monroe foam adhesive to cut out the coffee cup as well.


After die-cutting the coordinating sentiment I added a gold dipped look with heat embossing and the Gilded Embossing Powder.  I also chose a piece of the 6x6 patterned paper set for the card base background.


I die-cut a piece of white cardstock for the frame and several layers of foam adhesive strips to create the pocket for the sequins and confetti.  I wanted the coffee cup to be on the outside so the shaker pocket was almost the size of the card base.


I misted a piece of paper for the back of the shaker pocket with the Chroma Mist in Green Glow and sealed it all up!


I put the coffee cup pieces together and then mounted everything onto the shaker pocket and then onto the patterned paper and card base.


I love the way it turned out and I know this will be used
multiple times as a future gift card holder!


Thanks for stopping by the Blog today...
I'm going to be posting on a more consistent period including
some process videos too! Have a great day!

Below is a list of supplies I used and a link to where you can find most of them.
(Some affiliate links used that are at no cost to you)

Sprinkled with Love - BRUTUS MONROE First Project

Wednesday, January 11, 2023

 Hello everyone!  Today, I am excited to share the first project
created for the Brutus Monroe inspiration team!

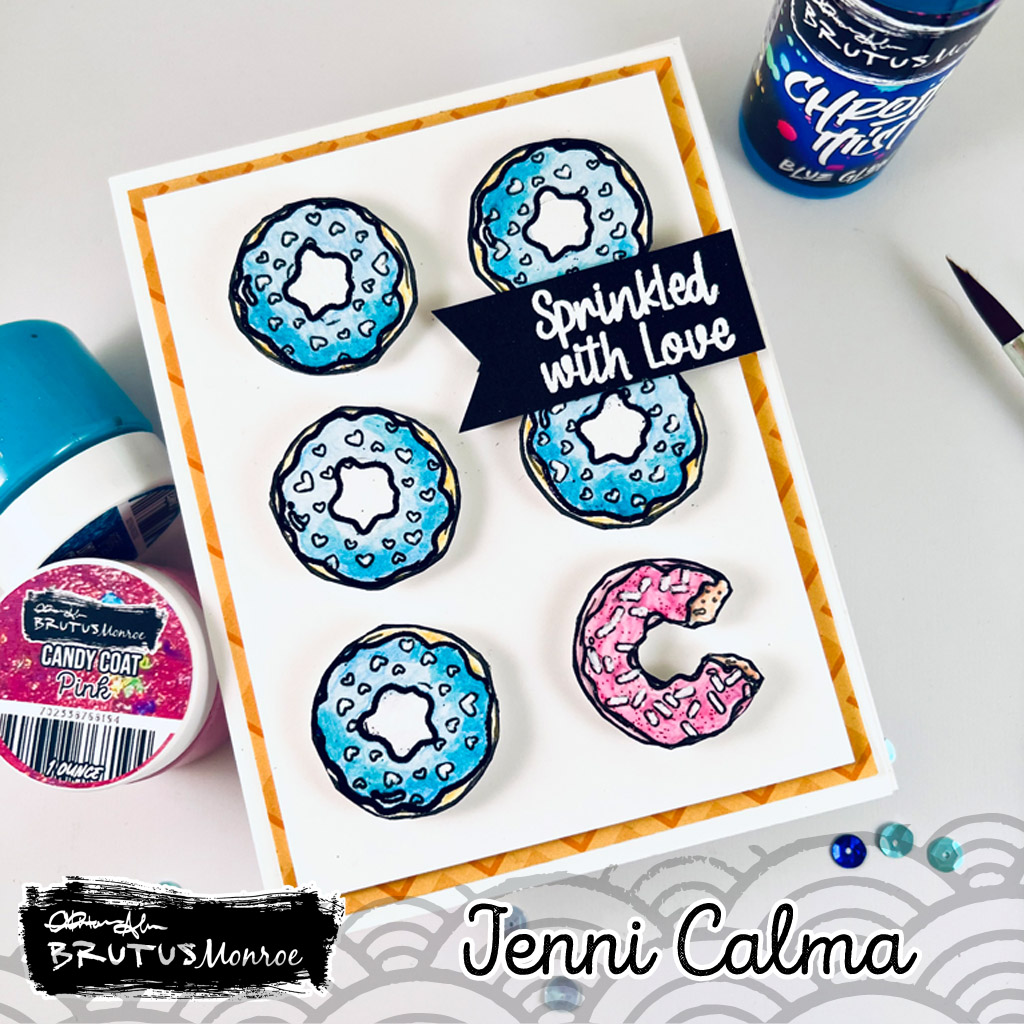
The 'Sprinkled with Love' stamp set was perfect for a simple grid patterned card.


 Coloring the stamped images was fun and easy using the 
'Chroma Mists,' in Blue glow and Pink glow.


Adding a few drops of the mists into my palette and added a drop
or two of water, even adding a couple drops of the pink mixing
 a little blue as well.  I knew I wanted to set out. the card 
in the way I stamped them out, but planned to cut them out.


 The washes turned out pretty light in tone and adding
another layer in places worked great as a way to add some
contrast and a bit of depth on the donuts.
I left all the sprinkle hearts and spots with no paint so I could go back
and add white thick gesso on each of the sprinkles.

The last donut meant for the right corner was the one that
had a bite out of it. I colored it pink and turned it to the side
so it looked like a "C."  I added a coat of 'Candy Coat' in blue
& pink to the respective donuts.


After mounting each donut on foam dots I adhered the card base to a
piece of patterned paper from the 6x6 'Sprinkled with Love' Paper pad.
I added the coordinating sentiment with Alabaster embossing
powder onto a black banner strip.


And that's it! It could be a cute baby card too!
Thanks and cheers to you for stopping by the Blog today.

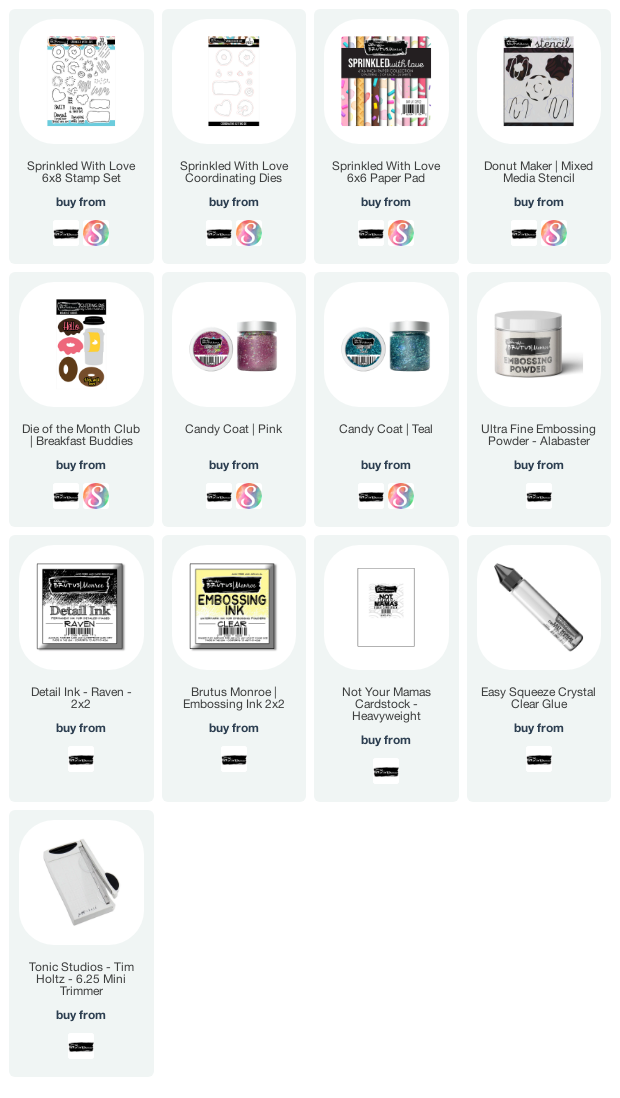
Below is a list of supplies I used and a link to where you can find most of them.
(Some affiliate links used that are at no cost to you)

Creating a New Craft Room - Part 1

Wednesday, December 18, 2019

Hello!  After 12 years, we packed up our house and moved to a new home this last July.  My precious craft room went thru several renovations and had finally gotten it to be almost exactly the way I want it....and then we moved.  Which is partly my fault, and to be honest, has been a difficult last few months.  I am trying to think of it as an opportunity to start fresh and create a space designed exactly for how I will use it.

You can click on the video below or HERE to go directly to my YouTube Channel.


Below are some of the pictures after I had moved in enough things to be able to work, and the first phases of the building.
Since these photos were taken, my husband hung the sheetrock, finishing the wiring and starting to mud the sheet rock.


You can see the framing my husband did that included the columns in the walls which follow the lines of the walls upstairs.
This is the opening where where will be a door into the new craft space. 


My sweet husband posing for me!


My husband wired outlets on the new craft room wall up above table height so it will
be easier to plug in my sewing machine, die cut machines, etc.


This is the view downstairs which is one large room that we divided, as well as adding a
door to the entire den space, mostly because with two teenagers, noise really does travel.


We have a baby gate to keep the dogs, temporarily, out of the playroom and other downstairs areas.


You can see the walls that enclose the round structural columns, which we used as
an opportunity to create a little art niche at the bottom of the stairs. 


So, there is the first step!  The video walk through is obviously after these photos were taken.
I am going to post my sketches that I made of the pieces of cabinetry I have and the organization of the plan as it evolves.


La Boheme - Scrapbook Layout (& video)

Sunday, December 1, 2019

Finally, after maybe 6-7 months, I sat down and created a traditional scrapbook page.
I have been focused on cards, mixed media and watercolor that scrapbooking just pushed back a bit.
Now that we are settling down a bit from our move and I can find some of my tools, I decided it was way overdue!


You can click on the link below to watch the video or HERE to go directly to my YouTube Channel.


I took my mother to New York City and to the Opera for her 80th Birthday a few weeks ago and definitely couldn't think of a better reason to document this even with a scrapbook page.


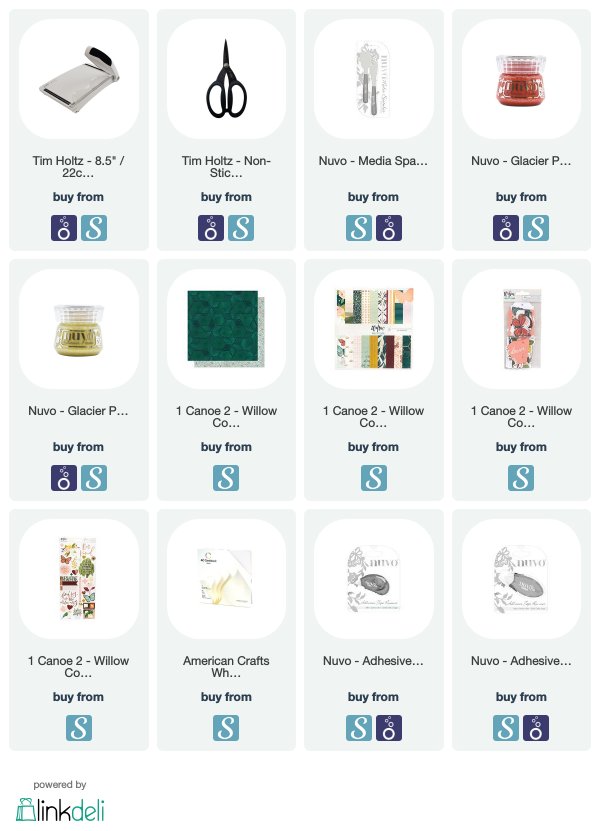
I purchased the paper package of the One Canoe Two collection, Willow.  It has lovely colors as well as a sheet of stickers and alphas.  It has been so long since I worked with one set like this.  Before laying down any paper or embellishments, I added a light layer of the Glacier Paste from Nuvo onto a piece of plain white cardstock in two different colors.


After the paste dried I started with this piece of foiled patterned paper and two Instagram photos I mounted with foam tape.  I also bought the embellishment die cut package and used the flowers and tags all around the edges of the photos and main piece of patterned paper.


Thanks for stopping by the Blog today.  I hope you get a chance to watch the video and am so excited to get back into the habit of documenting our important and everyday moments alike.

Supplies Used:


Proudly designed by Mlekoshi playground