Finally, after maybe 6-7 months, I sat down and created a traditional scrapbook page.
I have been focused on cards, mixed media and watercolor that scrapbooking just pushed back a bit.
Now that we are settling down a bit from our move and I can find some of my tools, I decided it was way overdue!
You can click on the link below to watch the video or HERE to go directly to my YouTube Channel.
I took my mother to New York City and to the Opera for her 80th Birthday a few weeks ago and definitely couldn't think of a better reason to document this even with a scrapbook page.
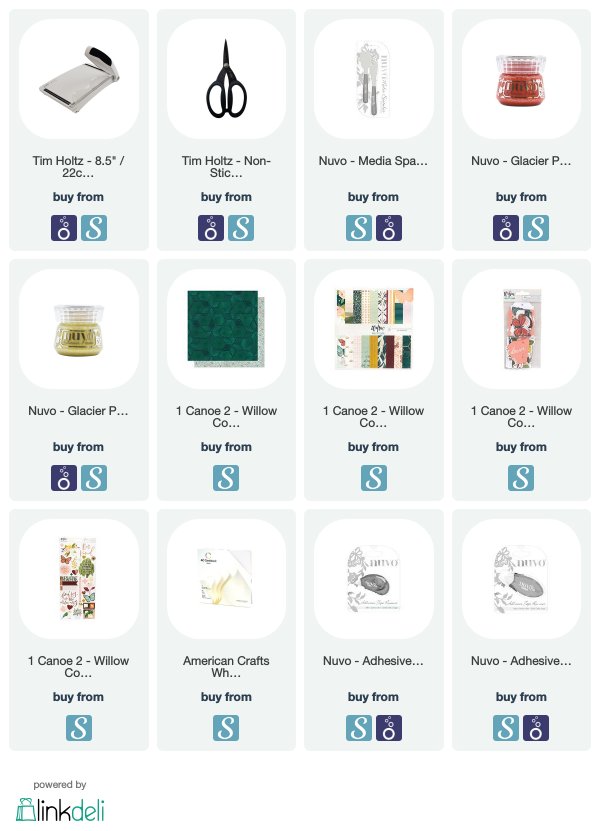
I purchased the paper package of the One Canoe Two collection, Willow. It has lovely colors as well as a sheet of stickers and alphas. It has been so long since I worked with one set like this. Before laying down any paper or embellishments, I added a light layer of the Glacier Paste from Nuvo onto a piece of plain white cardstock in two different colors.
After the paste dried I started with this piece of foiled patterned paper and two Instagram photos I mounted with foam tape. I also bought the embellishment die cut package and used the flowers and tags all around the edges of the photos and main piece of patterned paper.
Thanks for stopping by the Blog today. I hope you get a chance to watch the video and am so excited to get back into the habit of documenting our important and everyday moments alike.
Today, I am going back in time a little bit to share a couple cards I created a few months back for the Tonic Studios booth at Creativation in January. I wanted to feature the new metal panel dies combined with a some different Nuvo mediums.
I filmed my process which can view by clicking on the video below or HERE to go directly to my YouTube Channel.
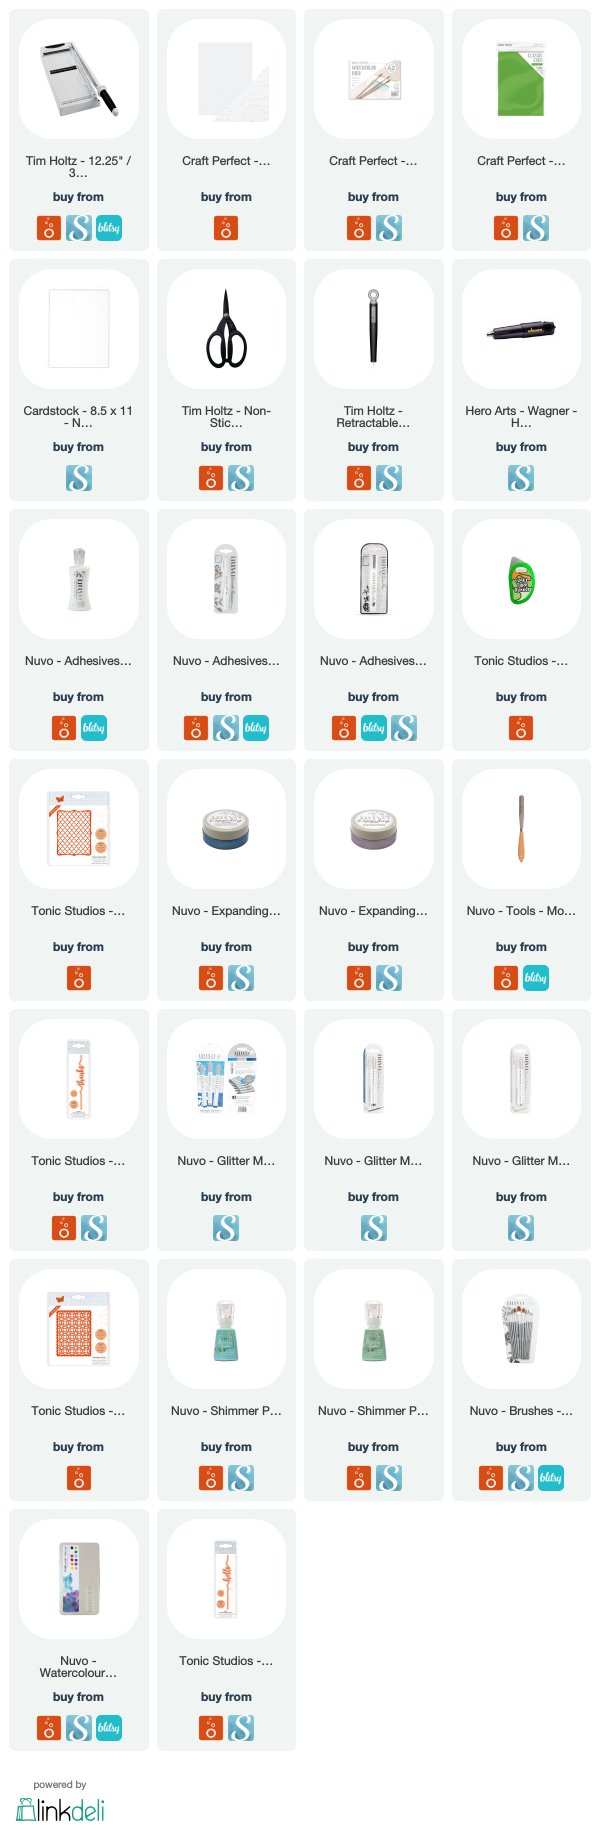
For this 'hello' card, I used two of the Nuvo Shimmer Powders in Green Parade and Atlantis Burst on some of the Craft Perfect watercolor cardstock. Once it dried, I used the 'Sunflower Array' panel die to cut out this intricate layer for the top of my card.
I mounted it onto some white cardstock, a layer of foam and finally a piece of pink patterned paper.
Next, I took the 'hello' Sentiment Strip die to cut out a piece of watercolor paper I had colored with a couple of the watercolor pencils.
I layered the sentiment onto a piece of vellum cut from the border that is part of the sentiment strip and adhered it to the front of the die cut panel. To finish off the card, I added a few white sequins into the center of some of the flowers.
For this thank you card, I used the Nuvo Expanding Mousse in 'Boatyard Blue' & 'Misted Mauve' in a thick layer onto some plain cardstock. I heated up the mousse to expand it and create that dimensional texture that the mousse is named for.
I die cut the moussed piece using the 'Classic Quatrefoil' panel die and the coordinating border. I leave some of the pieces in place and popped some out. I used some 3D foam squares onto the parts of the panel I left in place and adhered it to a piece of white Pearlescent Cardstock.
I used the same idea with the 'thanks' Sentiment Strip die using the vellum as the border. I cut the sentiment itself out of some cardstock I colored using the 'Imperial Blue' & 'Silver Mist' Shimmer Markers from Nuvo. I cut the sentiment twice to stack and give a little bit of blue shadow under silver one.
Thanks for stopping by the Blog today and I hope you check out the video as well! Below is a list of the products I used, some of which are affiliate based, and at no cost to you to link to.
Hello! After watching several videos from Kristina Werner's Ink Blending series, I was inspired to create a couple cards of my own. I used one combination of warmer colors to pair with a piece of patterned paper I used as a border for my card, shown below.
You can click on the video below or HERE to go directly to my YouTube channel.
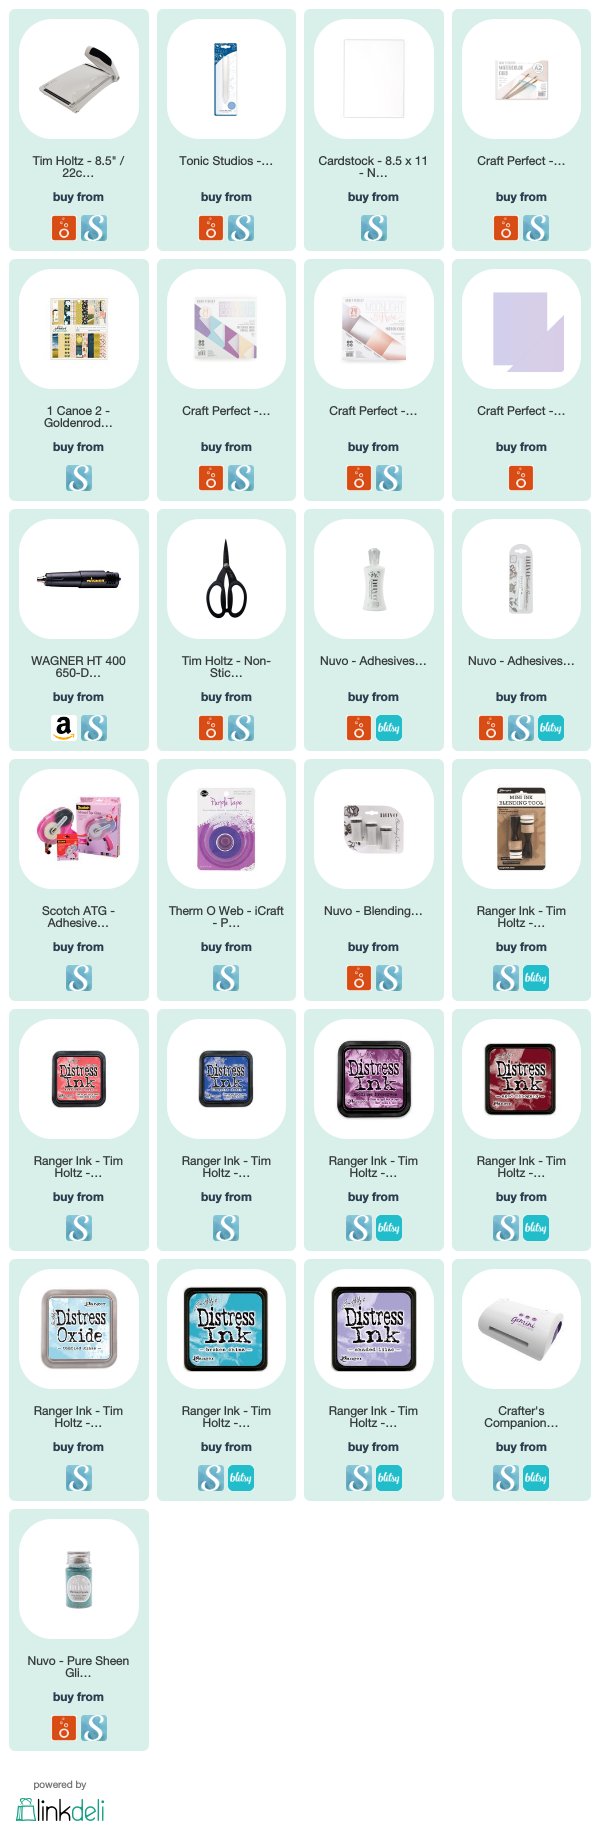
I used a blend of 4 Distress Inks and blended a background on Nuvo Watercolor Cardstock. I added some water droplets for interest to the blended background and mounted it using foam tape onto a piece of patterned paper from One Canoe Two.
I die cut three layers of plain cardstock using this 'hello' die from Sizzix and after adhering them together, painted it with a layer of Nuvo Midas Gold Aqua Shimmer pen.
I added lots of matching sequins across the card for some sparkle.
For my second card, I followed the same formula only using three Distress Inks. I layered the blended piece onto a piece of patterned paper from the Dream In Color 6x6 pad.
I used this large text die from Altenew and cut it out of Craft Perfect 'Frosted Silver Satin' cardstock. I cut it out twice from the Satin card and once from the Craft Perfect 'Holo Waves' cardstock that is an amazing iridescent holographic cardstock. I offset the bottom layer of iridescent card just a but, to catch the light and add some dimension.
After adhering the sentiment to the blended piece of paper, I added lots of clear white sequins. I finished the card off by glittering the tiny heart from the die with Nuvo 'Mermaid Parade' turquoise glitter.
I love the way the cards came out. They were fairly simple even though there were lots of steps. The supplies I used are listed below. Thanks for stopping by today and hope you have a great day.
Hello there crafty friends! Today I am going to share a traditional Scrapbook Layout I created for Tonic Studios. I wanted to focus on the newly released ‘Photos & Filmstrip’ die for my page.
There is a complete list of supplies used at the end of the post.
All products used were purchased by me and used with no influence of suggestion of anyone but myself!
*Affiliate links are used at no cost to you and the profit goes to helping fund more supplies and this channel...*
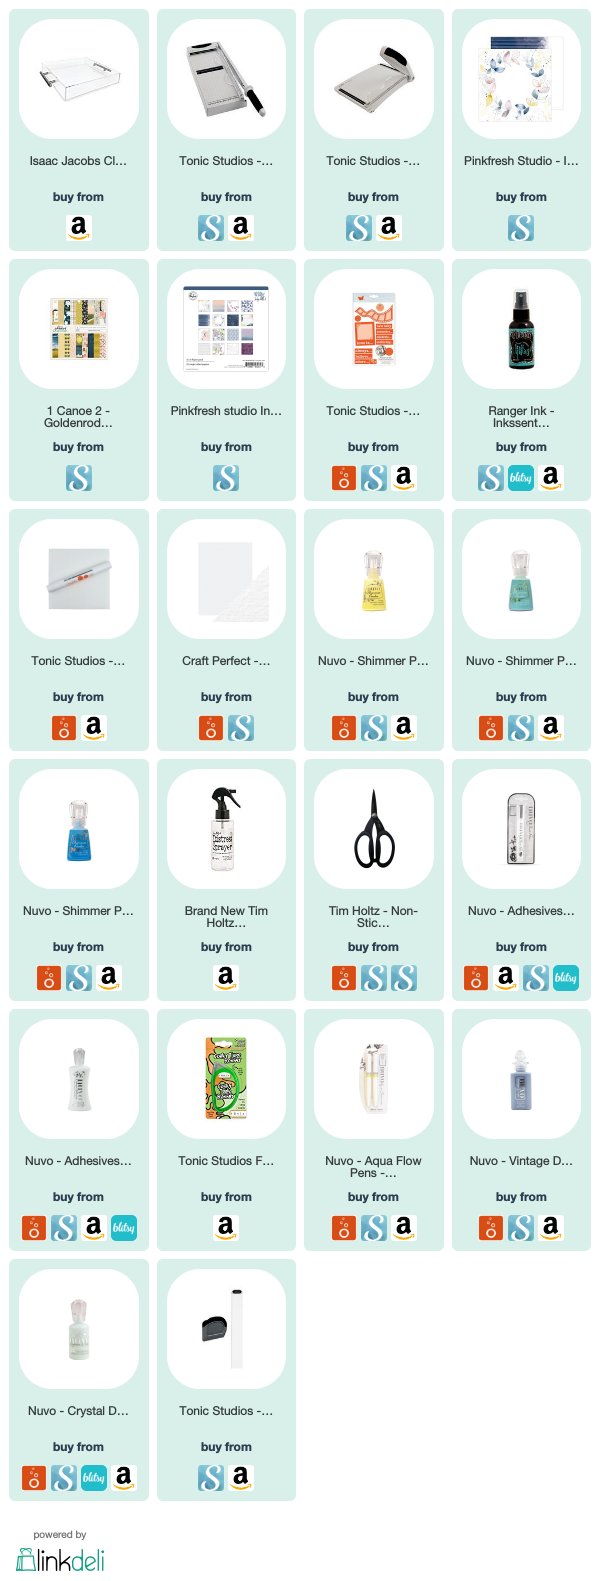
I started by die cutting plain white cardstock with the retro photo frame with the Tonic Tangerine die cutting machine. I cut the die 4 times and used a couple of the different titles to cut into the frames. The frame is a piece that you fold over to encase your photo. I used 4 photos from our recent photo shoot before Christmas.
I chose this patterned paper from Pinkfresh Studio with the faded navy and white strips and a piece of plain white cardstock. I cut them roughly in half and adhered them to a full piece of patterned paper as a mat for the layout. I added Gesso to the large piece of white cardstock on the right and a little bit to the center of the right side pattern, planning to add some Nuvo Shimmer Powders!
I used 3 colors of the Shimmer Powders and lots of water to get a soft watercolored look over the dried gesso areas. While that dried, I misted the die cut photo frames using some Dylusions Ink Spray, backed the titles with colored paper and slipped my black and white prints inside the frames. I lined up the photo frames over the seam between the two papers and added some washi just for decoration.
Finally I added a few other die cuts, some Thickers for my title, and some flowers and leaves I fussy cut from another piece of Pinkfresh Studio paper that is part of the same collection as the main patterned paper. I finished up with some journaling and lots of Nuvo Drops scattered around the page!
Thanks for stopping by the Blog today! Below is the list of products used. I hope you have a wonderful weekend!
Hello friends! I am excited to share a new scrapbook layout and process video for Tonic Studios. I used a few Tonic products, but mostly wanted to share my newfound love of the Tonic & Nuvo "Tools of the Trade," i.e. basics, like adhesives, trimmers, basic cardstock, etc.
Tonic Studios provided me with products but the ideas and opinions are totally my own.
*Compensated affiliate links used*
You can click below for the process video or HERE to go directly to my channel.
I love the colors and patterns of the Pinkfresh Studio collection 'Indigo Hills' and used a 12x12 as the main background piece and several pieces of the 6x6 papers and some of the Pinkfresh ephemera and some of the American Crafts gold Thickers.
I used some of the Tonic Craft Perfect Watercolor paper to cut out some leaves using my Silhouette Cameo. I watercolored the leaves to match some of the colors in patterned paper.
I added a light layer of Silver Smoke Mica Mist over the center of the background paper where I planned my photo cluster to be. I used several pieces of the 6x6 papers under my photos and layered them on a piece of the gorgeous Craft Perfect Mirror Satin Cardstock in Burnished Rose.
I added the watercolored leaves under the photos and around the page, along with a couple other embellishments like the Ephemera from Pinkfresh Studio and American Crafts Thickers.
Finishing up with some gold rub-on pieces, I added several of the Nuvo Vintage Drops adjacent to those rub-ons.
Thanks so much for stopping by and I hope you check out the video as well!
The complete listing of the supplies used is listed below...
Hello everyone!! I am excited to share a traditional scrapbook layout for my second project for Tonic Studios! I played with so many of the lovely Nuvo Shimmer Powders. All of the tools and supplies I used are linked at the end of this post.
You can click on the video below to watch my process creating the project or click HEREto go to my YouTube Channel.
I wanted to create my own 'patterned paper.' I started by heat embossing a large stencil onto white cardstock using the Nuvo Fine Detail Embossing Powder in Glacier White.
I wanted the hearts to act as a resist to the Shimmer Powder technique that I imagined as a colorful contrast to my black & white photo. I used the Green Parade, Atlantis Burst, Catherine Wheel, Solar Flare and Cherry Bomb colors of Shimmer Powder in multiple layers to achieve the pastel colors I wanted.
I added some patterned paper and tags behind my photo and some light turquoise alphas with a gold accent as well. All of the embellishments and papers are at least a year old, but are among my favorites that couldn't be "purged" from my latest clean out!
I adhered my painted cardstock background onto another piece of navy patterned paper and tried to use several other accents in Blue...our puppy's name. :)
You can find the links to all the products I used below. Thanks so much for stopping by and I hope you check out the video as well! Have an amazing day!
Today I am sharing a scrapbook layout I created using lots of items I had been hoarding or hiding by accident. I recently did a massive clean out of my craft room and came across so many of my favorite papers and embellishments. I also came across lots of printed photos. Some of these have been previously scrapped as single photos, but I loved seeing these all together.
To watch my process video, click below or HERE to go directly to my YouTube Channel
P
I also came across lots of printed photos. Some of these have been scrapped before, mostly as single photos , but I loved seeing them all together. This layout was inspired solely by the need to see my children's faces together.
I tried to balance out the reds, yellows and blues of the photos and papers, using the embellishments and tags I had gathered. I added some washi and a chipboard photo frame strip over part of the photo collage.
Not sure about you guys, but I am totally one of those people that when I bought some new products or got a new kit, I did one of two things. I either used my favs immediately or set them aside for the perfect project. Then they inevitably become buried and forgotten. In my personal life, we have have a challenging few months...
and I’ve been saying that for a few months.
I’ve also come to the conclusion, in this crazy time we live in, that we shouldn’t keep things to use for that “perfect project.” Life is fragile and tumultuous and precious...even for something as seemingly insignificant as scrapbook products, why wait, why save them for some other day?? Shouldn’t we use them now, today, whether it be paper, formal dinnerware, a fancy pair of earrings or calling that friend to reconnect with?? In other words, Carpe Diem!! Thanks for stopping by today. I hope you have a wonderful day and an amazing week and remember, even in the smallest of things, live in the moment!
Hello! Before we get into too any fall colors and layouts, I had to use a few more bright colors for this late summer photo. Thank you for letting me share this fun layout with you on this day!
I used a lovely Silhouette cut from Paige Evans, specifically made to be used as a pattern for hand stitching.
I also cut out this floral-leaf cut from Ashley Horton/Silhouette from a lightweight lb. watercolor paper. I painted several layers on watercolors onto the floral cut file and then layered it under this black and white photo. I also stacked several stickers, die cuts and other gold embellishments around the photo.
I layered this background stitched piece and photo cluster onto another piece of pink polka dot paper. This was fun, easy page to create. The pink and green embroidery thread I used makes this stitching look so much more dynamic with the thread pattern alone. Thanks for stopping by today! Have great week!
On my continuous journey to clean out my craft room, I decided to use several of the papers I had been saving and combined this color palette of navy, grey, white and olive.
You can either click HERE to go to my YouTube Channel or click below to watch the process video I filmed.
I used some Distress Inks and Distress Oxide Inks to paint a wash of several colors on a white cardstock background.
Using a combination of papers and embellishments, I created a cluster of layers to mat my photos on top of.
I used lots of the Pinkfresh Studio chipboard hearts and a chipboard Thickers title.
Thanks for stopping by today and make sure you check out the video.
Hi there!! Today I am sharing an art journal spread I created using loads of media from the Crafter’s Workshop and 4 stencils. I didn’t have much of a plan other than the stencils and colors I wanted to use.
I also filmed myself creating it so you can see my process from start to finish. You can click on the video below or HERE to go to the video on my YouTube Channel.
The Crafter’s Workshop provided me with some product to create this project. The opinions I share are solely my own.
Below are the stencils and media I used.
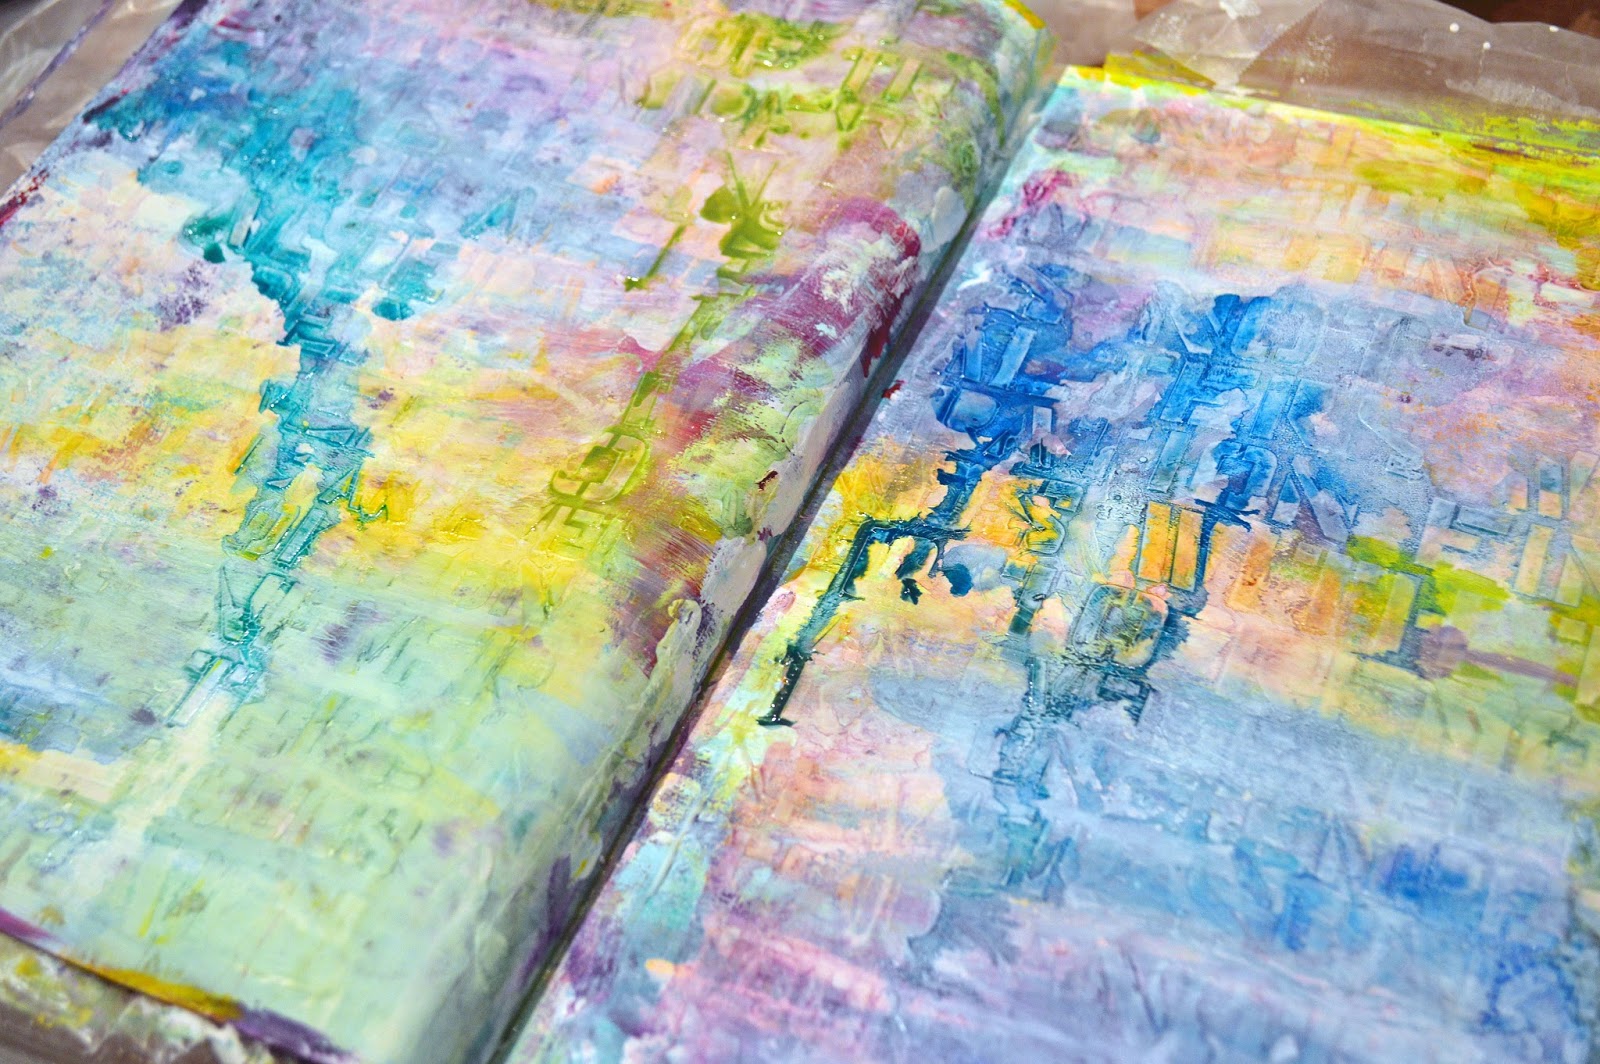
Unfortunately, I missed the very beginning of the video and process of putting down some layers of paint to build up my background. Not too much was missed, but below is the first stage of the process.
Next, I added a semi-transparent layer of Gesso on top to tone down the colors.
Once the Gesso dried, I used this large text stencil and the Gel Medium to add a layer of text all over both pages.
Once the Gel Medium dried, the pattern became a resist for the watercolor washes and drips I added next.
I love the way the colors turned out, picking up some of the original colors and drying in a random pattern.
Using a heat tool, to speed the process along, I then placed the large stencil I had planned to use for my main focus, partially overlapping the center seam of the journal.
I added a fairly thick layer of the Black Modeling Paste, which is such a lovely, substantial consistency that it holds the lines of the stencil without any bleed through.
Using some Archival Ink, I added some texture with the tiny fragment dot stencil.
Once more, waiting to dry...and then using more of the Heavy Body Acrylic Paints, I stenciled lots of the small branches from this 6x6 stencil; adding it around the heart shape and at the borders of the journal.
With the same archival black ink, I added several areas of the smaller 6x6 version of the text stencil.
My drying time seems to be the longest part of this process! After the previous layer was dry, I used the Gel Medium again, but this time for it properties as a glue. I adhered a couple pieces of the Altered Pages icons and some left over scraps from previous stenciled projects around the pages.
Using a couple plastic rings, I added some thin circle stamps of the Silver Heavy Body Acrylic paint.
Finally, the last step, was to add some NeoColor crayons to intensify a few colored areas.
Along with my NeoColors, I used a couple different permanent pens to give definition to the lines from the stencil and ring stamps.
I finished up with a quote I found on Pinterest that spoke volumes to me personally from the past couple weeks...
Below is the final spread!
I had so much fun using this creative outlet to express myself and provide a little self healing therapy...the original reason I started an Art Jounral. Thanks for stopping by the Blog today to let me share it with you all.