Dragonfly Cards - Tonic Craft Kit #20 (plus 18 & 19)

Wednesday, March 27, 2019

Hello friends!  I am here today sharing a couple cards for Tonic Studios using a combination of lots of the Tonic Crafts Kits, including the newest Kit #20, Woodland Walk.  The card below was actually made using extra pieces I didn't use for the card I intended to create!


Click on the video below or HERE to go directly to my YouTube channel.


This card uses pieces from the Tonic Craft Kit #17, #18, & #19 as well as the dragonfly stamp and coordinating die from the Woodland Walk kit.  Most of the components for this card comes from kit #18, Dream in Colour, including the Glitter Cardstock, the patterned paper on the card base and the the Dream Drops in Supernova.  Swoon.


The card below turned out completely different from the idea I began with, but I love the Spring feel.  I used the gorgeous Lilac Waterfall Shimmer Powder on the Nuvo Watercolor Card.


  The Pearlescent Card in Fresh Mint on the card base is from the Woodland Walk kit.  I used the 'with love' script word die for my sentiment, cutting it from both the Shimmer Powder painted paper and the Glitter Card.  I used the outline die to cut vellum which I think helps it stand out from the card without taking away from the design. 


These dragonflies were made heat embossing vellum with the Crushed Mulberry Embossing Powder and then gluing those to the outline piece cut from the Craft Perfect Holo Waves cardstock that is so amazing!  and I popped up the dragonfly wings using some foam squares and added a little dotted trail using these new gorgeous square gems from Nuvo.


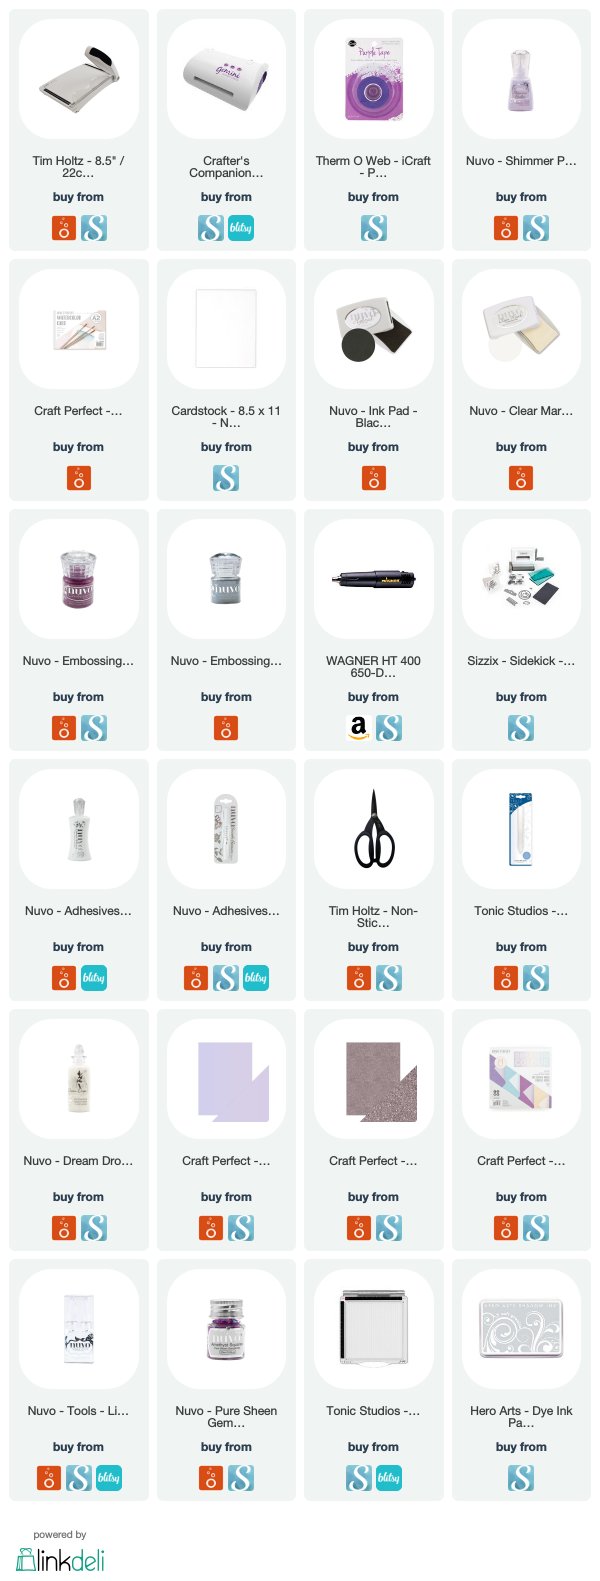
The supplies I used are listed below.  Thanks for stopping by today and hope you have a great week!

Supplies below:
 (affiliate links used, at no cost to you!)

Blended Distress Ink & Layered Die Cuts

Tuesday, March 26, 2019

Hello!  After watching several videos from Kristina Werner's Ink Blending series, I was inspired to create a couple cards of my own.  I used one combination of warmer colors to pair with a piece of patterned paper I used as a border for my card, shown below.  


You can click on the video below or HERE to go directly to my YouTube channel.


I used a blend of 4 Distress Inks and blended a background on Nuvo Watercolor Cardstock.  I added some water droplets for interest to the blended background and mounted it using foam tape onto a piece of patterned paper from One Canoe Two.


I die cut three layers of plain cardstock using this 'hello' die from Sizzix and after adhering them together, painted it with a layer of Nuvo Midas Gold Aqua Shimmer pen.


I added lots of matching sequins across the card for some sparkle.


 For my second card, I followed the same formula only using three Distress Inks.  I layered the blended piece onto a piece of patterned paper from the Dream In Color 6x6 pad.


I used this large text die from Altenew and cut it out of Craft Perfect 'Frosted Silver Satin' cardstock.  I cut it out twice from the Satin card and once from the Craft Perfect 'Holo Waves' cardstock that is an amazing iridescent holographic cardstock.  I offset the bottom layer of iridescent card just a but, to catch the light and add some dimension.


After adhering the sentiment to the blended piece of paper, I added lots of clear white sequins.  I finished the card off by glittering the tiny heart from the die with Nuvo 'Mermaid Parade' turquoise glitter.


I love the way the cards came out.  They were fairly simple even though there were lots of steps.  The supplies I used are listed below.  Thanks for stopping by today and hope you have a great day.

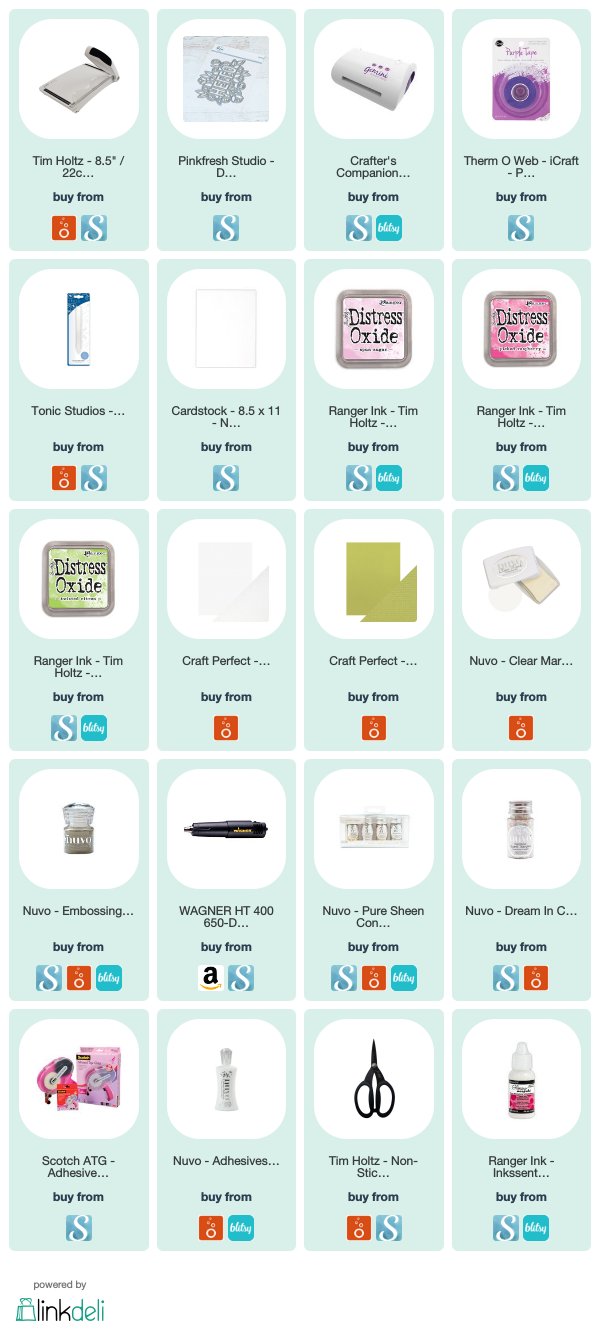
Supplies below:
 (affiliate links used, at no cost to you!)


Spring Fling Instagram Hop - Hello Shaker Card

Friday, March 22, 2019


Hey friends and Happy National Craft Month!
This is my project that I created for the Spring Fling Instagram Hop sponsored by Scrapbook.com  
The hop information is in my IG post HERE and you have until March 31st!!  Winner announced no later than April 5th, 2019.


You can click on the video below or HERE to go directly to my YouTube Channel.


I absolutely adore this metal die from Pinkfresh Studio.  I was inspired by a recent video from Jennifer McGuire where she made a shaker out of a large group stamp outline die.


I chose to do this using this large 'HELLO' die, but insetting the HELLO letters back into the die cut.  I layered the inset die cut and letter back into some Bristol Paper I used several pinks and green Distress Ink blended inks.


I added some Embossing Ink to the bottom half of the 'Hello' letters, added Gold Fine Detail Powder from Nuvo and heat embossed it.  I placed my top die cut outline piece,  layered with dimensional foam, over a small amount of the Ice White Circles confetti and the Rainbow Quartz Triangles confetti.  I mounted the entire piece onto some Pistachio Green cardstock from Tonic/Craft Perfect.


Thanks so much for stopping by and make sure to check out the video as well as the original Instagram post to enter for the $50 prize!

Supplies below:
 (affiliate links used, at no cost to you!)


Zig Clean Color Markers vs. Nuvo Watercolor Pencils - Tonic Studios

Wednesday, March 13, 2019

Today, I am going to share a little comparative exercise using the same stamp set and two different mediums on two different types of paper.  I used this new stamp set ‘Orchid’ from Avery Elle that is just gorgeous!  It is my new fav.


I thought it would be interesting to compare the differences between the Zig Clean Color Brush Real Brush pens and the Nuvo Watercolor Pencils in the Brilliantly Vibrant collection.  I also decided to throw in another variable by stamping and coloring both on Smooth Bristol paper and the Tonic Crafter Perfect Watercolor paper.


I filmed my process and you can click on the video below or HERE to go directly to my YouTube channel.


* Tonic Studios provided me with some products and some were purchased by myself, and the ideas are completely my own.  Affiliate links at the end of the post are provided with no cost to you! *


I had originally planned to paint the orchid blooms more white with a magenta color in the center.  It quickly morphed into more of a pink and purple bloom all over.


After using the coordinating dies to cut out the images, I created a couple layers of papers to mount onto the card base.  I used a piece of patterned paper from the new Tonic Dream in Color 6x6 pad for the first layer and then added a layer of plain white cardstock that I cut out and used the frame and the inset piece together.  I wanted to create some interest and texture behind the colored images without taking away from the orchids.


I mounted the white frame onto a piece of foam and then adhered it to the patterned paper.  I popped the two individual blooms up with dimensional adhesive to give the illusion that the stem they are on is in front of the bigger one.


I used a sentiment from the stamp set and heat embossed it onto vellum and die cut it using a banner die.  I didn’t want to cover up any more of the orchid than I had to.

I finished off the card by adding a layer of Nuvo Aqua Shimmer pen to the blooms and then lots of Jewel Drops to the centers of each blossom.  I also added a few of these “water droplet” around the sentiment.


I repeated the process for the image I colored using the watercolor pencils, except I used a sentiment from a different set of stamps.


I really enjoyed this process and learned a lot about my process, what works better for many style and what I prefer on each of the papers.  Both cards shown here are the ones colored on the Bristol Smooth paper.  I personally preferred the card with the Nuvo watercolor pencils, but my husband liked the vibrant colors of the Zig Clean Color brush pens, so there is no right or wrong!


Thanks for stopping by today!  I hope you check out the video as well.  Have a wonderful rest of your day!

Tonic Studios Craft kit #19 - Shaker Cards

Monday, March 11, 2019

Today, I am sharing a couple shaker cards I created for Tonic Studios using two of the Shaker & Die sets.
Using lots of products from the Tonic Craft Kit #19 - Sweet Sentiments and several of the newly released tools, I had plenty to play with!


Tonic Studios provides me with some products, but the ideas are solely my own.
*Affiliate links are used at no cost to you and the profit goes to helping fund more supplies and this channel...*

Below is the video process I filmed creating these cards.
You can click on the video below or HERE to go directly to my YouTube Channel.


I love these shaker sets, they make creating shaker cards so clean and simple.
I used both the star and heart sets and two of the large detailed word dies that are in the Kit under each of the shaker bubbles.


I chose a large detailed die from the Craft Kit for each card, "hello" and "believe" as well as one of the stamps and the coordinating die.  I used various techniques on the large word dies, including glitter and blended embellishment mousse.  Each of the stamps was heat embossed on vellum, die cut and adhered below the large word.


I added a few of the new gems, the Rose Triads, also part of the Craft Kit, that are flat backed and perfect for embellishing.
I also used the Glitter Drops 'Summer Sunrise' to embellish the card front.


I used the new blending brushes with the embellishments mousse, mixed with water to make a creamy watercolor like paste and brushed across the background panel.


I used the large word die with the Craft Perfect Double Sided Adhesive sheets and two colors of blue glitter.  I heat embossed this sentiment using the Classic Silver embossing powder to match the Chrome Silver 6x6 cardstock that was part of the Kit. 


This card turned out better than I had imagined, never having used the glitter with adhesive paper before.
I think it would make a great card for a young or teen boy.


Thanks for stopping by, I hope you enjoyed these cards and check out the video.
I truly think those shaker die sets are such an amazing product!
Have an amazing day!


YOU ARE IN MY heart Card - The Crafter's Workshop March 2019

Tuesday, March 5, 2019

Hi friends!  I am sharing a cards I created using one of my favorite stencils from the latest release from The Crafter's Workshop.  I used this 6x6 stencil  and 4 colors of Distress Oxide Inks to blend a colored background for my card.


* The Crafter’s Workshop provided me with some product to create this project.
The opinions I share are solely my own.  Compensated affiliate links used. *

Below are the products I used...


Click below to watch the video or HERE to go directly to The Crafter's Workshop YouTube Channel.


I used a masking fluid over the heart before I used the Oxide Inks over the cardstock.  After the Inks dried, I removed the masking fluid and then masked the heart covering the newly inked card.


I added a layer of the Platinum Silver Modeling Paste from The Crafter's Workshop over the heart.


I used a lovely stamp set from Hero Arts for the sentiment that I stamped & heat embossed on black cardstock.


Finally, I added 6 or 7 Nuvo Drops in Dream Drops, Crystal Drops & Jewel Drops across the card in a rough diagonal from top left to bottom right. 


I added the Dream Drops over the open heart stamp.


Thanks for stopping by the Blog today.  Please check out the video for a more detailed look at the products I used and the overall process.
I hope you have a wonderful Tuesday!


Proudly designed by Mlekoshi playground