Showing posts with label One Canoe Two. Show all posts

La Boheme - Scrapbook Layout (& video)

Sunday, December 1, 2019

Finally, after maybe 6-7 months, I sat down and created a traditional scrapbook page.
I have been focused on cards, mixed media and watercolor that scrapbooking just pushed back a bit.
Now that we are settling down a bit from our move and I can find some of my tools, I decided it was way overdue!


You can click on the link below to watch the video or HERE to go directly to my YouTube Channel.


I took my mother to New York City and to the Opera for her 80th Birthday a few weeks ago and definitely couldn't think of a better reason to document this even with a scrapbook page.


I purchased the paper package of the One Canoe Two collection, Willow.  It has lovely colors as well as a sheet of stickers and alphas.  It has been so long since I worked with one set like this.  Before laying down any paper or embellishments, I added a light layer of the Glacier Paste from Nuvo onto a piece of plain white cardstock in two different colors.


After the paste dried I started with this piece of foiled patterned paper and two Instagram photos I mounted with foam tape.  I also bought the embellishment die cut package and used the flowers and tags all around the edges of the photos and main piece of patterned paper.


Thanks for stopping by the Blog today.  I hope you get a chance to watch the video and am so excited to get back into the habit of documenting our important and everyday moments alike.

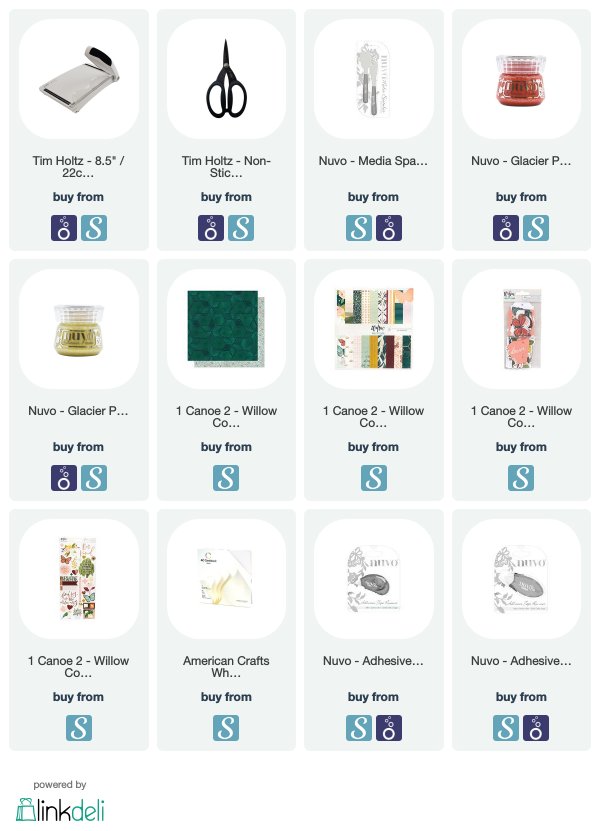
Supplies Used:

Blended Distress Ink & Layered Die Cuts

Tuesday, March 26, 2019

Hello!  After watching several videos from Kristina Werner's Ink Blending series, I was inspired to create a couple cards of my own.  I used one combination of warmer colors to pair with a piece of patterned paper I used as a border for my card, shown below.  


You can click on the video below or HERE to go directly to my YouTube channel.


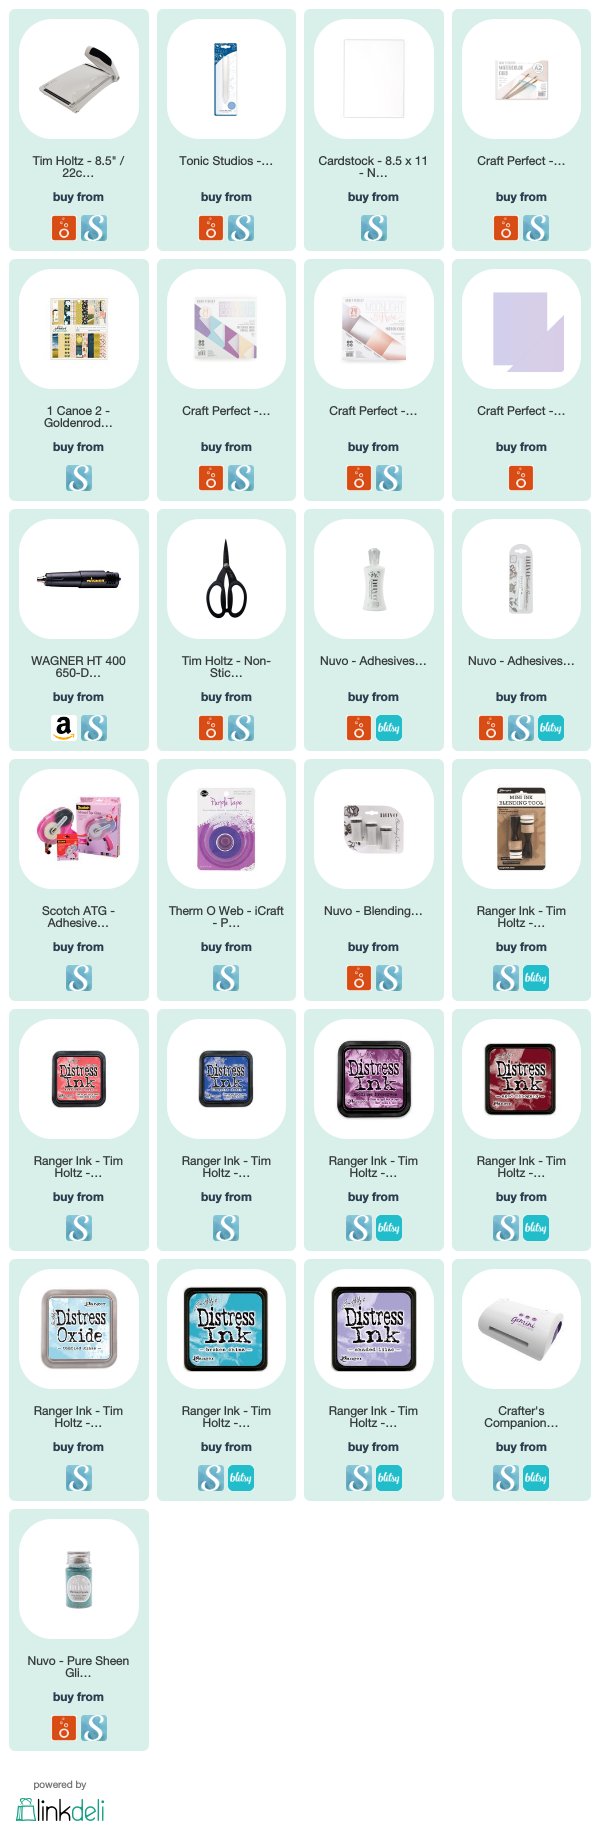
I used a blend of 4 Distress Inks and blended a background on Nuvo Watercolor Cardstock.  I added some water droplets for interest to the blended background and mounted it using foam tape onto a piece of patterned paper from One Canoe Two.


I die cut three layers of plain cardstock using this 'hello' die from Sizzix and after adhering them together, painted it with a layer of Nuvo Midas Gold Aqua Shimmer pen.


I added lots of matching sequins across the card for some sparkle.


 For my second card, I followed the same formula only using three Distress Inks.  I layered the blended piece onto a piece of patterned paper from the Dream In Color 6x6 pad.


I used this large text die from Altenew and cut it out of Craft Perfect 'Frosted Silver Satin' cardstock.  I cut it out twice from the Satin card and once from the Craft Perfect 'Holo Waves' cardstock that is an amazing iridescent holographic cardstock.  I offset the bottom layer of iridescent card just a but, to catch the light and add some dimension.


After adhering the sentiment to the blended piece of paper, I added lots of clear white sequins.  I finished the card off by glittering the tiny heart from the die with Nuvo 'Mermaid Parade' turquoise glitter.


I love the way the cards came out.  They were fairly simple even though there were lots of steps.  The supplies I used are listed below.  Thanks for stopping by today and hope you have a great day.

Supplies below:
 (affiliate links used, at no cost to you!)


Tonic Studios - Filmstrip Die

Friday, February 15, 2019

Hello there crafty friends!  Today I am going to share a traditional Scrapbook Layout I created for Tonic Studios.  I wanted to focus on the newly released ‘Photos & Filmstrip’ die for my page.
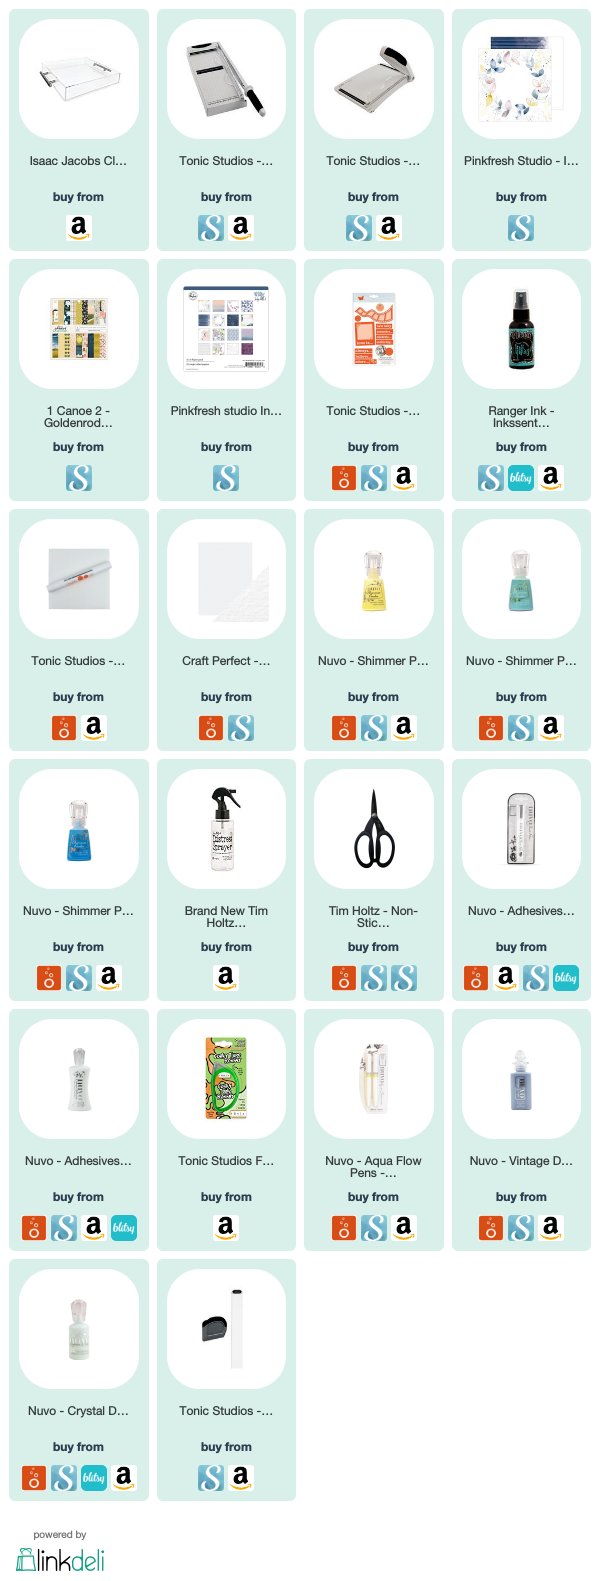
There is a complete list of supplies used at the end of the post.


All products used were purchased by me and used with no influence of suggestion of anyone but myself!
*Affiliate links are used at no cost to you and the profit goes to helping fund more supplies and this channel...*

I started by die cutting plain white cardstock with the retro photo frame with the Tonic Tangerine die cutting machine.  I cut the die 4 times and used a couple of the different titles to cut into the frames.  The frame is a piece that you fold over to encase your photo.  I used 4 photos from our recent photo shoot before Christmas.


I chose this patterned paper from Pinkfresh Studio with the faded navy and white strips and a piece of plain white cardstock.  I cut them roughly in half and adhered them to a full piece of patterned paper as a mat for the layout.  I added Gesso to the large piece of white cardstock on the right and a little bit to the center of the right side pattern, planning to add some Nuvo Shimmer Powders!


I used 3 colors of the Shimmer Powders and lots of water to get a soft watercolored look over the dried gesso areas.  While that dried, I misted the die cut photo frames using some Dylusions Ink Spray, backed the titles with colored paper and slipped my black and white prints inside the frames.  I lined up the photo frames over the seam between the two papers and added some washi just for decoration.

Finally I added a few other die cuts, some Thickers for my title, and some flowers and leaves I fussy cut from another piece of Pinkfresh Studio paper that is part of the same collection as the main patterned paper.  I finished up with some journaling and lots of Nuvo Drops scattered around the page!


Thanks for stopping by the Blog today!  Below is the list of products used.

I hope you have a wonderful weekend!


Proudly designed by Mlekoshi playground