Showing posts with label heat embossing. Show all posts

SWEET! Brutus Monroe DT - Slimline Shaker Card

Friday, January 20, 2023

Happy Friday friends!
The sun is shining, the sky is blue and it makes me long for Spring!
But, before that can happen, we need to celebrate Valentine's Day AND another shaker card!
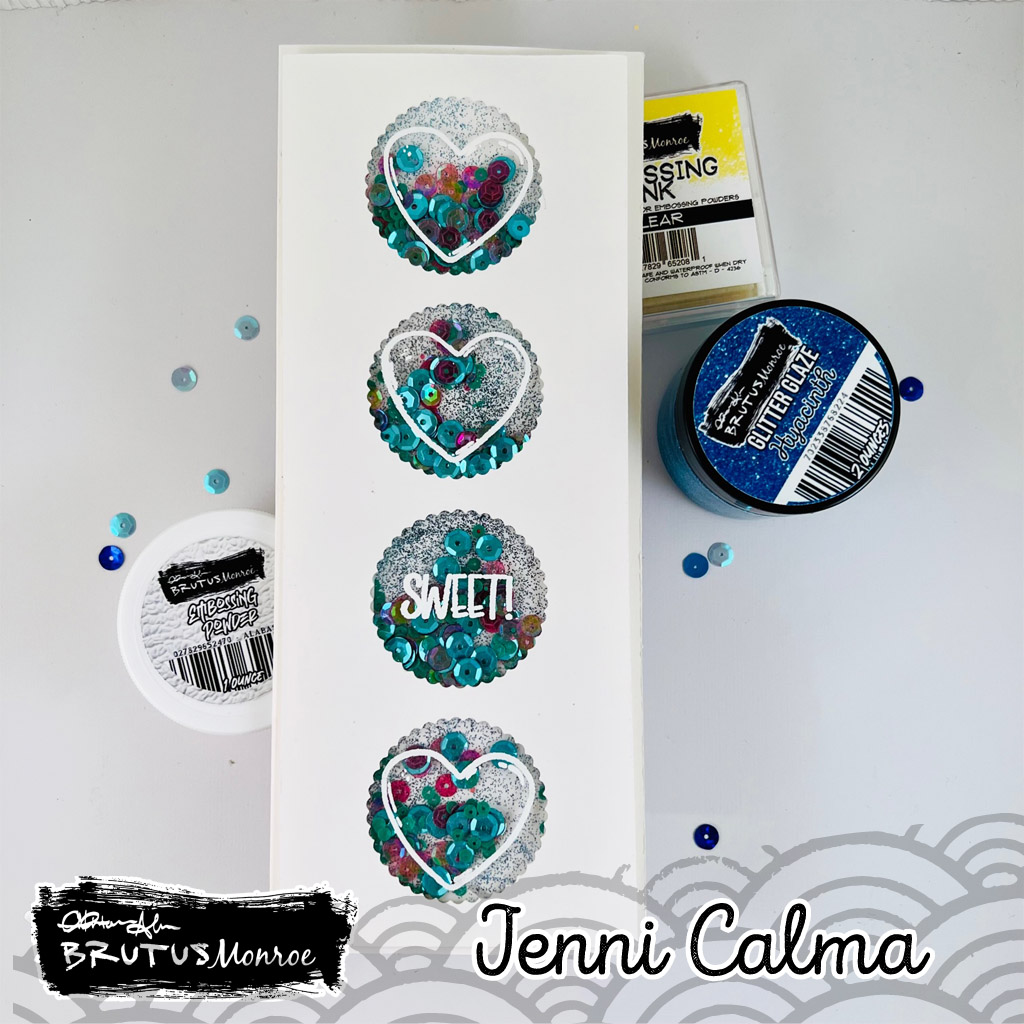

This is a slimline card for the Brutus Monroe Inspiration Team
Using the 'Sprinkled With Love' Stamp set.  The stamp set mostly features donuts and sweet treats,
but I wanted to use the hearts to make something a little unexpected.


Using the Chroma Glitter Glaze in Navy, I coated the cardstock behind my shaker openings.
While it was drying, I die cut 4 scalloped circles in the card front and added some foam tape to create space for the shaker areas.
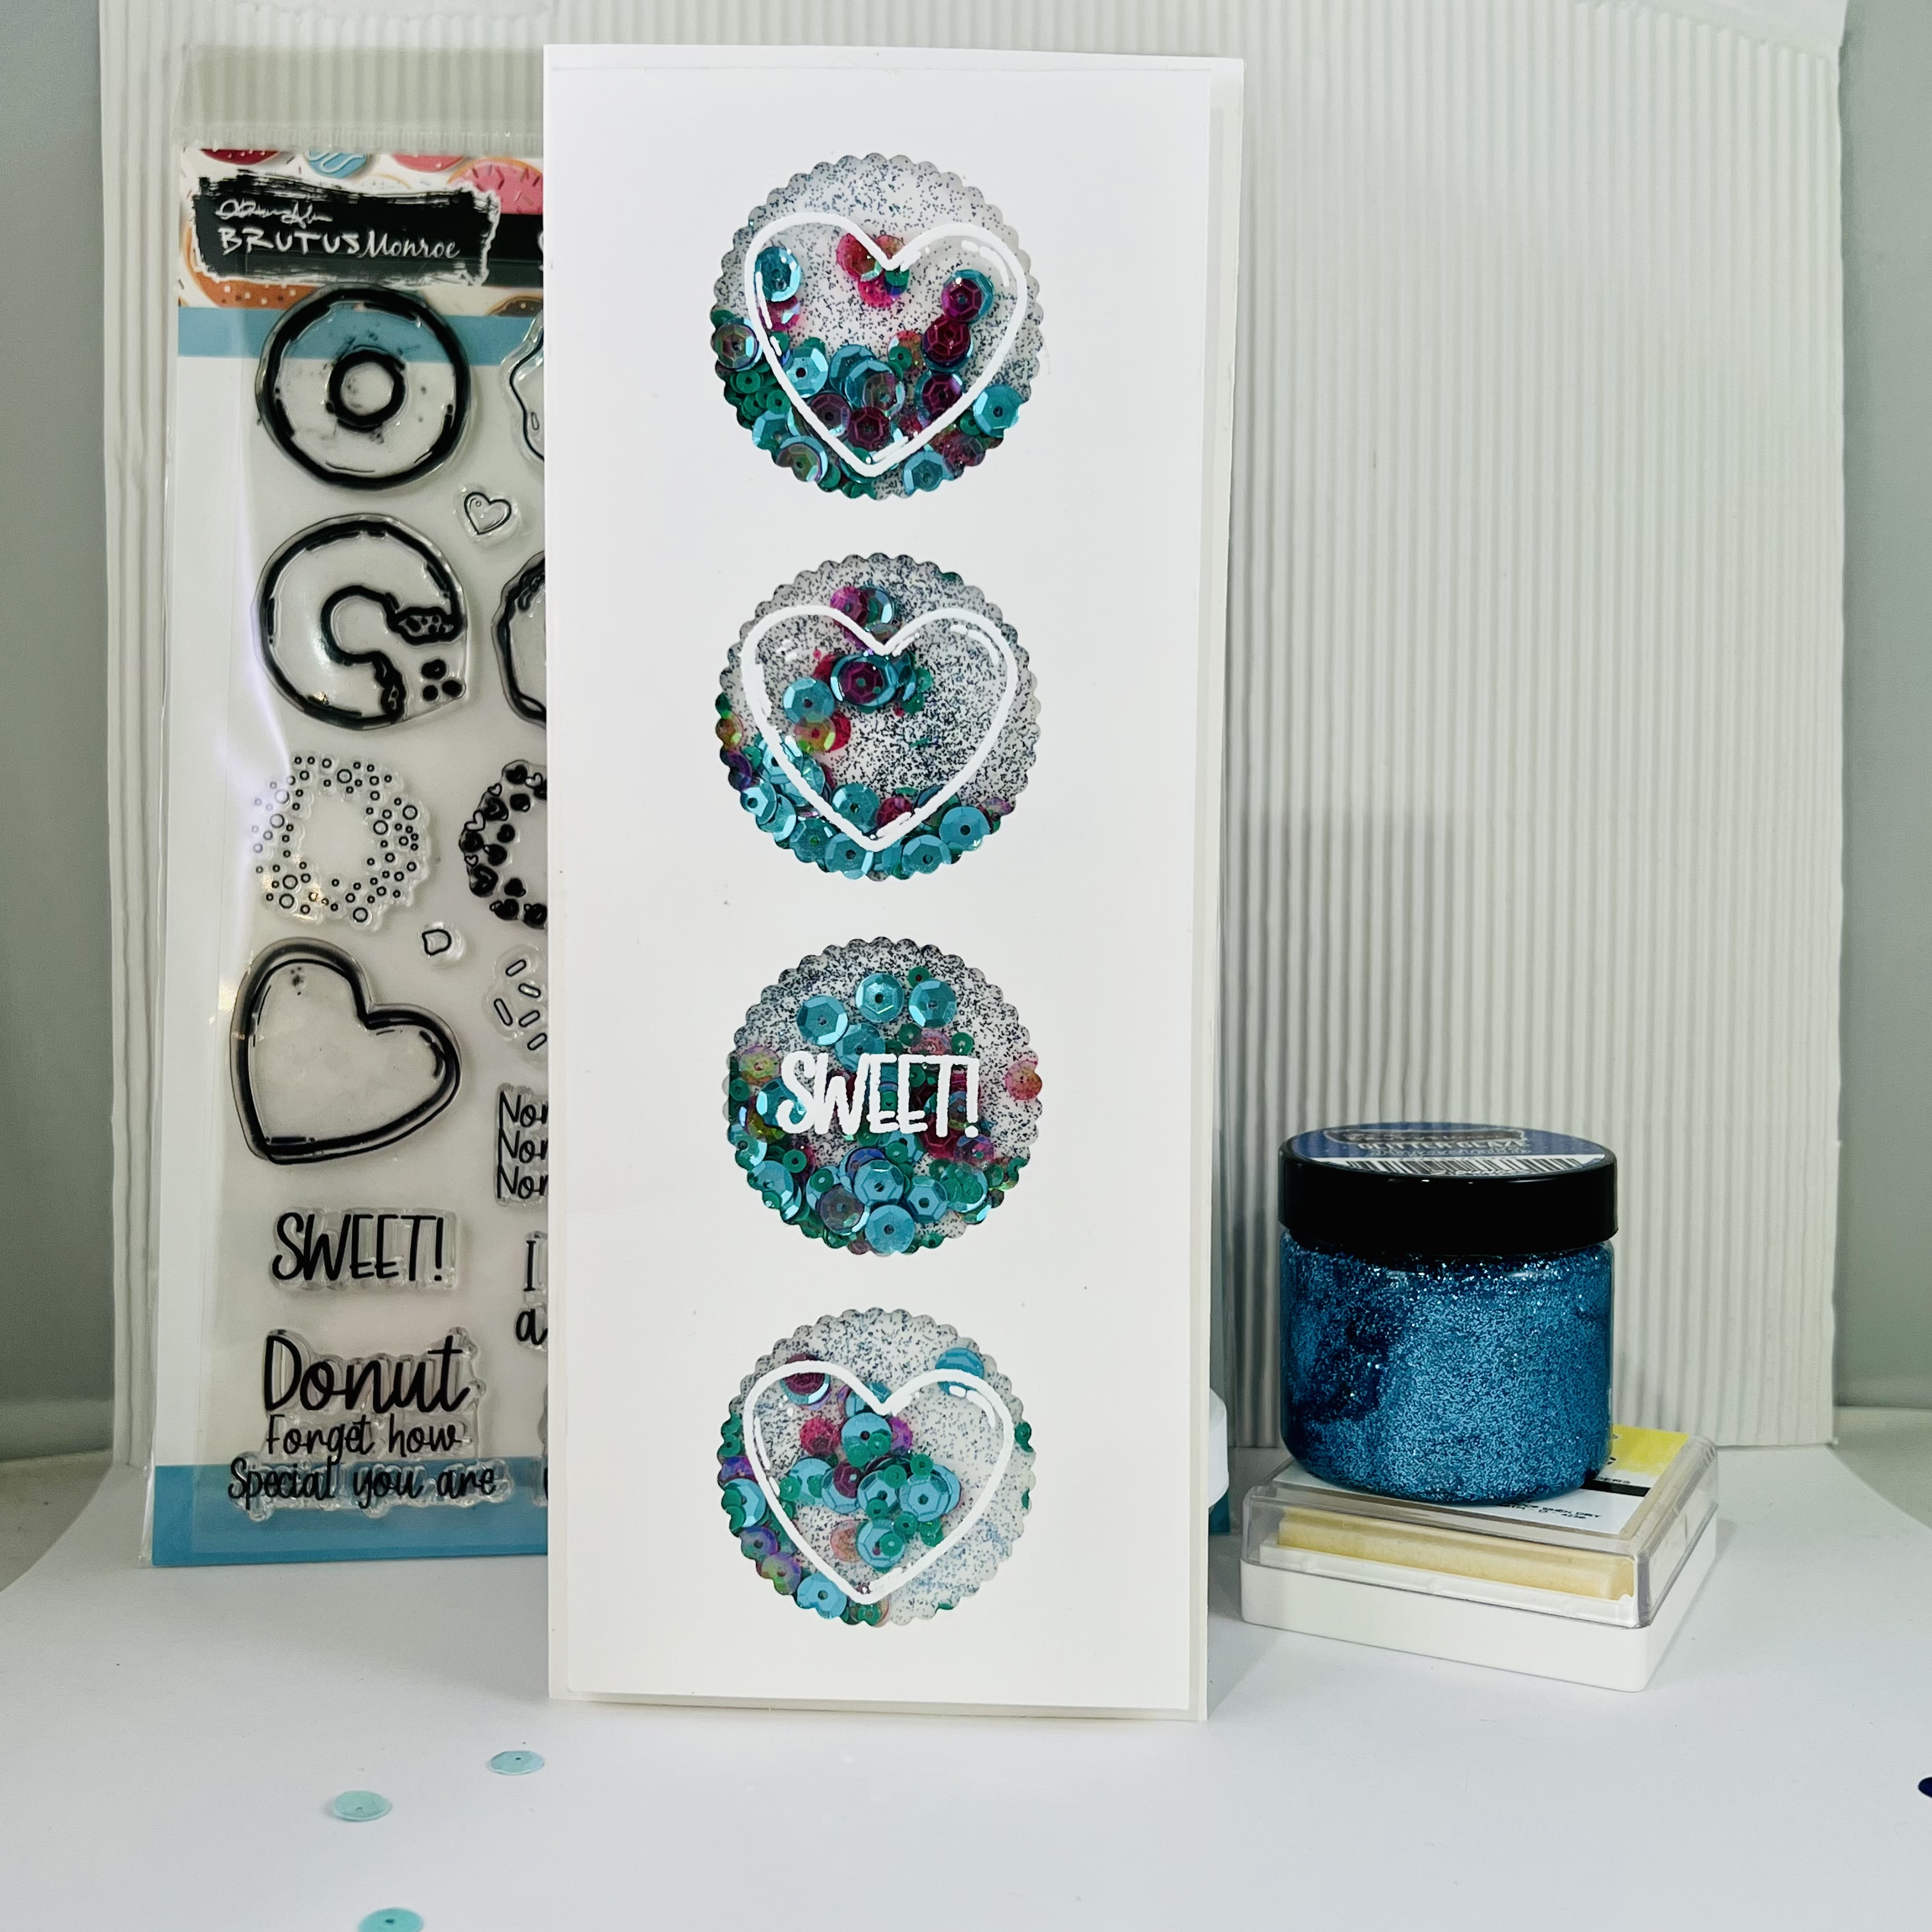

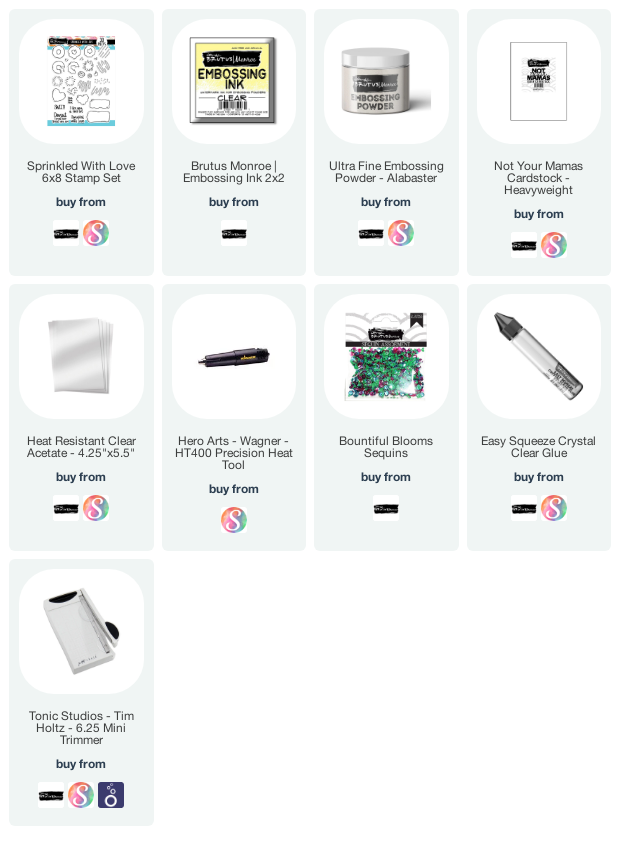
The most difficult part was heat embossing these hearts using Alabaster Embossing Powder onto acetate. I used heat-resistant acetate, but it can still warp if you heat it too directly. Despite using a powder tool, My craft room is full of static and a tornado of dust, glitter, and everything that will stick to acetate. It took a couple tries, but I think the results are totally worth the effort!


Then the fun part, of adding the sequins and putting it all together!

Thanks for stopping by today and hope you have a sweet, sunny weekend!!

Below is a list of supplies I used and a link to where you can find most of them.
(Some affiliate links used that are at no cost to you)
filled with love - Shaker Card Brutus Monroe

Wednesday, January 18, 2023

Hello everyone! I am a sharing card that I made for 
the Brutus Monroe Design Team a couple weeks ago.


This card was made using the January Die Of The Month, 'Breakfast Buddies'
and a few other stamps and paper pads, part of the January Set.


I love shaker cards.  I love making them, I love giving them, 
and I love receiving them! So when I saw this sentiment that said 'filled with love,'
I immediately thought about being filled with love AND sequins!


I started by die-cutting the pieces of the coffee cup I would need, going for some kraft cardstock and colors that are a little more realistic.  I used a stamp from the January Sprinkled with Love stamps set that is actually supposed to be sprinkled for a donut.  I used them for adding polka dots to the coffee cup with the Alabaster Pigment Ink, which is amazing!


I used the Brutus Monroe foam adhesive to cut out the coffee cup as well.


After die-cutting the coordinating sentiment I added a gold dipped look with heat embossing and the Gilded Embossing Powder.  I also chose a piece of the 6x6 patterned paper set for the card base background.


I die-cut a piece of white cardstock for the frame and several layers of foam adhesive strips to create the pocket for the sequins and confetti.  I wanted the coffee cup to be on the outside so the shaker pocket was almost the size of the card base.


I misted a piece of paper for the back of the shaker pocket with the Chroma Mist in Green Glow and sealed it all up!


I put the coffee cup pieces together and then mounted everything onto the shaker pocket and then onto the patterned paper and card base.


I love the way it turned out and I know this will be used
multiple times as a future gift card holder!


Thanks for stopping by the Blog today...
I'm going to be posting on a more consistent period including
some process videos too! Have a great day!

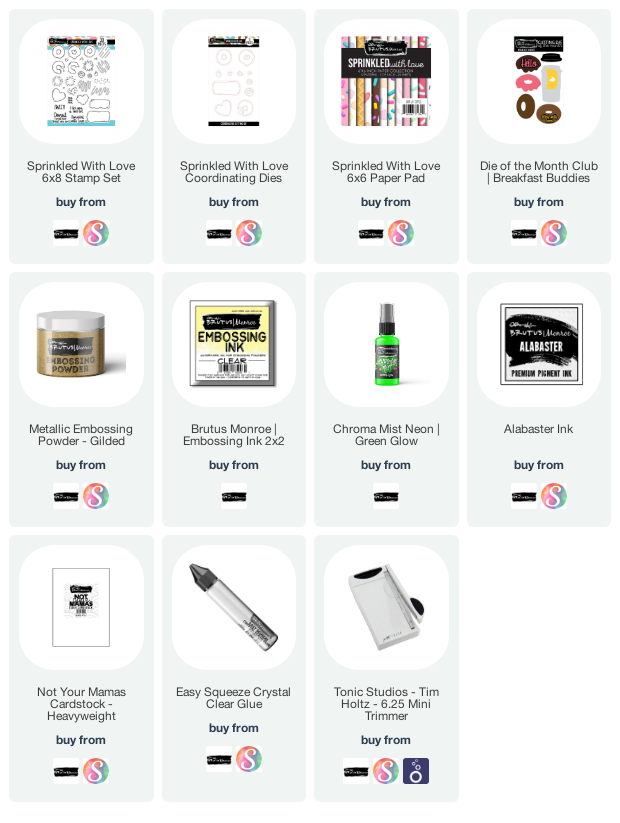
Below is a list of supplies I used and a link to where you can find most of them.
(Some affiliate links used that are at no cost to you)

Sprinkled with Love - BRUTUS MONROE First Project

Wednesday, January 11, 2023

 Hello everyone!  Today, I am excited to share the first project
created for the Brutus Monroe inspiration team!

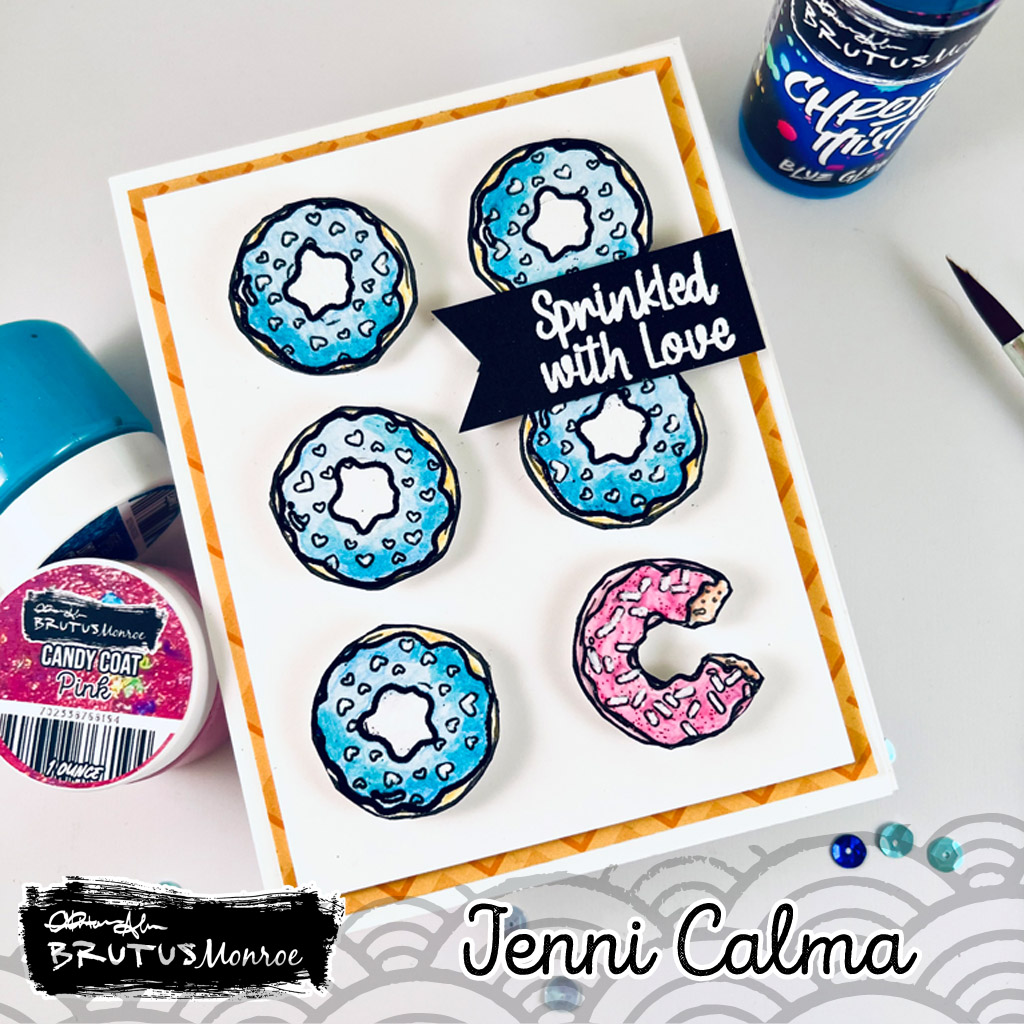
The 'Sprinkled with Love' stamp set was perfect for a simple grid patterned card.


 Coloring the stamped images was fun and easy using the 
'Chroma Mists,' in Blue glow and Pink glow.


Adding a few drops of the mists into my palette and added a drop
or two of water, even adding a couple drops of the pink mixing
 a little blue as well.  I knew I wanted to set out. the card 
in the way I stamped them out, but planned to cut them out.


 The washes turned out pretty light in tone and adding
another layer in places worked great as a way to add some
contrast and a bit of depth on the donuts.
I left all the sprinkle hearts and spots with no paint so I could go back
and add white thick gesso on each of the sprinkles.

The last donut meant for the right corner was the one that
had a bite out of it. I colored it pink and turned it to the side
so it looked like a "C."  I added a coat of 'Candy Coat' in blue
& pink to the respective donuts.


After mounting each donut on foam dots I adhered the card base to a
piece of patterned paper from the 6x6 'Sprinkled with Love' Paper pad.
I added the coordinating sentiment with Alabaster embossing
powder onto a black banner strip.


And that's it! It could be a cute baby card too!
Thanks and cheers to you for stopping by the Blog today.

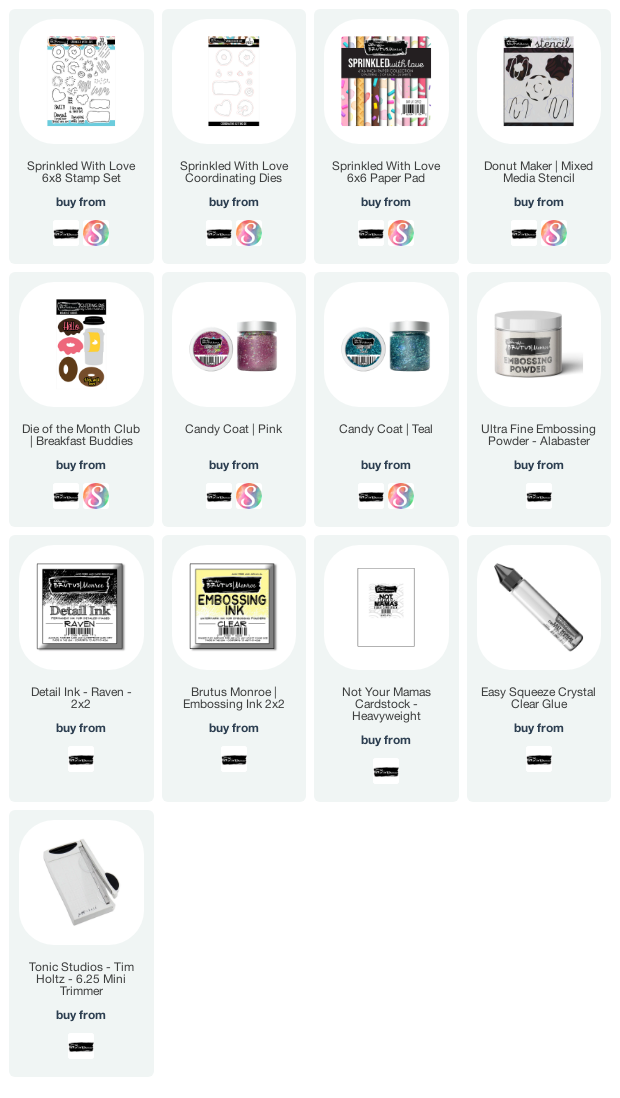
Below is a list of supplies I used and a link to where you can find most of them.
(Some affiliate links used that are at no cost to you)

( Aunt's ) Day Card - Heat Embossed Background & Distress Inks

Sunday, May 12, 2019

Hello!  Happy Mother's Day!  Today, I am sharing a card I created for my sister-in-law for Mother's Day using this awesome stamp set from Simon Says Stamp.  It has so many options for 'mother' including 'Aunt' and 'Mum.'


You can click on the video below or HERE to go directly to my YouTube Channel.


I began with the Floral Background Stamp that I heat embossed in white onto watercolor paper.  I used three Distress Inks to smush some watered down ink to the paper.  After drying the inks, I used one of the large heart dies from Tonic Studios.


I added a foam layer, cut the same way to add dimension to the top background stamp.  I heat embossed the stamp onto a piece of white cardstock using a high detail gold embossing powder.  After adhering all these layers onto the card base, I used the Nuvo glue pen to add lots of similar colors of sequins randomly to the card front.


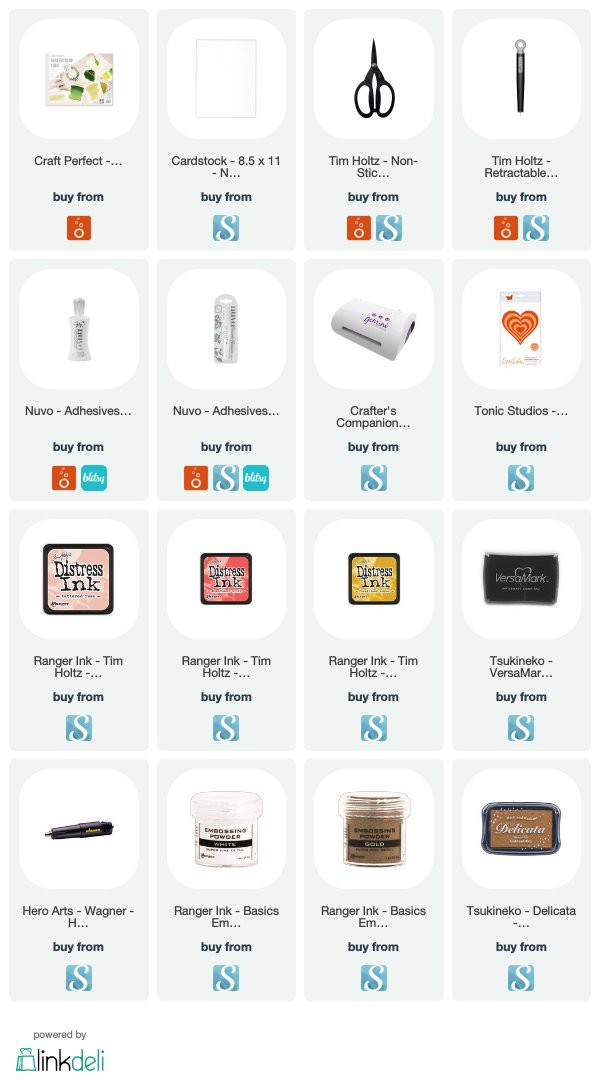
Thanks for stopping by today and hope you all have a great Sunday and coming week!  The supplies I used are linked below.  

Some affiliate links are used at no cost to you.


Die Cut Shaker Cards - Tonic Craft Kits

Wednesday, May 8, 2019

Hello!  Today I am sharing a Shaker Card I created using one of the Die Cut Patterned Panels and full sized sealed pocket of sequins and confetti behind the die cut piece.  I used at least two products from the Tonic Craft Kits, #18 & #21 in this card.  I love being able to mix and match pieces and products for continued use!


Below is the video I filmed of the process, which can click on to watch, or go HERE directly to my YouTube Channel.


I cut the intricate panel die, 'Vibrant Damask' from some heavy weight cardstock as well as 2 layers of foam for dimension.  Using one of the Project Life pocket cards, I created a pocket the same size as the die cut piece to make the entire card a shaker.  I filled the pocket with various sequins and confetti and sealed the pocket to size with my Fuse tool from We R Memory Keepers.


I used the trio of Hybrid Inks from the 'Dream in Color' Trend collection to blend a circular pattern on the piece of cardstock the shaker pocket.  I used a stamp from the Tonic Craft kit #18 to heat emboss this sentiment in white onto a piece of heavy acetate.  I used two of the Tonic Basics circular dies to cut a round frame out of the gold glitter card from the Craft kit #21.


Finally, I began to combine the elements of the card, starting with the blended ink background on to the card base, followed by the shaker pocket, then the stacked layers of die cut patterned panels and finishing it off with the acetate framed sentiment.  I added a couple of the Rose Triad gems to the acetate too. 


I did add some heat embossed stamping, from that same craft kit, to coordinate an envelope.  I love the way this card turned out and need to do another card which highlights this combination of blended inks, without covering it up!  Thanks for stopping by today and hope you have a great week!


Stencils & Rainbows & Clouds - The Crafter's Workshop May 2019

Wednesday, May 1, 2019

Hello!  I am excited to share some happy, bright cards for you on this Wednesday!
I created several cards using 4 different 6x6 stencil and 7 Distress Inks in a rainbow of colors and a heat embossed sentiment using another stencil.


The Crafter's Workshop provided me with some products, but the ideas are completely my own.

Below are the stencils I used:


 You can click the video below or HERE to go directly to the YouTube Channel.


Three of the stencils I used were circular and one rectangular.  I used scissors to fussy cut the shapes out of the white cardstock I used the stencils to ink onto.


I adhered each of the inked pieces to a piece of black cardstock and then glued that piece to a white card base.


Using a cloud digital file, I cut some colored glassine paper, much like vellum, out using my Silhouette Cameo.  I then used another stencil to heat emboss different words in Spanish onto the clouds.


I used both a white embossing powder and a gold detail embossing powder for those sentiments.


I finished off each card with a rainbow assortment of sequins or on one card, some Nuvo Drops in similar colors.


The finished cards are fun and perfect for lots of generic uses or "just because" cards, which always come in handy in any stash of cards!


Below, is a complete list of supplies and links to those products.
( some affiliate links are used at no cost to you )

Thanks for stopping by and I hope you check out the video and make some of your rainbow & cloud cards.  Have a great week!


Proudly designed by Mlekoshi playground