Showing posts with label Modeling Paste. Show all posts

YOU ARE IN MY heart Card - The Crafter's Workshop March 2019

Tuesday, March 5, 2019

Hi friends!  I am sharing a cards I created using one of my favorite stencils from the latest release from The Crafter's Workshop.  I used this 6x6 stencil  and 4 colors of Distress Oxide Inks to blend a colored background for my card.


* The Crafter’s Workshop provided me with some product to create this project.
The opinions I share are solely my own.  Compensated affiliate links used. *

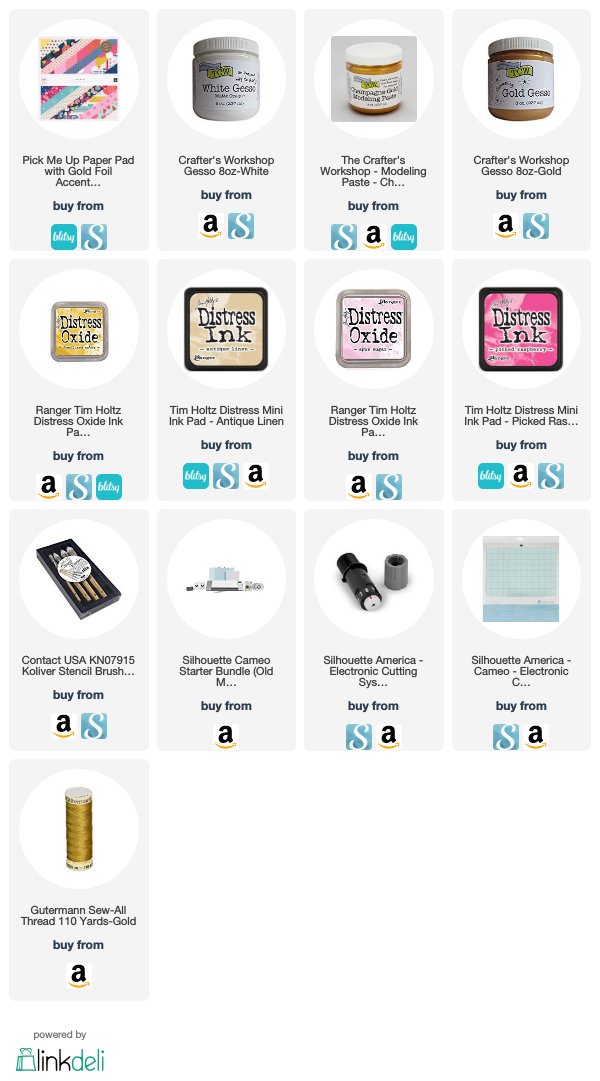
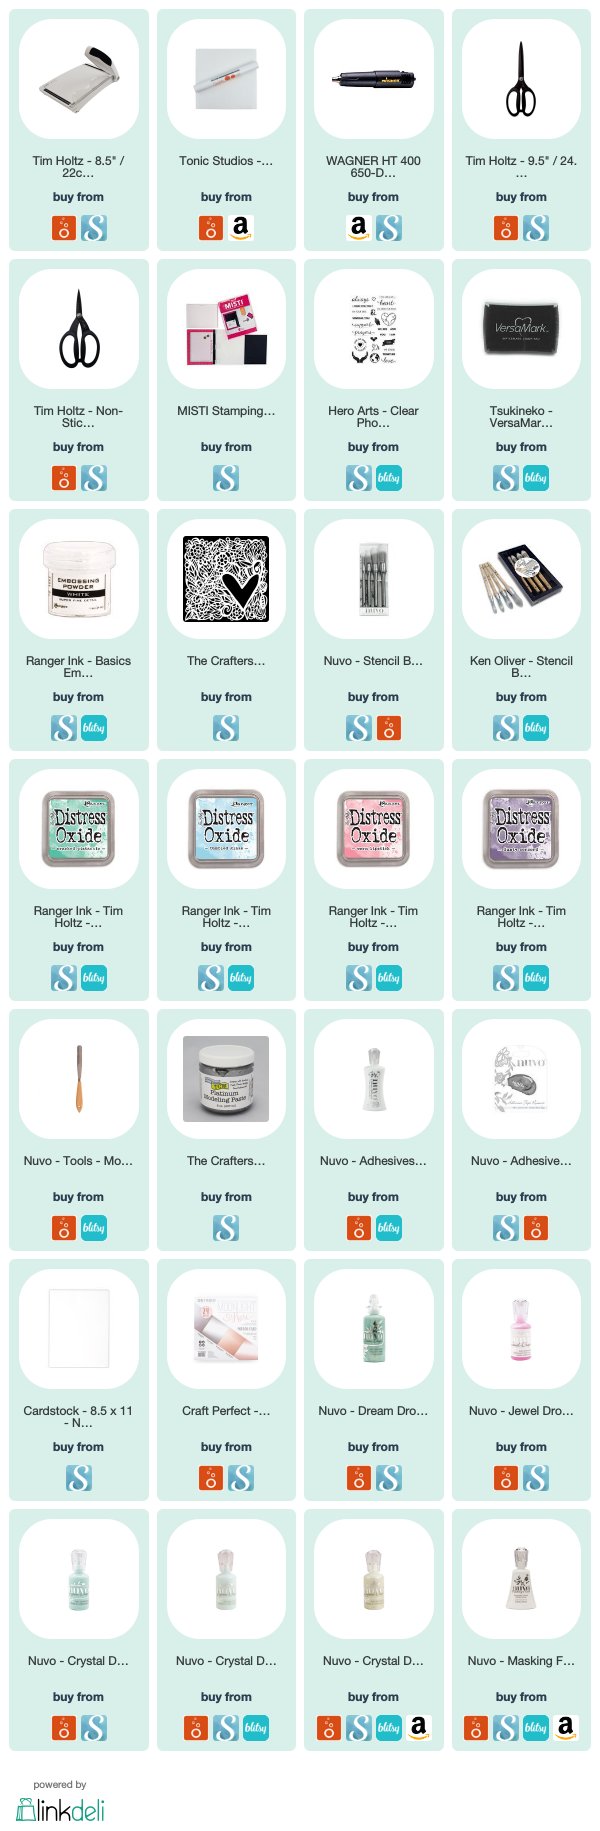
Below are the products I used...


Click below to watch the video or HERE to go directly to The Crafter's Workshop YouTube Channel.


I used a masking fluid over the heart before I used the Oxide Inks over the cardstock.  After the Inks dried, I removed the masking fluid and then masked the heart covering the newly inked card.


I added a layer of the Platinum Silver Modeling Paste from The Crafter's Workshop over the heart.


I used a lovely stamp set from Hero Arts for the sentiment that I stamped & heat embossed on black cardstock.


Finally, I added 6 or 7 Nuvo Drops in Dream Drops, Crystal Drops & Jewel Drops across the card in a rough diagonal from top left to bottom right. 


I added the Dream Drops over the open heart stamp.


Thanks for stopping by the Blog today.  Please check out the video for a more detailed look at the products I used and the overall process.
I hope you have a wonderful Tuesday!

"December" - Art Journaling with The Crafter's Workshop

Tuesday, December 18, 2018

Hello everyone!  It is hard to believe we are approaching the end of 2018!  
To take a little break from all the Christmas hustle and for a little art therapy, I spent some time creating these pages in my Art Journal.  I knew I wanted to use colors that would provide lots of contrast and drama and had planned to use some song lyrics from one of my favorites from Sara Barielles called 'December.'


The Crafter’s Workshop provided me with some product to create this project.  The opinions I share are solely my own.
*Compensated affiliate links used*

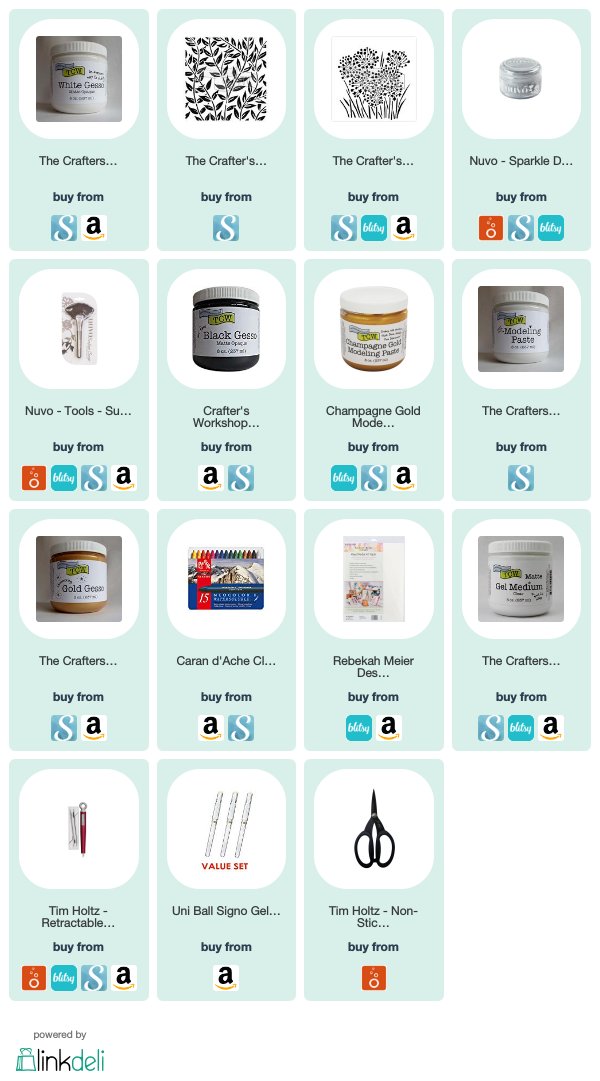
Below are the stencils I used...

 
Click below to watch the video or HERE to go directly to The Crafter's Workshop YouTube Channel.
 

I began covering everything with shades of violet using the Heavy Body Acrylic paint 'Grape Jelly.' Using this 'Jungle Vines' stencil and plain White Modeling Paste, I created a loose border around the outside edges of the spread.


Then added some black in the center, fading outwards.  Using my favorite Champagne Gold Modeling Paste, I stenciled this large 12x12 'Onion Blossom' across both pages.  I added lots of additional color with watercolor crayons, Gold Gesso and some Mixed Media Paper with more lyrics on them.


I wrote my favorite part of the song using a white gel pen to stand out against the dark background.  There were some things I wish I had done differently, but I really like the overall feel and look to the page.


  It is definitely dramatic!


Thanks for stopping by the Blog today.  Please check out the video for a more detailed look at the products I used and the overall process.
I hope you have a wonderful December Day!


Name Place Cards for Fall Tables (&video**) - The Crafter's Workshop - November 2018

Monday, November 12, 2018

 Hello and happy Monday!!

I am always trying to find a new way to use my mixed media products for home decor projects.  Today I am sharing a project I created for out Thanksgiving table, (or any Fall table) and The Crafter’s Workshop.


You can click on the video below or HERE to go directly to The Crafter's Workshop YouTube channel.


The Crafter’s Workshop provided me with products but the ideas and opinions are totally my own.


This is a photo of the cards at a simple place setting...


I used both the copper foil and gold foil to mix up the cards just a tiny bit. 


Thanks so much for stopping by today!

All of the products I used are listed and linked below...I hope you check out the video and leave any comments or ideas you might have and I’ll be back soon for another video hopefully later this week.  Have an amazing day!


TCW2164 Falling Leaves | The...
[ THC | SBC | AMZUS | BLT ]
TCW555 Art Deco Alphabet | The...
[ THC ]
The Crafter's Workshop - 6 x 6...
[ SBC | AMZUS ]
The Crafters Workshop 8 Ounces Copper...
[ SBC | AMZUS | BLT ]
Amazon.com: The Crafter's Workshop...
[ AMZUS | SBC | BLT ]
The Crafter's Workshop - Modeling...
[ SBC | AMZUS | BLT ]
The Crafters Workshop 8 Ounces...
[ SBC | AMZUS | BLT ]
The Crafters Workshop 2 Ounces Hot...
[ SBC | THC | AMZUS | BLT ]
Amazon.com: Rebekah Meier Designs...
[ AMZUS ]
Amazon.com: Rebekah Meier Designs...
[ AMZUS ]
Heidi Swapp - MINC Collection -...
[ SBC ]
Lawn Fawn Lawn Cuts Small Stitched...
[ SBC ]
Amazon.com: Sizzix 660425 Big Shot...
[ AMZUS | SBC ]
Bazzill Kraft 12 x 12 Cardstock Bulk...
[ SBC ]
Amazon.com: Martha Stewart Crafts...
[ AMZUS ]
Nuvo Glue Pen Large
[ SBC | TNC | BLT ]
Ranger Ink - Tim Holtz Distress Ink...
[ SBC | AMZUS ]
Ranger Ink Inkssentials Ink Blending...
[ SBC ]
Amazon.com: Silhouette Cameo Starter...
[ AMZUS ]
American Crafts White 12 x 12...
[ SBC | AMZUS ]
Amazon.com: Singer Heavy Duty 4432...
[ AMZUS ]


KIND HEART - Scrapbook Layout *& video*

Friday, August 31, 2018

Hello and happy Friyay!!
I have been slowly cleaning out my craft room and sorting thru the previously printed photos I had planned to document.  As well, as a stack of my favorite products I had been hoarding.


You can either click HERE to go to my YouTube Channel or click below to watch the process video I filmed.


I downloaded a cut file from Paige Evans that I had planned to paint behind or back with patterned paper, but in the end, decided to use as a stencil with some Gold Modeling Paste.  I used it to create a loose grid of four squares, one for the stenciled die cut, one for the photo, journaling and another for some embellishments.


I used several of the palm leaf die cuts layered on top of some tags and other ephemera tied up with gold thread.  I used an old gift card and gold gesso to "paint" some loose lines for my journaling.


Before I added my journaling, I used some Distress Inks and brushed on the coordinating adjacent colors to make the area a little more subtle.  After everything was finished, I mounted the entire page onto a light grey cardstock paper border and added some loose machine stitching at the top and bottom.


The color combination of this layout, mostly inspired by the paper makes me so happy!  It just screams Spring & Summer to me.  Thanks so much for stopping by today!  I hope you check out the video and get inspired to pull out the stash of products you're hoarding...yep, you know you are!  ;)


S U P P L I E S:
The Crafter’s Workshop provided me with some product to create this project.  The opinions I share are solely my own.  All other items were personally purchased. 


Stenciling Wedding Wrapping Paper (+video!)

Monday, August 20, 2018

Hello!  I wanted to share a video I filmed of me creating some wrapping
paper using a couple stencils, modeling paste and ink.

You can click on the video below or HERE to go to my YouTube channel.


I had this roll of Kraft wrapping paper that I used to cover with the White Pearl Modeling Paste from The Crafter’s Workshop.  I used it in combination with a newly released intricate floral-like stencil called Ocean Window.  In the space I used a hybrid stamping ink to add the worlds from another stencil, “She Said Yes.”

The paste ended up covering most of the paper, so only a little Kraft showed through.
After wrapping my gift, I added a garland I made using pompoms in a few of the bride’s colors.
I was really pleased with the way it turned out and I’ll be trying it out again soon!

Thanks for stopping by and have a great day!

Art Journal Process Video and...

Friday, August 10, 2018

Hello friends!
I have been working on my YouTube channel and some other exciting things coming up in the future and will be posting more process videos, mostly, art journaling and some scrapbooking/cardmaking.


This is the process video for the project I posted a couple weeks ago on The Crafter's Workshop Blog and also here on my personal Blog, but still wanted to share the video!

Click on the Video above or HERE for the link to my YouTube Channel.


Stay tuned for some exciting future projects!
Thanks for stopping by!

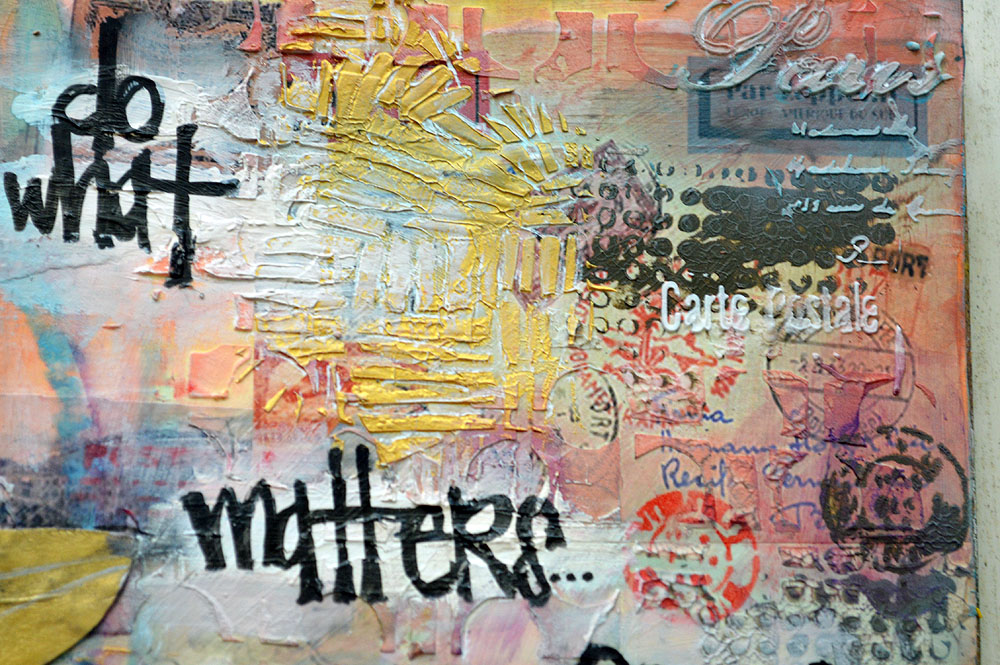
what matters - Art Journal - The Crafter's Workshop July 2018

Friday, July 27, 2018


Hello lovely crafters!  I’m super excited to share this new Art Journal spread I created for The Crafter's Workshop a couple weeks ago.


The Crafter’s Workshop provided me with some product to create this project.  The opinions I share are solely my own.


Below are the stencils and lots of various mediums I used.


After prepping my pages with the Clear Gesso, I pulled lots of stencils with repetitive patterns on them and several sheets of Altered Pages vintage printables.  I also used part of a Gold Foil sheet on the Mixed Media Foam from ThermoWeb & Rebekah Meyer that I had left over from Christmas. 


I used gelatos for the base color of my spread.


After I blended the gelatos with water, I used the Gel Medium as a glue to make a collage with the Altered Pages printables.


After the Gesso dried, I used the plain Light & Fluffy Modeling Paste across parts of the pages.


I also stenciled some of the Heavy Body Acrylic paints over the 6x6 Micro Dots stencil. 


Next, I added some Distress Inks over the Paste and the edges of the pages.


I wanted to create a focal point for the girl I planned to paint, so I used this large patterned circle stencil and inked it to the left side of the spread using Distress Oxide Ink.


I cut two angel wing shapes out of this piece of the gold foiled medium base.  Using the wings as a guide, I painted a small shape of a face and torso.


After painting an outline of this girl, I added some of the luscious Champagne Gold Modeling Paste to this 6x6 stencil.


I continued to add detail to my girl and planned for her to hold a butterfly, from another 6x6 stencil, in her hands.  The butterfly didn't come out as clear as I had intended, so I tried to outline it with white gel pen and some other colors.


Below are the close-ups and the final pages of the Art Journal.


Thanks so much for stopping by today! I hope this inspired you to get creative with your own art journal & do what matters to you!
STENCILS & MEDIUMS Used:
Be sure to share your stencil creations on our Facebook page or by tagging The Crafter’s Workshop on Instagram, Twitter or Pinterest!
The Crafter’s Workshop Design Team Member


Proudly designed by Mlekoshi playground