Showing posts with label mixed media. Show all posts

Gilded & Glittered Eggs - Tonic Studios

Sunday, April 21, 2019

Hello!  Happy Easter, Passover, Sunday or Earth Day Eve!
I was dying to use the Nuvo Gilding Flakes to decorate some eggs for Easter.
And then couldn't ignore the fact that all the glitters, Nuvo drops, sequins were begging to be used too!


Click the video below or HERE to go to my YouTube Channel directly.
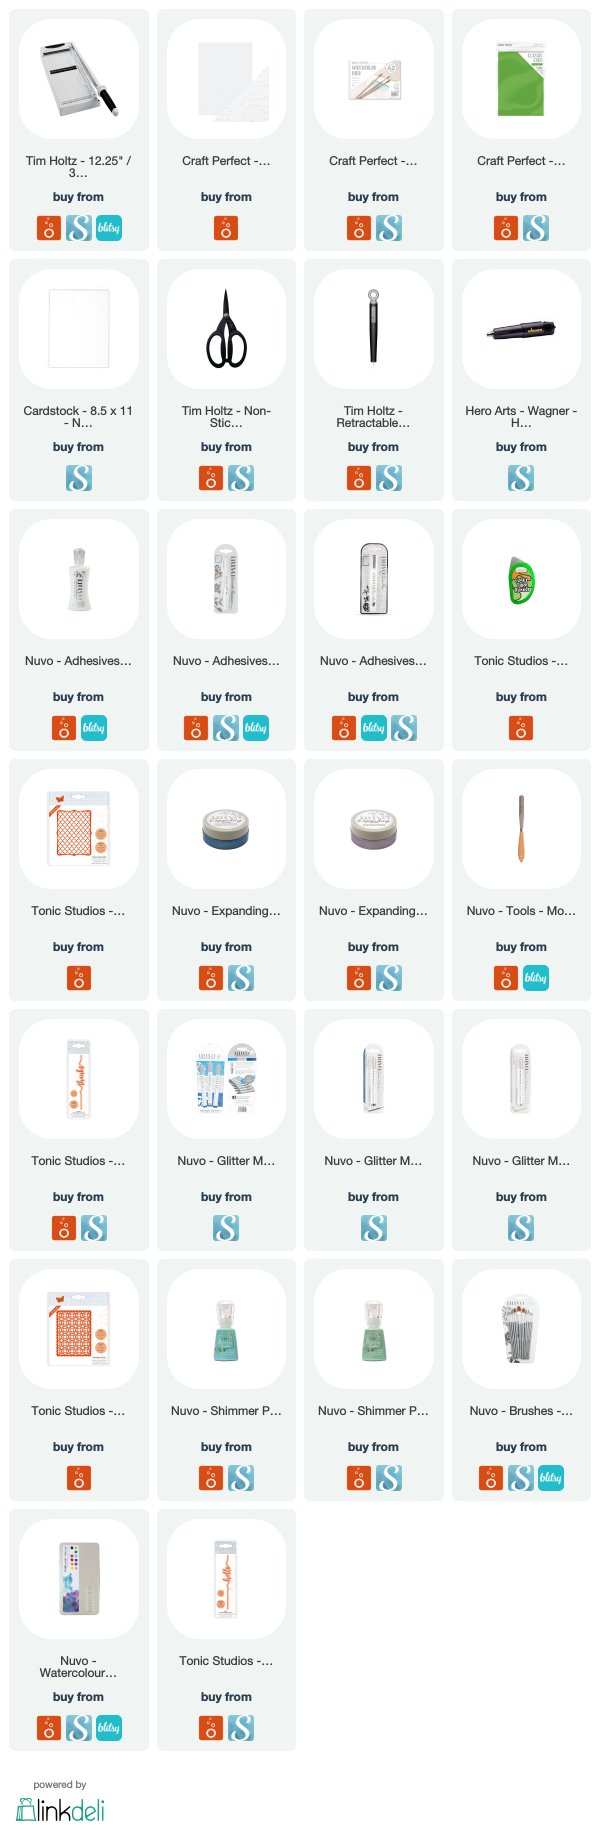
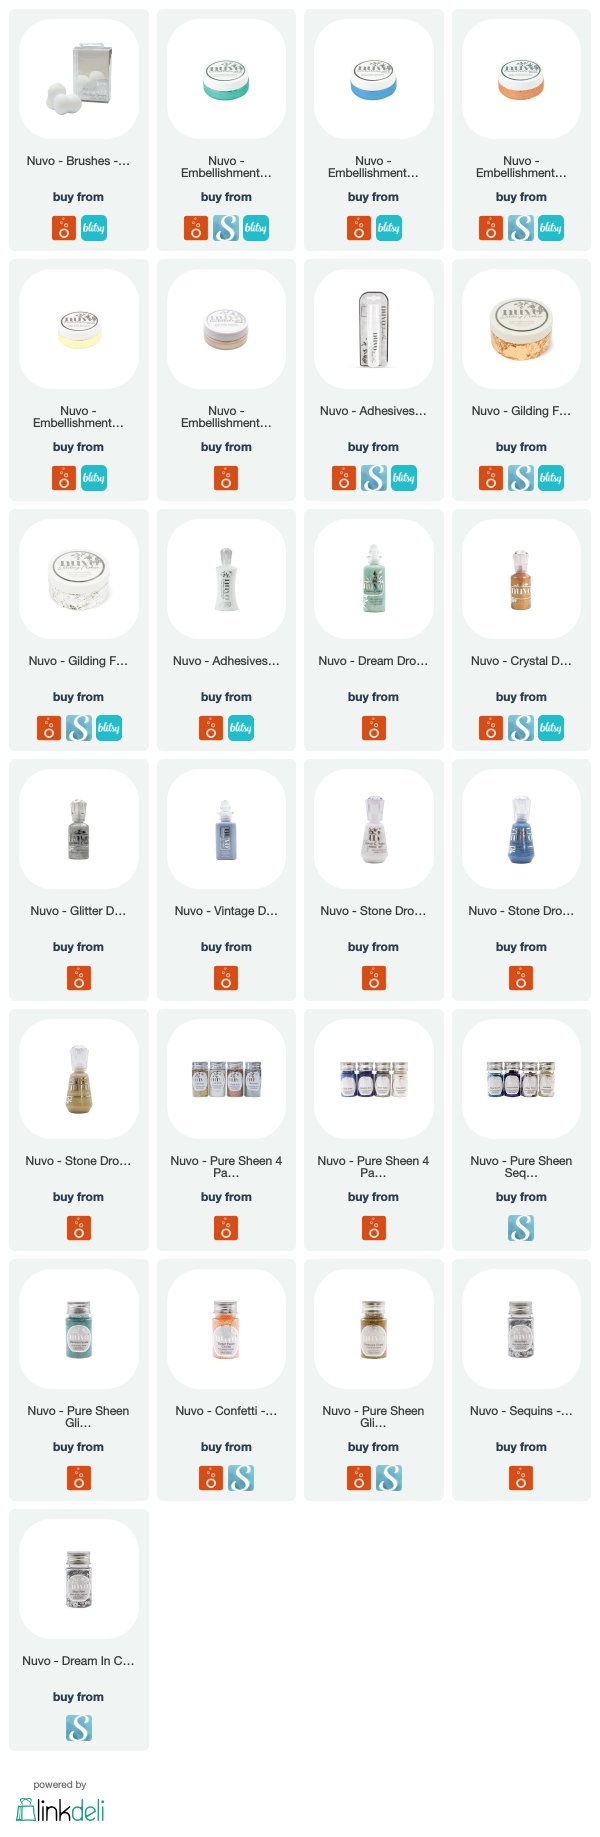
A complete listing of the products I used is at the end of this post.


I created stripes of silver and copper gilded flakes and then added different sequins on each side of the center gilded stripe.


I added sequins as an embellishment around each of the center of the eggs.


I added an assortment of Nuvo Drops or the new Nuvo Stone Drops to detail the area between the gilding and glitter or in another way.


The eggs turned out to be much more "rustic" than I had intended, however this Easter is actually going to be a much smaller, more casual affair than normal years and turns out to be perfect!!


Thanks for stopping by the Blog today!  I hope you check out the video and that it gives you a few tips on Gilding!!  Gilding Flakes are a magical medium, and like everyone says, very, very likely to make a mess!!

Cards for Creativation - Tonic Studios

Wednesday, April 10, 2019

Today, I am going back in time a little bit to share a couple cards I created a few months back for the Tonic Studios booth at Creativation in January.  I wanted to feature the new metal panel dies combined with a some different Nuvo mediums.


I filmed my process which can view by clicking on the video below or HERE to go directly to my YouTube Channel.


For this 'hello' card, I used two of the Nuvo Shimmer Powders in Green Parade and Atlantis Burst on some of the Craft Perfect watercolor cardstock.  Once it dried, I used the 'Sunflower Array' panel die to cut out this intricate layer for the top of my card.


I mounted it onto some white cardstock, a layer of foam and finally a piece of pink patterned paper.
Next, I took the 'hello' Sentiment Strip die to cut out a piece of watercolor paper I had colored with a couple of the watercolor pencils.


I layered the sentiment onto a piece of vellum cut from the border that is part of the sentiment strip and adhered it to the front of the die cut panel.  To finish off the card, I added a few white sequins into the center of some of the flowers.

For this thank you card, I used the Nuvo Expanding Mousse in 'Boatyard Blue' & 'Misted Mauve' in a thick layer onto some plain cardstock.  I heated up the mousse to expand it and create that dimensional texture that the mousse is named for.


I die cut the moussed piece using the 'Classic Quatrefoil' panel die and the coordinating border.  I leave some of the pieces in place and popped some out.  I used some 3D foam squares onto the parts of the panel I left in place and adhered it to a piece of white Pearlescent Cardstock.


I used the same idea with the 'thanks' Sentiment Strip die using the vellum as the border.  I cut the sentiment itself out of some cardstock I colored using the 'Imperial Blue' & 'Silver Mist' Shimmer Markers from Nuvo.  I cut the sentiment twice to stack and give a little bit of blue shadow under silver one.


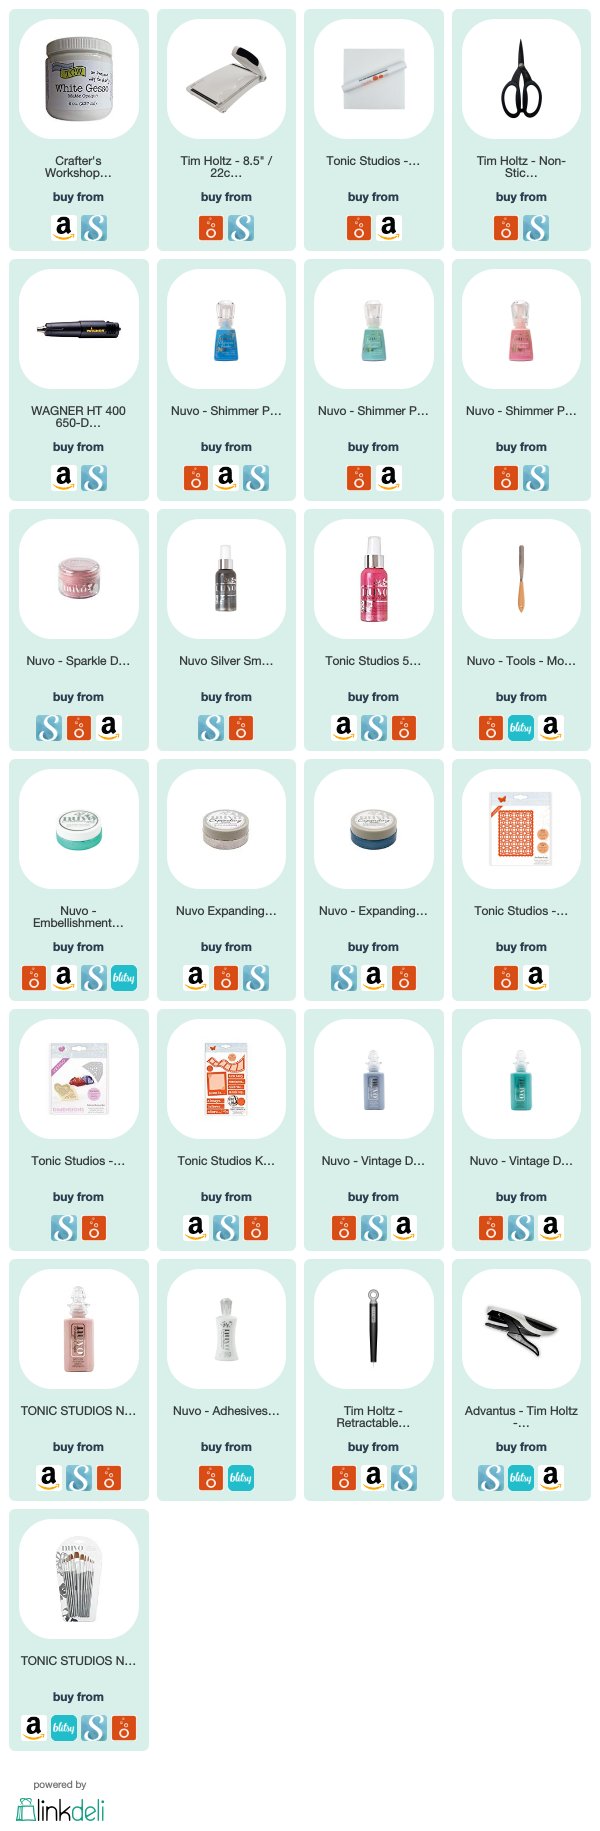
Thanks for stopping by the Blog today and I hope you check out the video as well!  Below is a list of the products I used, some of which are affiliate based, and at no cost to you to link to.  

Tonic Studios - Mixed Media Mini Album Cover

Wednesday, February 20, 2019

Hello there crafty friends!  Today, I am going to share a Mini Album Cover I made using lots of Nuvo mediums and some new Tonic metal dies.  I wanted to use all the metal dies I chose in a way that was different and think out of the box!


Tonic Studios provides me with some products, but the ideas are solely my own.
*Affiliate links are used at no cost to you and the profit goes to helping fund more supplies and this channel...*

You can Click on the video below or HERE to go directly to my YouTube channel.


I started my project using an 8"x8" canvas board that I primed with a thin layer of white gesso.  I added several colors of Shimmer Powder and lots of water to give a watercolored look to the base of my piece.  I added a little Mica Mist and used my heat tool to move the colors around a bit.  I sprinkled some Sparkle Dust on top of the drying paint.

I used the Tonic Studios Tangerine Die Cutting Machine to cut out the Sunflower Array die, the Dimensions Gesture Box die and the Keepsake Photostrip die out of basic white cardstock. I used the Sunflower Array panel die as a stencil for the Aquamarine Embellishment Mousse.


Next I used the main piece of the Gesture Box die to create a base for a "floral" cluster and applied a coat of Expanding Mousse to it.  Tearing strips of tissue wrap from Tim Holtz, I created another layer and stapled it together.  I added a thick layer of Expanding Mousse to the heart from the Box die and added more Sparkle Dust in the color Rose Quartz.  I dried both of the piece with my heat tool to expand the mousse and create lots of texture.


Using the cut out pieces of the Filmstrip and some hot glue, I created yet another layer and "flower" that I colored with the Nuvo Watercolor pencils and added to the top of the other layers with lots of silver and turquoise thread.  The heart was the final topper along with some silver glitter Thickers in my daughter's initials, since this will be a mini album about her.  I tucked the actual Filmstrip die cut pieces under the tissue wrap and painted the edges with Mica Mist from the bottle, adding some splatters too.


I finished off the entire piece with three different colors of matching Nuvo Vintage Drops sprinkled around the canvas and over the pattern of the stenciled Mousse.  I had a lot of fun creating this project and simply playing with lots of products!

Thanks for stopping by the Blog today.  Below is the list of products used.
Have a wonderful Wednesday!


Tonic Studios - Filmstrip Die

Friday, February 15, 2019

Hello there crafty friends!  Today I am going to share a traditional Scrapbook Layout I created for Tonic Studios.  I wanted to focus on the newly released ‘Photos & Filmstrip’ die for my page.
There is a complete list of supplies used at the end of the post.


All products used were purchased by me and used with no influence of suggestion of anyone but myself!
*Affiliate links are used at no cost to you and the profit goes to helping fund more supplies and this channel...*

I started by die cutting plain white cardstock with the retro photo frame with the Tonic Tangerine die cutting machine.  I cut the die 4 times and used a couple of the different titles to cut into the frames.  The frame is a piece that you fold over to encase your photo.  I used 4 photos from our recent photo shoot before Christmas.


I chose this patterned paper from Pinkfresh Studio with the faded navy and white strips and a piece of plain white cardstock.  I cut them roughly in half and adhered them to a full piece of patterned paper as a mat for the layout.  I added Gesso to the large piece of white cardstock on the right and a little bit to the center of the right side pattern, planning to add some Nuvo Shimmer Powders!


I used 3 colors of the Shimmer Powders and lots of water to get a soft watercolored look over the dried gesso areas.  While that dried, I misted the die cut photo frames using some Dylusions Ink Spray, backed the titles with colored paper and slipped my black and white prints inside the frames.  I lined up the photo frames over the seam between the two papers and added some washi just for decoration.

Finally I added a few other die cuts, some Thickers for my title, and some flowers and leaves I fussy cut from another piece of Pinkfresh Studio paper that is part of the same collection as the main patterned paper.  I finished up with some journaling and lots of Nuvo Drops scattered around the page!


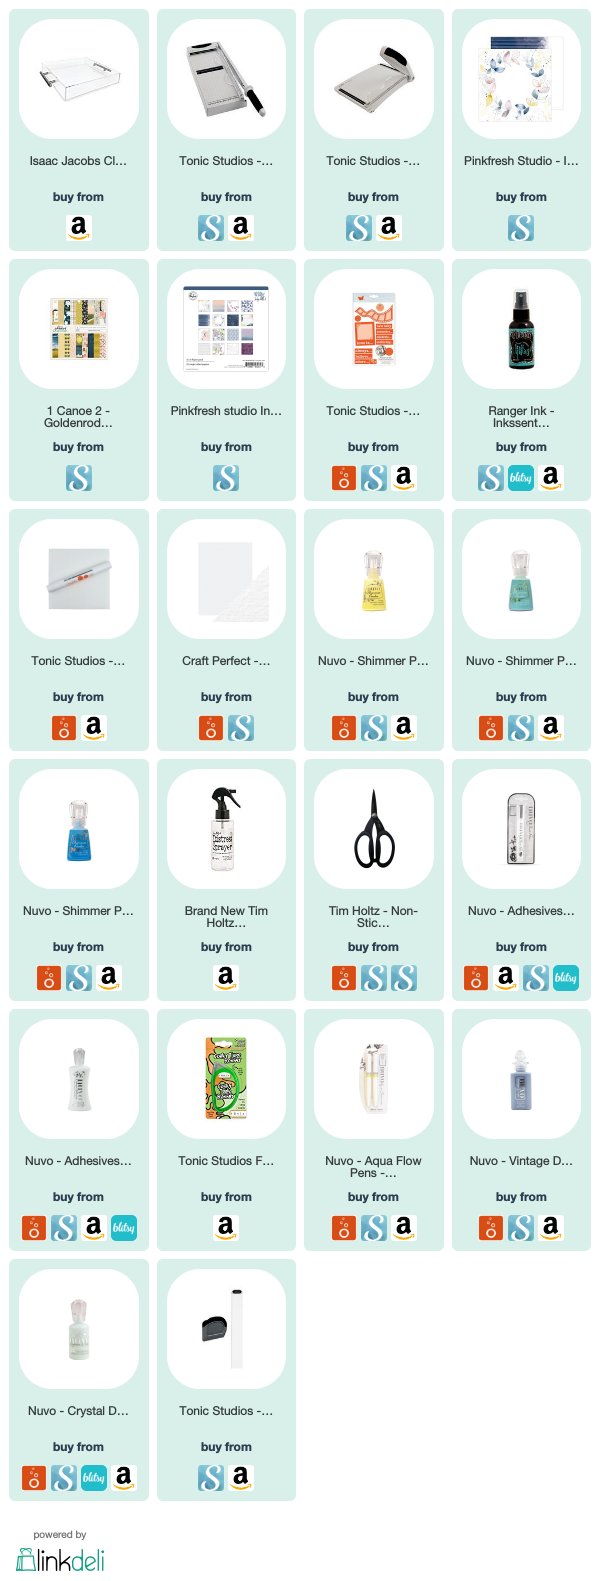
Thanks for stopping by the Blog today!  Below is the list of products used.

I hope you have a wonderful weekend!


Llama Love Valentine Cards & VIDEO - Tonic Studios

Wednesday, January 23, 2019

Hello friends!
Today, I am sharing two similar Valentine cards I made for Tonic Studios.  I used several of the mediums to create two backgrounds, both in different tones of pinks and a Llama stamp & die set I picked up.


You can click on the video below to watch, or click HERE to go directly to my YouTube channel.


Tonic Studios provided me with some of the products used, but the ideas are completely my own.
*Affiliate link used at no cost to you...*


I started by stamping out the llamas onto Neenah Classic Crest paper using the black Nuvo Hybrid Ink that is perfect for using with the Nuvo alcohol makers.  While the ink dried completely, I worked on the backgrounds.  I had a square card base already cut and folded in a dove grey color, so I used watercolor paper in the same size.


One one background piece, using lots of water and two of the Nuvo Shimmer Powders, I created a pale wash of pink paint.  On the other background piece I used one of the blending brushes to add a light background color of the Nuvo hybrid ink color Panama Rose.  After that first layer of mediums dried, I added Glimmer Paste in Moonstone to the watercolor wash background using a 6x6 stencil.


I added a layer of embellishment mousse in Pink Flambé using the same stencil and a blending sponge.  I wanted to create a tone on tone background to give it some interest, while not taking away too much from my colored images.


Setting my backgrounds aside to dry, I began to color my llamas.  There is a die to cut out the entire llama and one smaller die that is for the blanket on its back.  I had stamped out 4 llamas, 2 to color completely and 2 to color just the blanket of.  After coloring and cutting out the images using my new Sidekick, I began to assemble my cards.


First, I trimmed the background pieces and adhered them to the card bases.  I had already cut out a scalloped circle and some fun foam out of the same circle die.  I added some light blue ink around the edges on the circle and glued it to the card backgrounds using the Nuvo Deluxe Adhesive glue.  It is really strong and perfect for using on a textured & mixed media background.  Next, I glued the colored llama images with another layer of the cut fun foam to the scalloped circles.  I added the little  blanket pieces to the top of the image using a pop dot for even more dimension.


I stamped one sentiment using the black ink on white cardstock and heat embossed the other sentiment onto vellum.  I added each of the sentiments to the right side of the llama in the middle of the card.  I used several colors of Vintage Drops and the Crystal Drops in Bright Gold to the Pom-poms around each llama.  I finished off the card with the Glimmer Paste using a couple of the stamped hearts that are part of the set and adding some Aqua Shimmer to the blankets.


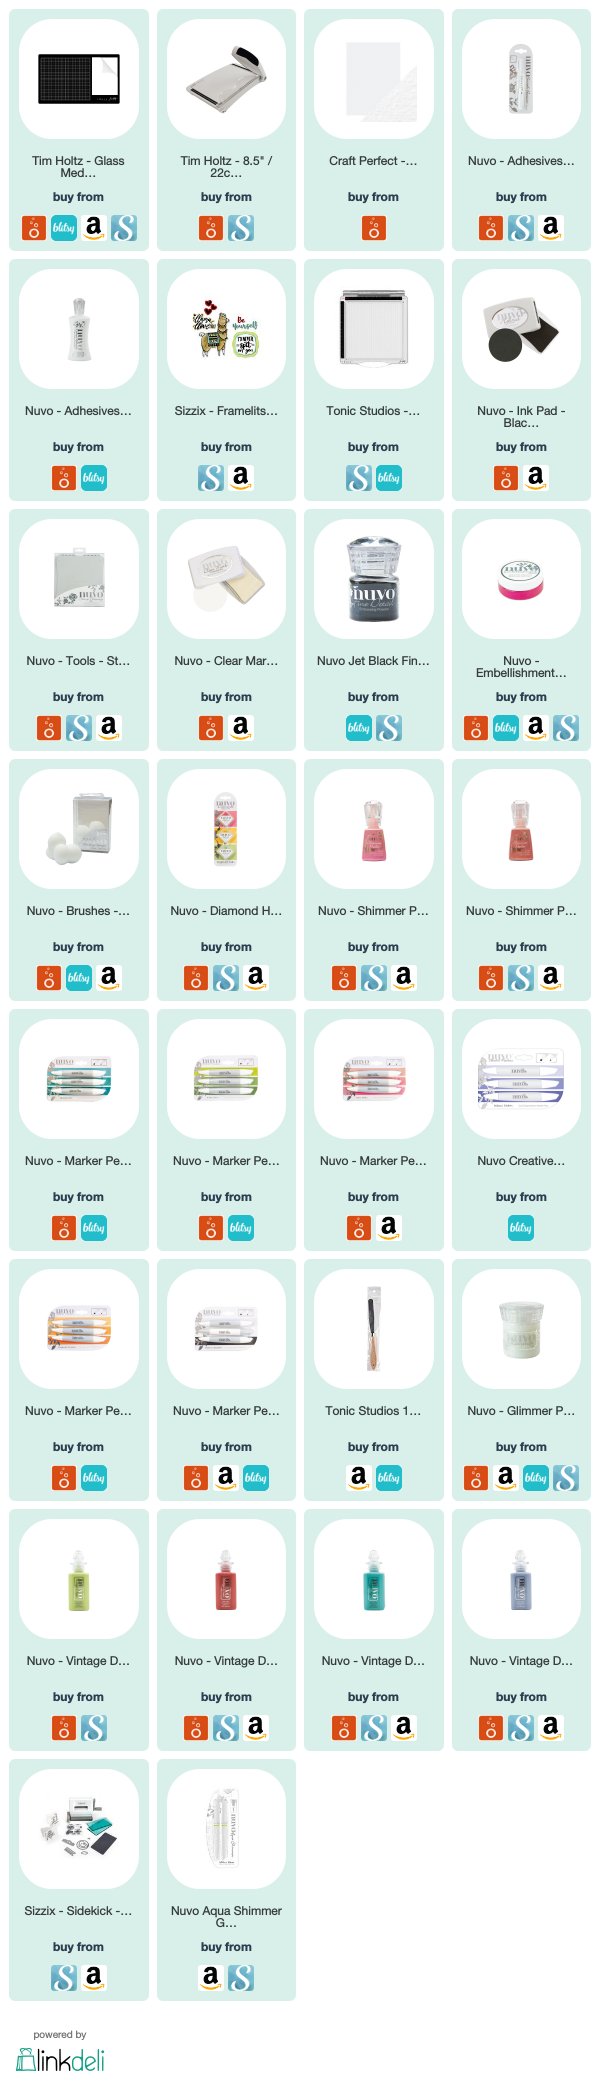
Below is a complete listing of the supplies used.

Thanks so much for stopping by today and make sure you check out the video!
Have a great day!


"December" - Art Journaling with The Crafter's Workshop

Tuesday, December 18, 2018

Hello everyone!  It is hard to believe we are approaching the end of 2018!  
To take a little break from all the Christmas hustle and for a little art therapy, I spent some time creating these pages in my Art Journal.  I knew I wanted to use colors that would provide lots of contrast and drama and had planned to use some song lyrics from one of my favorites from Sara Barielles called 'December.'


The Crafter’s Workshop provided me with some product to create this project.  The opinions I share are solely my own.
*Compensated affiliate links used*

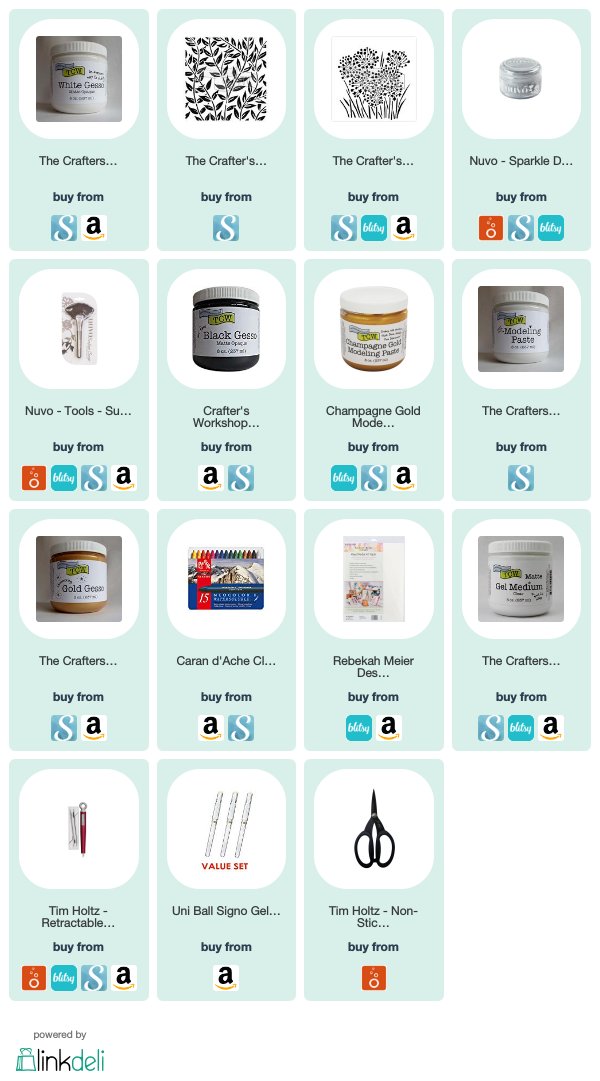
Below are the stencils I used...

 
Click below to watch the video or HERE to go directly to The Crafter's Workshop YouTube Channel.
 

I began covering everything with shades of violet using the Heavy Body Acrylic paint 'Grape Jelly.' Using this 'Jungle Vines' stencil and plain White Modeling Paste, I created a loose border around the outside edges of the spread.


Then added some black in the center, fading outwards.  Using my favorite Champagne Gold Modeling Paste, I stenciled this large 12x12 'Onion Blossom' across both pages.  I added lots of additional color with watercolor crayons, Gold Gesso and some Mixed Media Paper with more lyrics on them.


I wrote my favorite part of the song using a white gel pen to stand out against the dark background.  There were some things I wish I had done differently, but I really like the overall feel and look to the page.


  It is definitely dramatic!


Thanks for stopping by the Blog today.  Please check out the video for a more detailed look at the products I used and the overall process.
I hope you have a wonderful December Day!


Name Place Cards for Fall Tables (&video**) - The Crafter's Workshop - November 2018

Monday, November 12, 2018

 Hello and happy Monday!!

I am always trying to find a new way to use my mixed media products for home decor projects.  Today I am sharing a project I created for out Thanksgiving table, (or any Fall table) and The Crafter’s Workshop.


You can click on the video below or HERE to go directly to The Crafter's Workshop YouTube channel.


The Crafter’s Workshop provided me with products but the ideas and opinions are totally my own.


This is a photo of the cards at a simple place setting...


I used both the copper foil and gold foil to mix up the cards just a tiny bit. 


Thanks so much for stopping by today!

All of the products I used are listed and linked below...I hope you check out the video and leave any comments or ideas you might have and I’ll be back soon for another video hopefully later this week.  Have an amazing day!


TCW2164 Falling Leaves | The...
[ THC | SBC | AMZUS | BLT ]
TCW555 Art Deco Alphabet | The...
[ THC ]
The Crafter's Workshop - 6 x 6...
[ SBC | AMZUS ]
The Crafters Workshop 8 Ounces Copper...
[ SBC | AMZUS | BLT ]
Amazon.com: The Crafter's Workshop...
[ AMZUS | SBC | BLT ]
The Crafter's Workshop - Modeling...
[ SBC | AMZUS | BLT ]
The Crafters Workshop 8 Ounces...
[ SBC | AMZUS | BLT ]
The Crafters Workshop 2 Ounces Hot...
[ SBC | THC | AMZUS | BLT ]
Amazon.com: Rebekah Meier Designs...
[ AMZUS ]
Amazon.com: Rebekah Meier Designs...
[ AMZUS ]
Heidi Swapp - MINC Collection -...
[ SBC ]
Lawn Fawn Lawn Cuts Small Stitched...
[ SBC ]
Amazon.com: Sizzix 660425 Big Shot...
[ AMZUS | SBC ]
Bazzill Kraft 12 x 12 Cardstock Bulk...
[ SBC ]
Amazon.com: Martha Stewart Crafts...
[ AMZUS ]
Nuvo Glue Pen Large
[ SBC | TNC | BLT ]
Ranger Ink - Tim Holtz Distress Ink...
[ SBC | AMZUS ]
Ranger Ink Inkssentials Ink Blending...
[ SBC ]
Amazon.com: Silhouette Cameo Starter...
[ AMZUS ]
American Crafts White 12 x 12...
[ SBC | AMZUS ]
Amazon.com: Singer Heavy Duty 4432...
[ AMZUS ]


Proudly designed by Mlekoshi playground