Showing posts with label Ranger. Show all posts

Stencils & Rainbows & Clouds - The Crafter's Workshop May 2019

Wednesday, May 1, 2019

Hello!  I am excited to share some happy, bright cards for you on this Wednesday!
I created several cards using 4 different 6x6 stencil and 7 Distress Inks in a rainbow of colors and a heat embossed sentiment using another stencil.


The Crafter's Workshop provided me with some products, but the ideas are completely my own.

Below are the stencils I used:


 You can click the video below or HERE to go directly to the YouTube Channel.


Three of the stencils I used were circular and one rectangular.  I used scissors to fussy cut the shapes out of the white cardstock I used the stencils to ink onto.


I adhered each of the inked pieces to a piece of black cardstock and then glued that piece to a white card base.


Using a cloud digital file, I cut some colored glassine paper, much like vellum, out using my Silhouette Cameo.  I then used another stencil to heat emboss different words in Spanish onto the clouds.


I used both a white embossing powder and a gold detail embossing powder for those sentiments.


I finished off each card with a rainbow assortment of sequins or on one card, some Nuvo Drops in similar colors.


The finished cards are fun and perfect for lots of generic uses or "just because" cards, which always come in handy in any stash of cards!


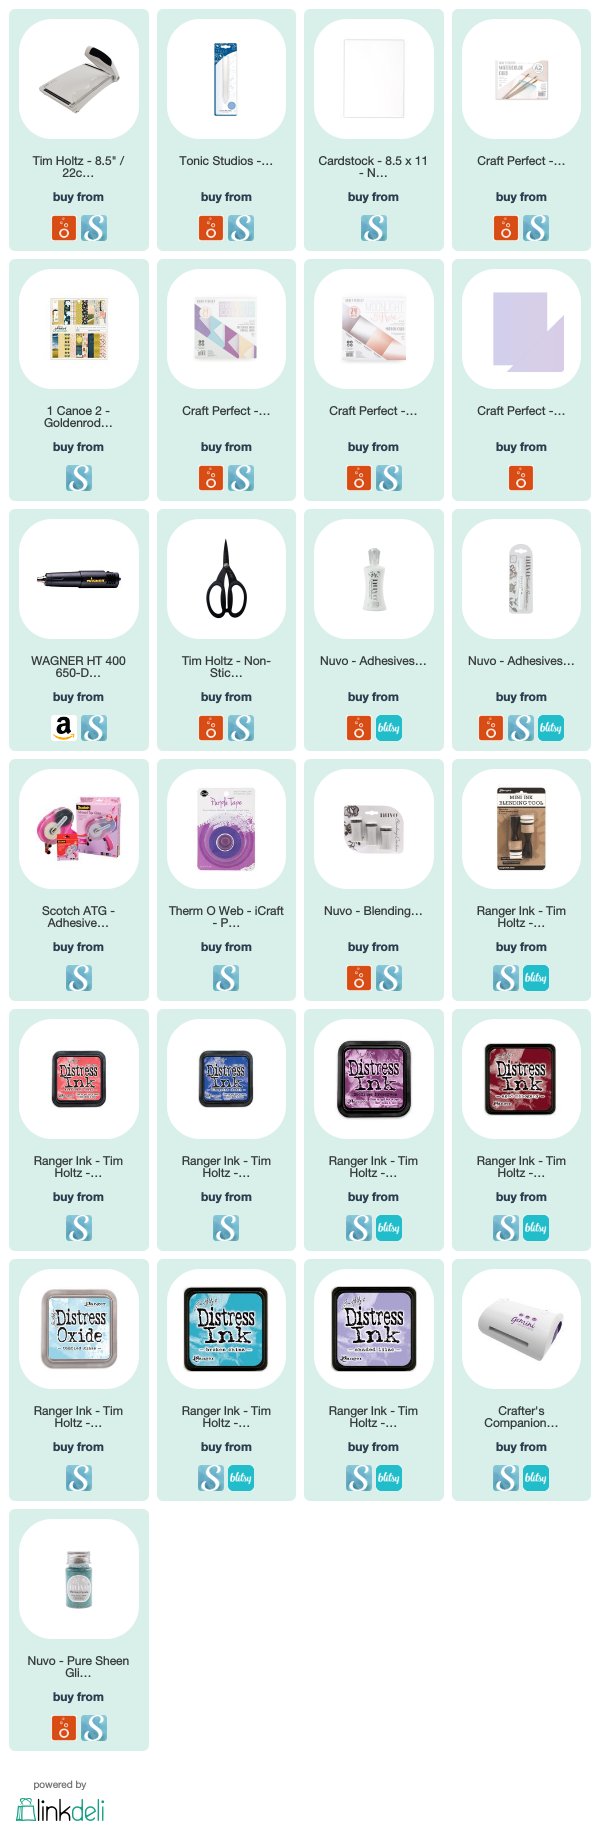
Below, is a complete list of supplies and links to those products.
( some affiliate links are used at no cost to you )

Thanks for stopping by and I hope you check out the video and make some of your rainbow & cloud cards.  Have a great week!


Blended Distress Ink & Layered Die Cuts

Tuesday, March 26, 2019

Hello!  After watching several videos from Kristina Werner's Ink Blending series, I was inspired to create a couple cards of my own.  I used one combination of warmer colors to pair with a piece of patterned paper I used as a border for my card, shown below.  


You can click on the video below or HERE to go directly to my YouTube channel.


I used a blend of 4 Distress Inks and blended a background on Nuvo Watercolor Cardstock.  I added some water droplets for interest to the blended background and mounted it using foam tape onto a piece of patterned paper from One Canoe Two.


I die cut three layers of plain cardstock using this 'hello' die from Sizzix and after adhering them together, painted it with a layer of Nuvo Midas Gold Aqua Shimmer pen.


I added lots of matching sequins across the card for some sparkle.


 For my second card, I followed the same formula only using three Distress Inks.  I layered the blended piece onto a piece of patterned paper from the Dream In Color 6x6 pad.


I used this large text die from Altenew and cut it out of Craft Perfect 'Frosted Silver Satin' cardstock.  I cut it out twice from the Satin card and once from the Craft Perfect 'Holo Waves' cardstock that is an amazing iridescent holographic cardstock.  I offset the bottom layer of iridescent card just a but, to catch the light and add some dimension.


After adhering the sentiment to the blended piece of paper, I added lots of clear white sequins.  I finished the card off by glittering the tiny heart from the die with Nuvo 'Mermaid Parade' turquoise glitter.


I love the way the cards came out.  They were fairly simple even though there were lots of steps.  The supplies I used are listed below.  Thanks for stopping by today and hope you have a great day.

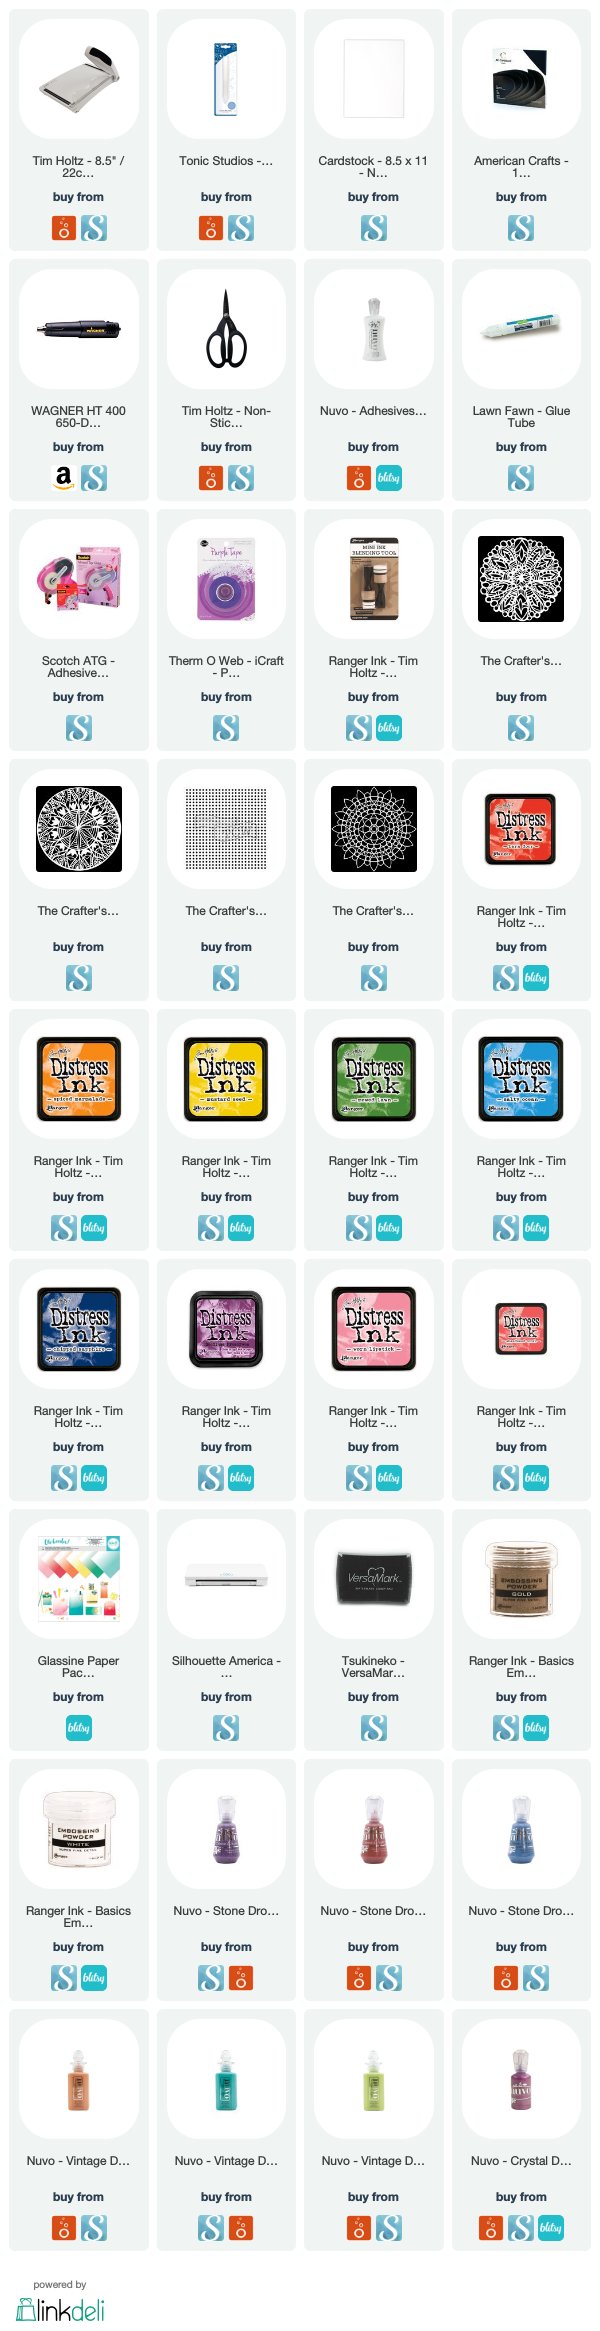
Supplies below:
 (affiliate links used, at no cost to you!)


grace is...The Crafter's Workshop - December 2017

Wednesday, December 20, 2017


Hi there!!  Today I am sharing an art journal spread I created using loads of media from the Crafter’s Workshop and 4 stencils.  I didn’t have much of a plan other than the stencils and colors I wanted to use.
I also filmed myself creating it so you can see my process from start to finish.  You can click on the video below or HERE to go to the video on my YouTube Channel.


The Crafter’s Workshop provided me with some product to create this project. The opinions I share are solely my own.

Below are the stencils and media I used.


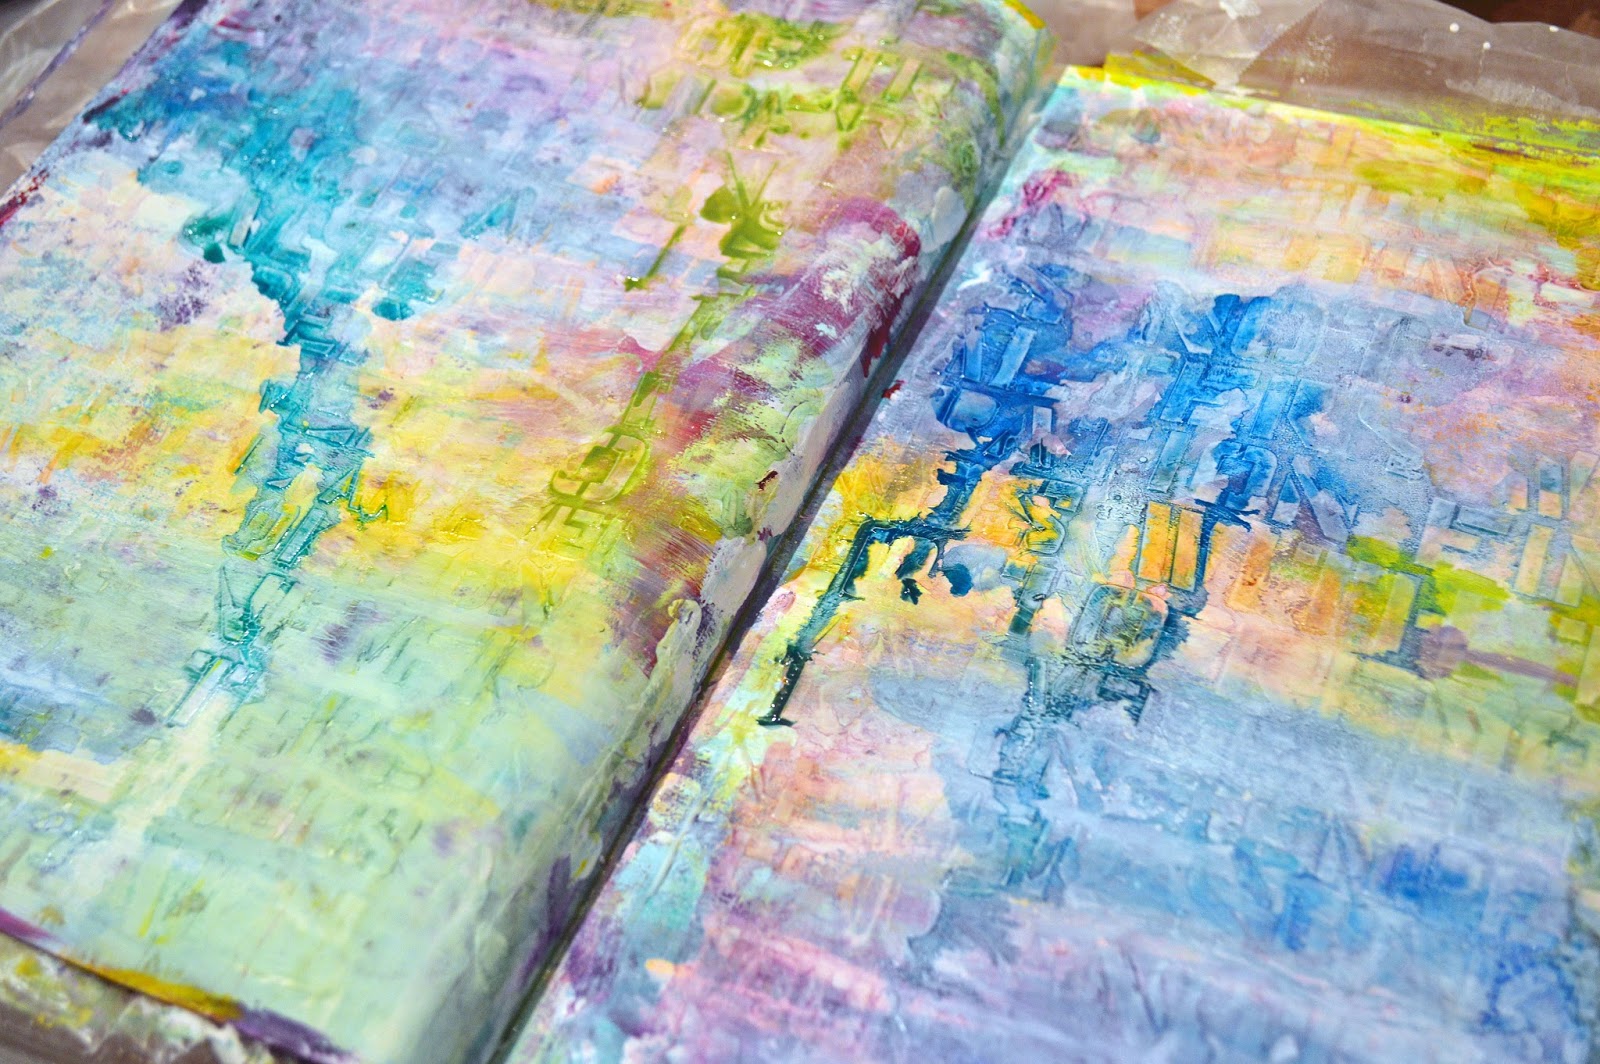
Unfortunately, I missed the very beginning of the video and process of putting down some layers of paint to build up my background.  Not too much was missed, but below is the first stage of the process.


Next, I added a semi-transparent layer of Gesso on top to tone down the colors.


Once the Gesso dried, I used this large text stencil and the Gel Medium to add a layer of text all over both pages.


Once the Gel Medium dried, the pattern became a resist for the watercolor washes and drips I added next.


I love the way the colors turned out, picking up some of the original colors and drying in a random pattern.


Using a heat tool, to speed the process along, I then placed the large stencil I had planned to use for my main focus, partially overlapping the center seam of the journal. 


I added a fairly thick layer of the Black Modeling Paste, which is such a lovely, substantial consistency that it holds the lines of the stencil without any bleed through.


Using some Archival Ink, I added some texture with the tiny fragment dot stencil.


Once more, waiting to dry...and then using more of the Heavy Body Acrylic Paints, I stenciled lots of the small branches from this 6x6 stencil; adding it around the heart shape and at the borders of the journal.


With the same archival black ink, I added several areas of the smaller 6x6 version of the text stencil.


My drying time seems to be the longest part of this process!  After the previous layer was dry, I used the Gel Medium again, but this time for it properties as a glue.  I adhered a couple pieces of the Altered Pages icons and some left over scraps from previous stenciled projects around the pages.


Using a couple plastic rings, I added some thin circle stamps of the Silver Heavy Body Acrylic paint.


Finally, the last step, was to add some NeoColor crayons to intensify a few colored areas.


Along with my NeoColors, I used a couple different permanent pens to give definition to the lines from the stencil and ring stamps.


I finished up with a quote I found on Pinterest that spoke volumes to me personally from the past couple weeks...


Below is the final spread!


I had so much fun using this creative outlet to express myself and provide a little self healing therapy...the original reason I started an Art Jounral.  Thanks for stopping by the Blog today to let me share it with you all.

Supplies Used:


TCW9024   - Heavy Body Acrylic - Kale Smoothie

TCW9022 - Heavy Body Acrylic - Grape Jelly

TCW9014- Heavy Body Acrylic - Iridescent Silver

TCW737 - Doodling Template - Love Sonnet
TCW737s - Doodling Template - Mini Love Sonnet
TCW640 - Doodling Template - Love To Fly


Cardmaking Month!! {& video }

Thursday, August 11, 2016

Hi everyone!  Happy August!
I am working on putting together a new look for my Blog and some other crafty, exciting things for the future!  I wanted to kick it off with a few cards in the giant array of cardmaking I have had the last few weeks!


I filmed my process which can click on below or go to my YouTube Channel HERE!


I started out with an idea to make three similar cards, using some old 6" Color Magic Papers and then having some stamping or sentiments of sorts on top of it.  I got a few of the Zig Clean Color Brush markers and wanted to use them!


I used Distress Inks to blend a background of blues and greens around the stamped I had heat embossed.  I made a mask out of Post-It tape to cover the ice cream before I inked the back.  I added some twine before adhered it to the front of the misted paper.


For the second card, I used a couple shades of turquoise mist onto one of the resist paper of intricate patterns and doilies.  It turned out beautiful and didn't want to add anything too busy for the embellishment.  I heat embossed a sentiment from Neat & Tangled and punched it out.  I layered it on top a piece of glitter paper punch a size larger.  Finally I adhered both to the front over some pink jute twine and added some paint splatters.


The last card was where I deviated and I love the way it turned out!  I used a large wood grain background stamp to create a tone on tone to my kraft cardstock.  I stamped one of the bird from my favorite Dina Wakley bird stamps.  I used the Zig Clean Color Bush Markers to color it and they are perfect for this type of blending!


I cut both using the Lawn Fawn stitched rectangle dies and adhered them to the front of my card base.  I added a little dot of black enamel accents to the bird's eye.  I had planned to add sequins or wood veneers and finally decided to keep it simple with one tiny heart in the bottom corner!


I have had a lot of fun, albeit frenzied, making so many cards this summer.  My parents always encouraged me to make handmade cards as a little girl and I have been every since.  I truly feel like it is gift in itself!

Thanks for stopping by and come back to see more!
Have an amazing day!


Proudly designed by Mlekoshi playground