Showing posts with label Lawn Fawn. Show all posts

SENDING YOU hugs - Card & Video

Saturday, November 23, 2019

Hello!  It has been a hot minute, or a few months since my last Blog Post!
We moved put our house on the market, sold it, bought a new house and moved all in 4 weeks!  And started renovating the new house right when we moved in and started kids in new schools...whew!

It has been a crazy few months and I am finally getting to a place where I can unpack and start creating cards and scrapbook again.
I have missed it so much!  So, I was feeling the Fall colors and love and created
this card below using this gorgeous red rubber background stamp from Neat & Tangled.


You can click on the video below or HERE to go to my YouTube Channel directly.


I heat embossed that large background in white so I could use it as a resist for blending Distress Oxide inks for my sunset.
I think it would be fun to emboss it in gold as well.


I used some images from Lawn Fawn that I had previously colored and added a die cut sentiment,
a small stamped sentiment and some Nuvo Crystal drops.


A simple card and video to get me back into the swing of things!
I am going to be filming my new space and the organizing I will be doing too.
Thanks for stopping by and I hope you have a great day!


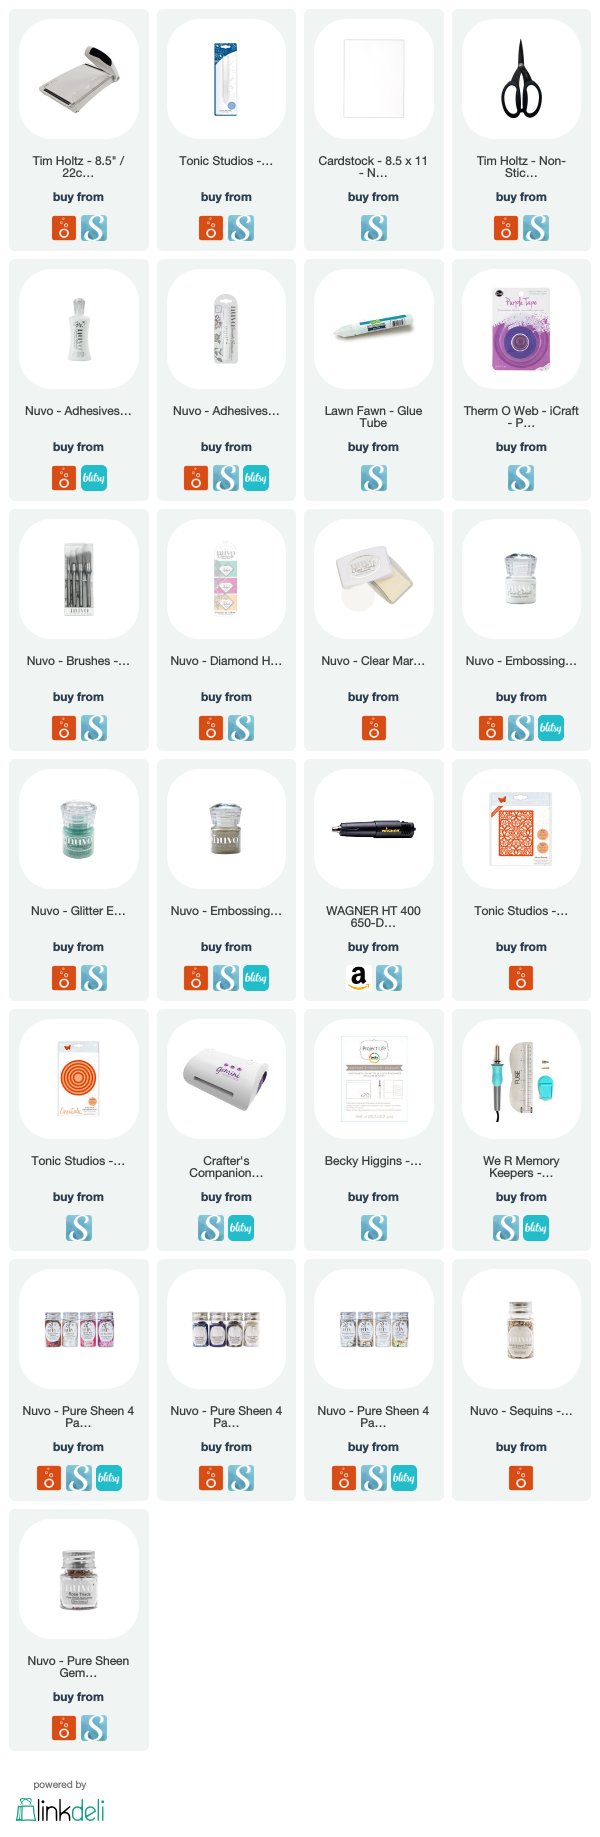
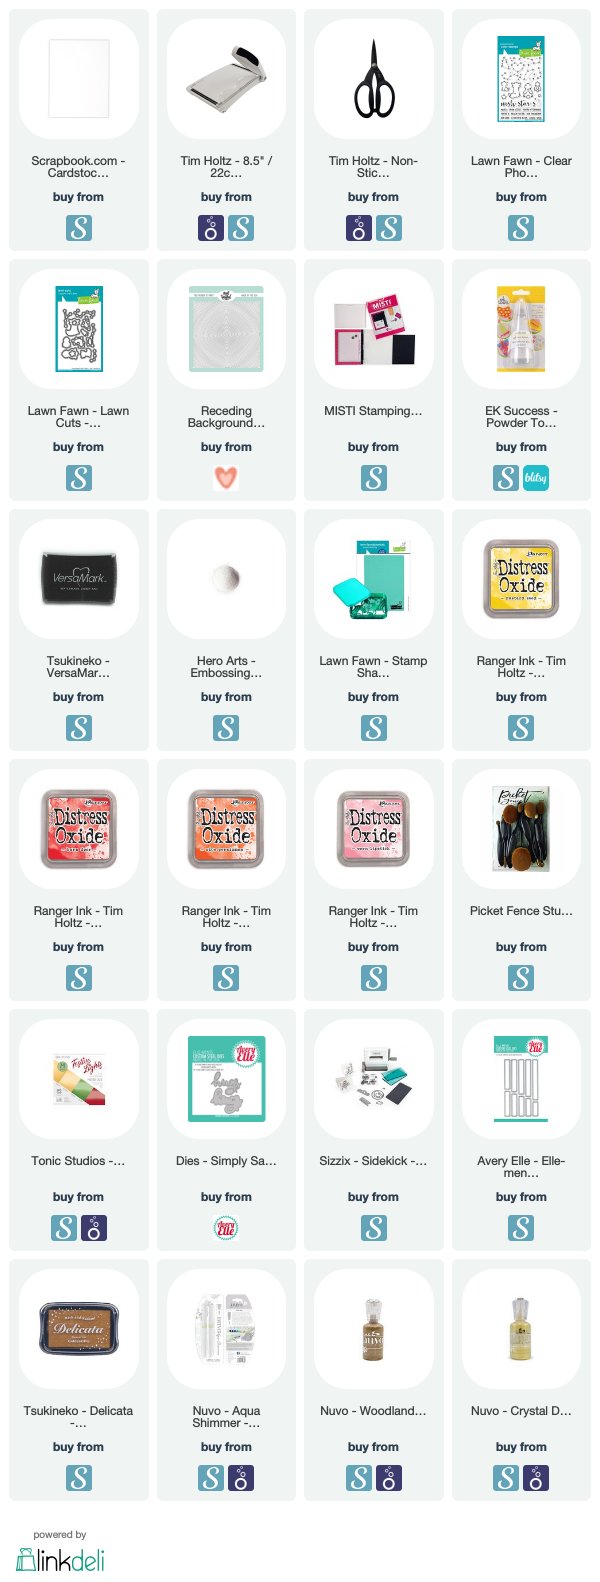
Supplies Used:
Die Cut Shaker Cards - Tonic Craft Kits

Wednesday, May 8, 2019

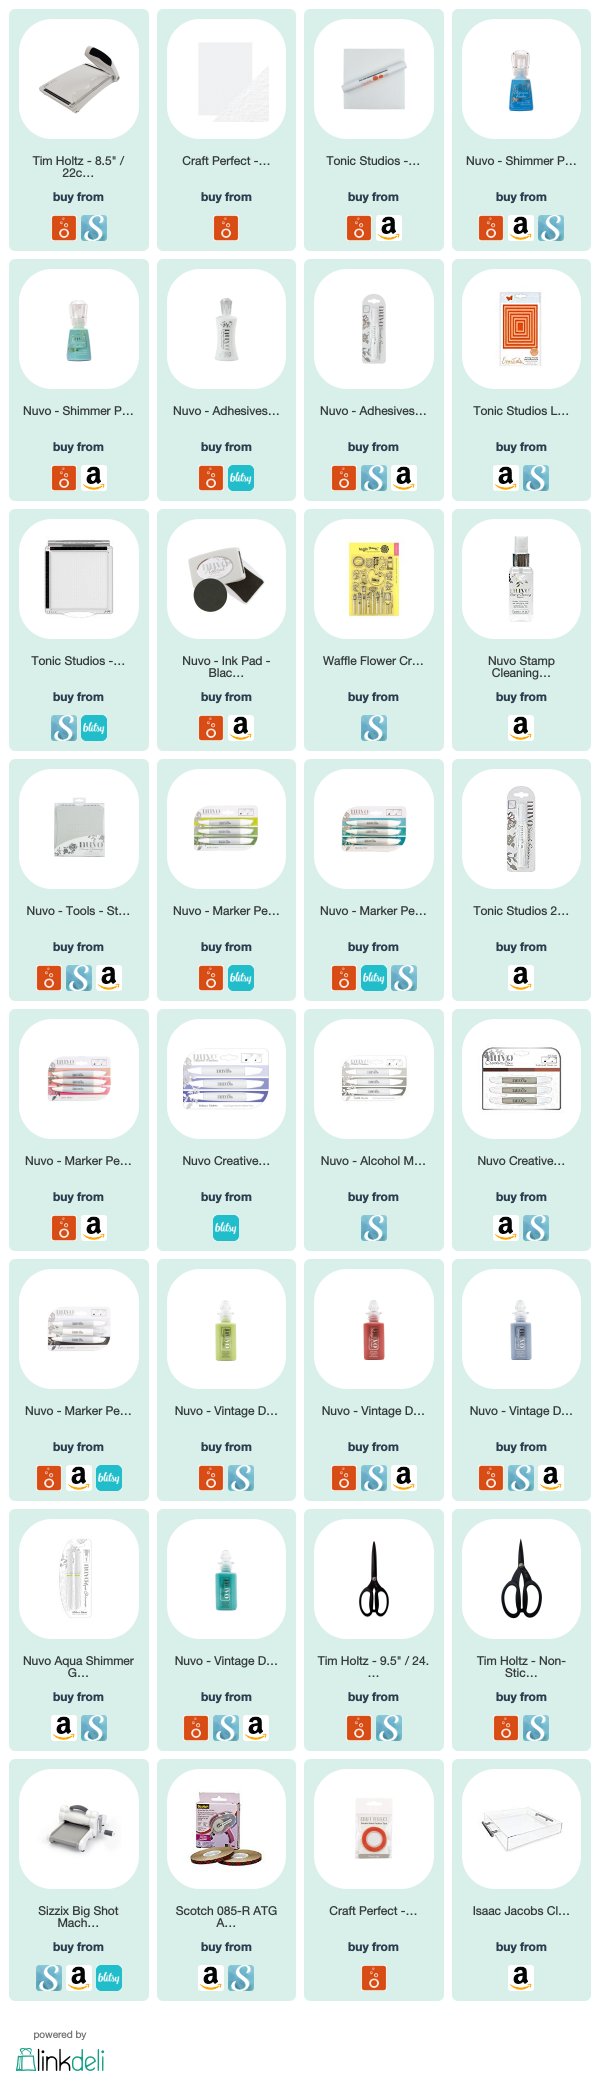
Hello!  Today I am sharing a Shaker Card I created using one of the Die Cut Patterned Panels and full sized sealed pocket of sequins and confetti behind the die cut piece.  I used at least two products from the Tonic Craft Kits, #18 & #21 in this card.  I love being able to mix and match pieces and products for continued use!


Below is the video I filmed of the process, which can click on to watch, or go HERE directly to my YouTube Channel.


I cut the intricate panel die, 'Vibrant Damask' from some heavy weight cardstock as well as 2 layers of foam for dimension.  Using one of the Project Life pocket cards, I created a pocket the same size as the die cut piece to make the entire card a shaker.  I filled the pocket with various sequins and confetti and sealed the pocket to size with my Fuse tool from We R Memory Keepers.


I used the trio of Hybrid Inks from the 'Dream in Color' Trend collection to blend a circular pattern on the piece of cardstock the shaker pocket.  I used a stamp from the Tonic Craft kit #18 to heat emboss this sentiment in white onto a piece of heavy acetate.  I used two of the Tonic Basics circular dies to cut a round frame out of the gold glitter card from the Craft kit #21.


Finally, I began to combine the elements of the card, starting with the blended ink background on to the card base, followed by the shaker pocket, then the stacked layers of die cut patterned panels and finishing it off with the acetate framed sentiment.  I added a couple of the Rose Triad gems to the acetate too. 


I did add some heat embossed stamping, from that same craft kit, to coordinate an envelope.  I love the way this card turned out and need to do another card which highlights this combination of blended inks, without covering it up!  Thanks for stopping by today and hope you have a great week!


'You Color My World' Cards - Tonic Studios

Wednesday, February 6, 2019

Hello friends!  I am sharing two cards I created for Tonic Studios using a new Die Set from Tonic and a new stamp set from Waffle Flower.  I also filmed my process, so check that out in the link below!


 You can click on the video below or HERE to go directly to my YouTube Channel.


Tonic Studios provided me with some of the products used, but the ideas are completely my own.
*Affiliate link used at no cost to you...*


I adore this sweet stamp set from Waffle Flower and the painter palette inspired me to use Nuvo Drops as the “paint” on the palette itself, and match the paint on the stamped brushes.


I used the Nuvo Shimmer Powders to create a watercolor like background for each card using the ‘Blue  Blitz’ & ‘Atlantic Burst’ colors.  I love the soft colors you can achieve and the subtle shimmer they give to the background is such a lovely touch.


I used the Nuvo alcohol Markers to color in the stamped images and fussy cut them out using scissors.  I came up with two different layouts for each card and added some dimension using foam on one background and dimensional adhesive on the images of the other.


I finished off the cards using some Aqua Shimmer and of course, the Nuvo Vintage Drops on the painter’s palette.  I made the dots really large and I think they look so fun!


Thanks for stopping by the Blog today and make sure you check out the video!  I would love any feedback and appreciate all the support! :)
Have a great Wednesday!


Tonic Studios - Tools of the Trade - Scrapbook LO & VIDEO!

Wednesday, December 5, 2018

Hello friends!  I am excited to share a new scrapbook layout and process video for Tonic Studios.  I used a few Tonic products, but mostly wanted to share my newfound love of the Tonic & Nuvo "Tools of the Trade," i.e. basics, like adhesives, trimmers, basic cardstock, etc.


Tonic Studios provided me with products but the ideas and opinions are totally my own.
*Compensated affiliate links used*

You can click below for the process video or HERE to go directly to my channel.


I love the colors and patterns of the Pinkfresh Studio collection 'Indigo Hills' and used a 12x12 as the main background piece and several pieces of the 6x6 papers and some of the Pinkfresh ephemera and some of the American Crafts gold Thickers.


I used some of the Tonic Craft Perfect Watercolor paper to cut out some leaves using my Silhouette Cameo.  I watercolored the leaves to match some of the colors in patterned paper.


I added a light layer of Silver Smoke Mica Mist over the center of the background paper where I planned my photo cluster to be.  I used several pieces of the 6x6 papers under my photos and layered them on a piece of the gorgeous Craft Perfect Mirror Satin Cardstock in Burnished Rose.


I added the watercolored leaves under the photos and around the page, along with a couple other embellishments like the Ephemera from Pinkfresh Studio and American Crafts Thickers.


Finishing up with some gold rub-on pieces, I added several of the Nuvo Vintage Drops adjacent to those rub-ons.


Thanks so much for stopping by and I hope you check out the video as well!
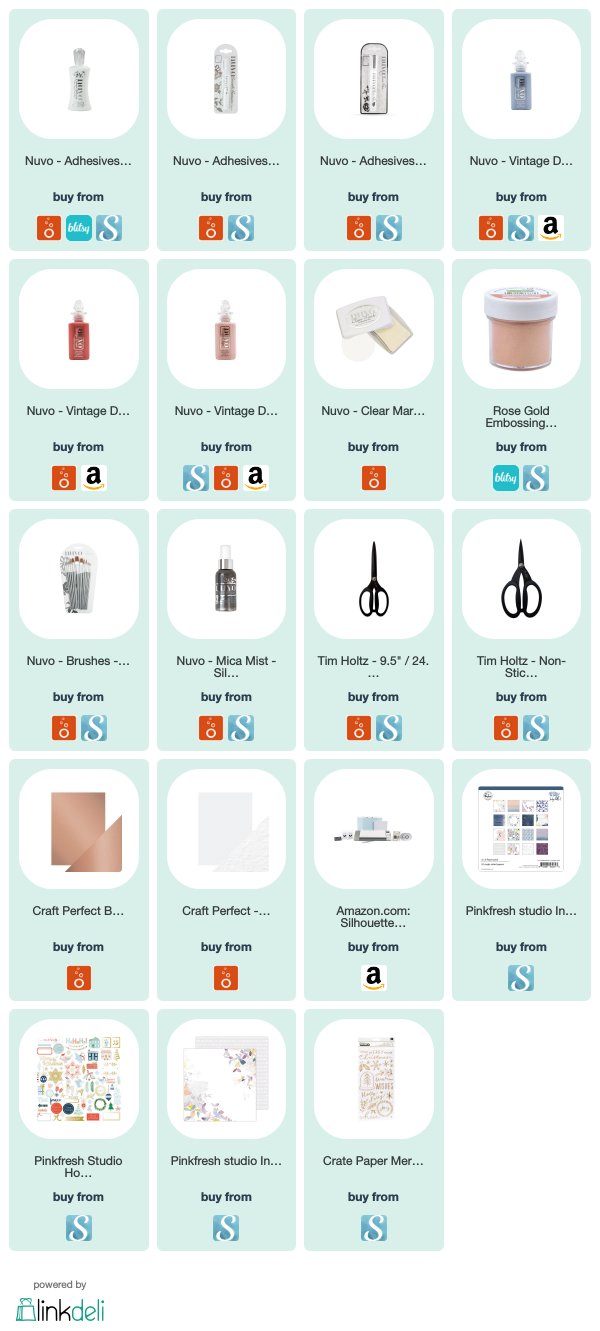
The complete listing of the supplies used is listed below...


'happy AUTUMN' Card for Tonic Studios

Friday, October 26, 2018

Hello!!  I am so excited today to share my first Tonic Studios USA Design Team project!

I loved this whimsical tree metal die from Tonic Studios and decided to use that as my inspiration for a Fall card.  Starting in October, I have an overwhelming need to use glitter paper and glittery embellishments, from Halloween through Valentines!  So, I grabbed this taupe-ish glitter paper.


Tonic Studios provided me with some product to create this project.  The opinions I share are solely my own.

You can click on the video below o see my process or HERE to go directly to my YouTube Channel.


I had originally planned to to use the die cut and have the glitter paper as the shadowed paper behind the face of the card.  I began by watercoloring a light wash of warm colors on some watercolor paper.  After cutting the face out of that paper, I decided it might be interesting to use the glitter paper as an inlay instead.


After cutting the same piece of glitter cardstock with this Dot & Drop Die from Tonic Studios, I decided to inlay the pieces.  I used several of the new Nuvo Vintage Drops in the places that the die embosses for them.  It is perfect for a newbie to these drops like I am.  The new Vintage Drops are all matte and are in the loveliest  soft colors.


I finished the card off by using some off the Nuvo Embossing Powder in Copper Blush, along with the Nuvo Embossing Ink Pad, to heat emboss a sentiment on vellum.  I added it under the tree panel that I mounted onto a layer of brown cardstock and then the heavy card base.


Thanks for stopping by!  I hope you check out the video and subscribe for new content and inspiration!  A complete list of linked supplies from Tonic Studios is listed below.
I hope you all have an amazing weekend and are inspired to create a little bit of Fall in a project too!

Supplies Used:

Tonic Studios Time Holtz - East Clean Mat
Tonic Studios Tim Holtz- Retractable Craft Pic
Tonic Studios Dot & Drop Die - Twirling Branches
Tonic Studios - Funky Tape Runner
Nuvo Fine Detail Embossing Powder - Copper Blush
Nuvo Vintage Drops - Chocolate Chip
Nuvo Vintage Drops – Postbox Red
Nuvo Vintage Drops - Saddle Bag
Tonic Studios Tim Holtz - 12.25" Maxi Guillotine
Nuvo Embossing Pad


Subtle Blended Stencil Card Background - The Crafter's Workshop 2018

Friday, June 29, 2018

I wanted to share a couple cards that I created for The Crafter's Workshop and in my annual production to mail to my children during summer camp!


I chose a couple 6x6 stencils that had a fairly small, compact design that would transfer well to a small space.  I used some 3 dimensional adhesive on the small images I inked and then colored with Copic markers.


Below are the two stencils I used in my project.

The Crafter’s Workshop provided me with some product to create this project.  The opinions I share are solely my own.

I was very inspired by a recent post from Kristina Werner.  She used a couple stencils to create a blended background for some colored die cuts as the focus of the card.  She also added some of the blended stencil on the edge of the envelope to match the card.


I wanted to create a small circular area for a die cut image I colored to be adhered to the card, adding a sentiment underneath he image.


Using this repeating concentric circle stencil, I added Distress Oxide Inks with my stencil brushes, adding a light layer of pink and purple, overlapping the colors a bit.


After finishing the card, I used the same stencil and Distress Inks to brush a small area on the left side of the envelope, coordinating to the card but leaving space for the recipients address.


Next, I created utilized the same technique to create a card that is a little more masculine, for my son.


I started this card by using a 'mask' I made with a piece of cardstock and a large circle punch.  I really had intended to compose a loose circular shape, so the mask wasn't as useful as I had planned.  In this card, I used two different colors of Distress Oxide Ink, in a yellow and blue shade.


As in the previous card, I added an image that I colored with Copic markers, fussy cut and added dimensional adhesive to the stenciled area.  I also added a sentiment underneath the image.


I also stenciled a portion of the same 6x6 stencil to the mailing envelope to match the card as well.


Supplies Used:

Thanks for stopping by the Blog today!  With the vast inspiration of Pinterest, Instagram and all social media, there is an endless collection of ideas to apply the use of stencils to!  I hope this post challenges you to see inspiration everywhere.

VERY VERY VERY MERRY - The Crafter's Workshop December

Tuesday, December 27, 2016

Hello everyone!  We are just coming out of one of my favorite times of year…I love watching the anxious faces of our children, always ready to start decorating for Christmas.  Regardless of crazy schedules, parties and activities, we always make time to hang with the cousins!

I used both sizes of the ‘Christmas Lights’ Doodling Template to create a colorful background for my photo from Christmas Eve last year.


The Crafter’s Workshop provided me with some product to create this project.  The opinions I share are solely my own.


Christmas projects, layouts and decor scream metallics to me!  Gold Gesso is the perfect answer!  I gathered several inks, my photo and this Gold Gesso from The Crafter’s Workshop.


I started with a white cardstock base, wanting to keep the focus on the vivid colors and gold in the inks & gesso.  I used a round paintbrush to paint through the 12×12 stencil and the large block font words.


After the gesso dried, I used a small black gel pen to outline the cord of the Christmas lights & the bulbs themselves.  Using a green marker, I colored the inside of the wire cord.  I used several colors of ink pads to color the light bulbs  adding more color around one edge, to give the bulb dimension.


I also inked the holly leaves and berries, taping off pieces as needed to keep the design clean.  After all the inks dried, I used the same stencil, but in the 6×6 size, to add more of the words around the layout.


I added 2 more ‘VERY’s and another ‘CHRISTMAS’ at the bottom of the page, since the large one was covered by the photo.


I decided to outline the Gold Gesso letters with a black pen too, keeping the elements consistent throughout the page.


To finish up the page, I added a piece of patterned paper as a border at the top and bottom and some gold thread under the photo.


I also added some glitter Stickles to the holly berries and journaling along the cord.


These large scale intricate backgrounds are great to use for a layout, or any other project that makes the most of a lovely composition!


Thanks so much for stopping by the Blog today!

PRODUCTS Used:
Be sure to share your stencil creations on our Facebook page or by tagging The Crafter’s Workshop on Instagram, Twitter or Pinterest!
The Crafter’s Workshop Design Team Member

Proudly designed by Mlekoshi playground