Showing posts with label Distrss Ink. Show all posts

wishes - Birthday Card *VIDEO* (new Waffle Flower & Distress Oxides)

Wednesday, February 13, 2019

Hello friends!  I am sharing a card I created for a masculine birthday using a new Die from Waffle Flower over a blended Distress Ink background.  I also filmed my process, so check that out in the link below!


All products used were purchased by me and used with no influence of suggestion of anyone but myself!
*Affiliate links are used at no cost to you and the profit goes to helping fund more supplies and this channel...*


You can click on the video below or HERE to go directly to my YouTube Channel.


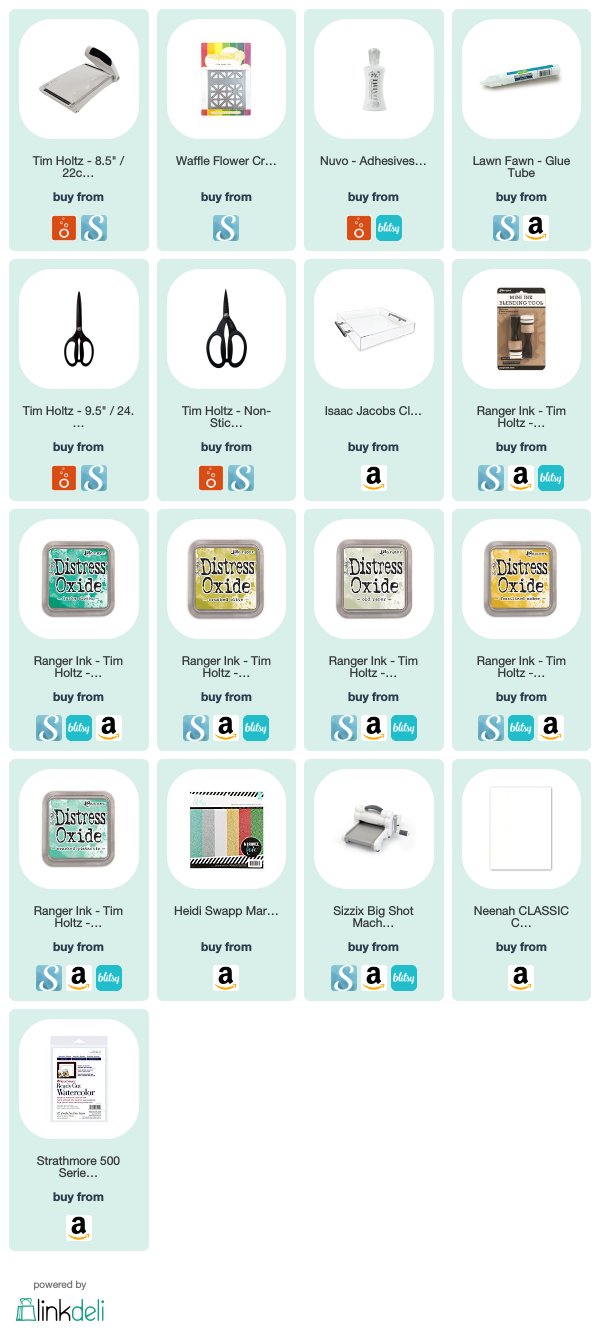
I wanted to create a a birthday card that was more masculine and so I chose this new Tile Panel Die from Waffle Flower.  I cut it out of bright white cardstock and mounted it onto another piece of fun foam I cut out using the same die.  This gave a little dimension without too much fuss.  I used a cold press watercolor paper to blend a background using 5 different Distress Oxide Inks adding some splatters of water for interest.


After adhering the blending background to my card base and the die cut piece over it, I added another word die from Lawn Fawn cut out of gold glitter paper.  I finished off the card with several gold sequins and I was done!


Thanks for stopping by the Blog today and make sure you check out the video!  I would love any feedback and appreciate all the support! :)
Have a great Wednesday!

Subtle Blended Stencil Card Background - The Crafter's Workshop 2018

Friday, June 29, 2018

I wanted to share a couple cards that I created for The Crafter's Workshop and in my annual production to mail to my children during summer camp!


I chose a couple 6x6 stencils that had a fairly small, compact design that would transfer well to a small space.  I used some 3 dimensional adhesive on the small images I inked and then colored with Copic markers.


Below are the two stencils I used in my project.

The Crafter’s Workshop provided me with some product to create this project.  The opinions I share are solely my own.

I was very inspired by a recent post from Kristina Werner.  She used a couple stencils to create a blended background for some colored die cuts as the focus of the card.  She also added some of the blended stencil on the edge of the envelope to match the card.


I wanted to create a small circular area for a die cut image I colored to be adhered to the card, adding a sentiment underneath he image.


Using this repeating concentric circle stencil, I added Distress Oxide Inks with my stencil brushes, adding a light layer of pink and purple, overlapping the colors a bit.


After finishing the card, I used the same stencil and Distress Inks to brush a small area on the left side of the envelope, coordinating to the card but leaving space for the recipients address.


Next, I created utilized the same technique to create a card that is a little more masculine, for my son.


I started this card by using a 'mask' I made with a piece of cardstock and a large circle punch.  I really had intended to compose a loose circular shape, so the mask wasn't as useful as I had planned.  In this card, I used two different colors of Distress Oxide Ink, in a yellow and blue shade.


As in the previous card, I added an image that I colored with Copic markers, fussy cut and added dimensional adhesive to the stenciled area.  I also added a sentiment underneath the image.


I also stenciled a portion of the same 6x6 stencil to the mailing envelope to match the card as well.


Supplies Used:

Thanks for stopping by the Blog today!  With the vast inspiration of Pinterest, Instagram and all social media, there is an endless collection of ideas to apply the use of stencils to!  I hope this post challenges you to see inspiration everywhere.

April Showers...Art Journal Spread

Wednesday, May 9, 2018

Hello there!  Today I am going to share an art journal spread I created with the express need for a little creative therapy!  This was my first post for May with The Crafter’s Workshop.

  
Below are the stencils, mediums & paints I used in my project!


The Crafter’s Workshop provided me with some product to create this project.  The opinions I share are solely my own.

Since I was looking for a creative outlet in a therapeutic capacity, I chose paints and mediums that are some of my favorites colors & products.  I knew I wanted to create something with the cloud designs on one of the stencils and I thought that would coordinate well with my color scheme.  Below are some of the products I used.


After using the White Gesso for a first layer, I added some loose watercolor paints.


I then used several of the sheets of Mixed Media Light Weight Sheets from ThermOWeb iCraft to brush Distress Ink onto using this large background stamp.


I also used some of the Heavy Body Acrylic paint in Silver on another of these sheets.


While the Mixed Media sheets are drying, I mix a pale purple color using more of the acrylic paints and applied it using a brayer.


Next, I used the Gel Medium to adhere the larger background stenciled sheets.


I cut out the design that I painted silver and adhered it as well. 


I used more of the acrylics and the Light & Fluffy Modeling Paste to stencil the rain cloud designs in both the 12x12 and 6x6 size.


Using one of the new metallic pastes in Sterling Silver I added more of the raindrops layered on top of the blue clouds and rain.


The final stencil I used with another new paste, the White Pearl Modeling Paste.


Finishing up the spread, I added more paint, black and white pen and ink markers and some words I printed out.  Below is the final layout and some detail shots.


Thanks so much for stopping by my Blog today!  I hope this inspires you to get out some stencils, mixed media and give yourself a little creative therapy!

TCW9036 – Light & Fluffy Modeling Paste
TCW9016 - Heavy Body Acrylic - Spun Sugar
TCW9021 - Heavy Body Acrylic - Blueberry Pie
TCW9022 - Heavy Body Acrylic - Grape Jelly
TCW9023 - Heavy Body Acrylic - Blue Jellybean
TCW9014 - Heavy Body Acrylic - Iridescent Silver
Be sure to share your stencil creations on our Facebook page or by tagging The Crafter’s Workshop on Instagram, Twitter or Pinterest!
The Crafter’s Workshop Design Team Member

bloom - The Crafter's Workshop - February 2018

Monday, March 5, 2018

Hi there!  Today I am going to share a traditional scrapbook layout using 4 of the new stencils and 2 of the new metallic modeling pastes from The Crafter's Workshop.
Below are the stencils and pastes I used in my layout.
     
The Crafter’s Workshop provided me with some product to create this project.  The opinions I share are solely my own.
I started out by misting a couple different colors of green onto white cardstock using two of the 6×6 leaf/botanical stencils.

Having decided to use a recent photo of new blooming daffodils, I chose this 12×12 stencil for the background.  I have wanted to get some of these large stencil brushes for a while and finally bought some for Christmas for myself!  I selected Distress Inks in gradating tones from yellow to orange to pink.
Starting from the top left corner working to the bottom right, I stenciled this Floral pattern onto another piece of white cardstock.
While the ink dried on my background, I fussy cut out the leaves from the 6×6 stencils I misted.
I decided that my photo needed a dark background to provide some contrast.
Since this photo makes me think of the time of year, I thought this number stencil was appropriate.  I thought a black background would provide that contrast along with the new Antique Gold Modeling Paste.
I also stenciled the piece of this 6×6 stencil in the new Champagne Gold Modeling Paste over the “bloom” portion of this stencil for my title.
I created a photo cluster using the black cardstock stenciled with gold as the base and layered the fussy cut leaves underneath my photo.
I matted the entire piece with a piece of 12×12 black & white patterned cardstock.
I added a couple other embellishments, but tried to keep it simple and keep the focus on the background stencil pattern and colors.
Thanks for stopping by the Blog today!  I hope this project gives you a little promise of Spring!
Supplies Used:
TCW758s – Doodling Template – Round Flowers
Proudly designed by Mlekoshi playground