Showing posts with label Heidi Swapp. Show all posts

Tonic Studios - Filmstrip Die

Friday, February 15, 2019

Hello there crafty friends!  Today I am going to share a traditional Scrapbook Layout I created for Tonic Studios.  I wanted to focus on the newly released ‘Photos & Filmstrip’ die for my page.
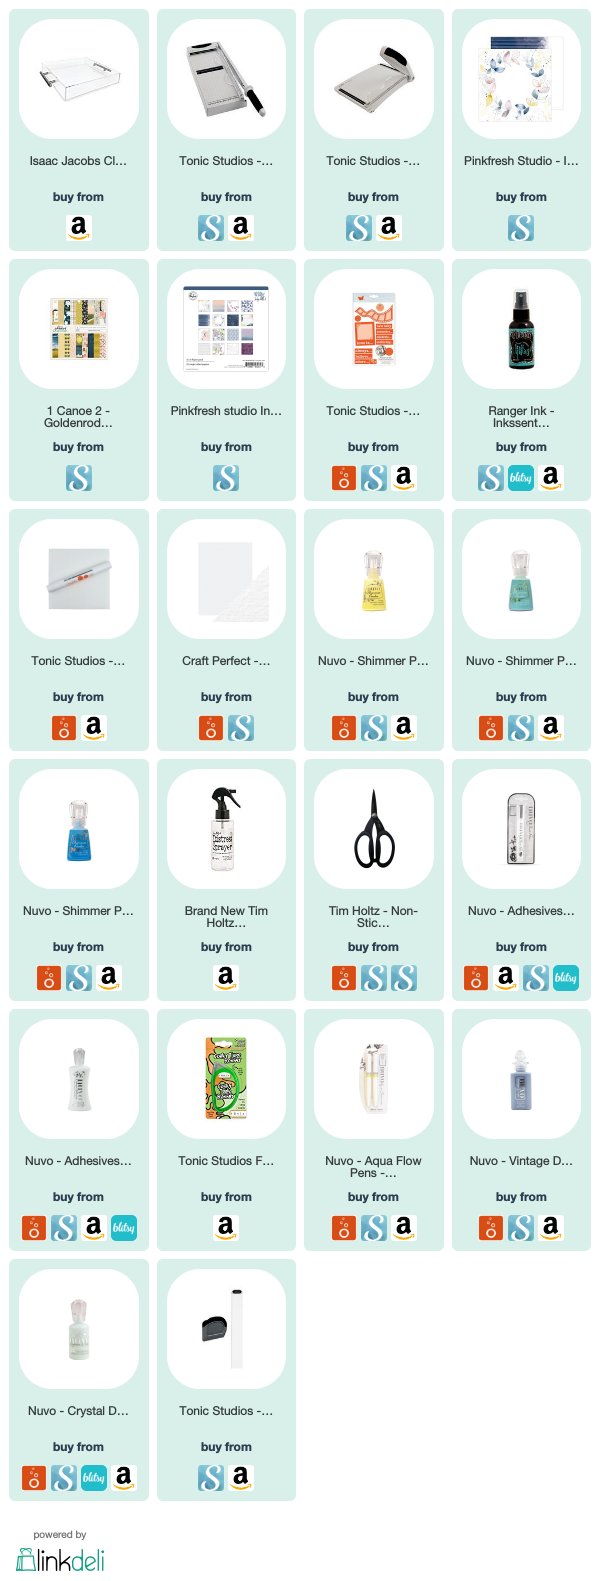
There is a complete list of supplies used at the end of the post.


All products used were purchased by me and used with no influence of suggestion of anyone but myself!
*Affiliate links are used at no cost to you and the profit goes to helping fund more supplies and this channel...*

I started by die cutting plain white cardstock with the retro photo frame with the Tonic Tangerine die cutting machine.  I cut the die 4 times and used a couple of the different titles to cut into the frames.  The frame is a piece that you fold over to encase your photo.  I used 4 photos from our recent photo shoot before Christmas.


I chose this patterned paper from Pinkfresh Studio with the faded navy and white strips and a piece of plain white cardstock.  I cut them roughly in half and adhered them to a full piece of patterned paper as a mat for the layout.  I added Gesso to the large piece of white cardstock on the right and a little bit to the center of the right side pattern, planning to add some Nuvo Shimmer Powders!


I used 3 colors of the Shimmer Powders and lots of water to get a soft watercolored look over the dried gesso areas.  While that dried, I misted the die cut photo frames using some Dylusions Ink Spray, backed the titles with colored paper and slipped my black and white prints inside the frames.  I lined up the photo frames over the seam between the two papers and added some washi just for decoration.

Finally I added a few other die cuts, some Thickers for my title, and some flowers and leaves I fussy cut from another piece of Pinkfresh Studio paper that is part of the same collection as the main patterned paper.  I finished up with some journaling and lots of Nuvo Drops scattered around the page!


Thanks for stopping by the Blog today!  Below is the list of products used.

I hope you have a wonderful weekend!


together - introspective sappines (& start to finish video)

Monday, October 29, 2018

Hi guys and Happy Monday!  
Today I am sharing a scrapbook layout I created using lots of items I had been hoarding or hiding by accident.  I recently did a massive clean out of my craft room and came across so many of my favorite papers and embellishments.  I also came across lots of printed photos.  Some of these have been previously scrapped as single photos, but I loved seeing these all together.


To watch my process video, click below or HERE to go directly to my YouTube Channel


P

I also came across lots of printed photos.  Some of these have been scrapped before, mostly as single photos , but I loved seeing them all together.  This layout was inspired solely by the need to see my children's faces together.


I tried to balance out the reds, yellows and blues of the photos and papers, using the embellishments and tags I had gathered.  I added some washi and a chipboard photo frame strip over part of the photo collage.


Not sure about you guys, but I am totally one of those people that when I bought some new products or got a new kit, I did one of two things.  I either used my favs immediately or set them aside for the perfect project.  Then they inevitably become buried and forgotten.  In my personal life, we have have a challenging few months...
and I’ve been saying that for a few months.


I’ve also come to the conclusion, in this crazy time we live in, that we shouldn’t keep things to use for that “perfect project.”  Life is fragile and tumultuous and precious...even for something as seemingly insignificant as scrapbook products, why wait, why save them for some other day??   Shouldn’t we use them now, today, whether it be paper, formal dinnerware, a fancy pair of earrings or calling that friend to reconnect with??  In other words,  Carpe Diem!!

Thanks for stopping by today.  I hope you have a wonderful day and an amazing week and remember, even in the smallest of things, live in the moment!

Traveler's Journal CHA 2017 - The Crafter's Workshop

Monday, May 15, 2017

Hello there friends!!
Today, I am sharing a traveler’s journal that I used to document my trip to Creativation in Arizona this past January.
The Crafter’s Workshop provided me with some product to create this project. The opinions I share are solely my own.
               
I was planning to create something special to remember this trip and had always had the cactus/stars stencil in the back of my head to use.  I printed out some of my favorite pictures using my Instax printer.The blank traveler’s journal I used has a kraft cover, which I stenciled the cactus and stars blending several colors of Distress Inks.After the front cover dried, I started adding stencils to the inside pages as backgrounds for my photos and journaling.  I chose stencils that I thought would match the photos & subjects of the pages.I thought this 6×6 would make a good radiant abstract sun.I mostly added the stencils to opposite corners, varying size to add a dynamic visual!Besides the cactus stencil, I thought these succulents would be perfect and tried to add some depth with the inks.I added a loose watercolor rectangle and then stenciled some of these flowers on top in contrasting colors.I used a pink mist with the small stencil as a light background for my journaling on this page.Finally for the last page, I layered the postmark piece of one stencil and the ‘correspondence’ text on top of a bookmark and sticker to compliment the photo and story I had for this page.I tried to keep it simple, adding journaling to one side, and just a couple embellishments to each spread.I used the stickers from the entry into Frank Lloyd Wright’s Talesin West to this page.I added some pink colored pencil to the centers of the stenciled succulents.
I love this washi tape with the colors & ink of the flowers.Although the colors and patterns are subtle in these pages, I think they add a nice texture and scale to compliment the other patterns I used.This turned out to be one of my favorite pages with the ink bottle and feather; I loved the layered look it achieved.
I added some of the Gold Gesso under the cactus for a little shine and title block for my Thickers.
Thanks for stopping by the Blog today and I hope this inspires you to document a special trip or event in your life!
PRODUCTS used:

capture - Scrapbook Circle October kit

Saturday, November 5, 2016

Can you believe it is November?  Time seems to be slipping by faster than normal this past several weeks...An even better reason for trying to slow down and 'capture' a moment!  This was a LO I made using the Scrapbook Circle October kit, 'The Weekender.'


I did lots of fussy cutting between the patterned paper from Shimelle and the metallic gold cards from Pretty Little Studio, cutting leaves.  I created a cascade of the leaves to highlight the theme and background of my photo from a Fall photo shoot.


I made a photo mat using another of the metallic cards and a piece of the paper from Pretty Little Studio from the Oakley Avenue collection.  I added lots of the cut apart tags from the Oakley Avenue collection and some of the gold foam American Crafts Thickers.


The 'capture' title was perfect for this day, this time of year and the reason for memory keeping itself!
Thanks for stopping by the Blog today.
Have a wonderful weekend!

TIME CHANGES - The Crafter's Workshop Art Journal September 2016

Friday, October 21, 2016

Hello!  I have been so behind in posting my current projects to my Blog.  This time of year starts getting crazy busy and doesn't seem to stop until after the New Year...SO, trying to get better about that and I am sharing my latest art journal spread with you today using lots of new The Crafter’s Workshop Mediums that are divine…as well as several stencils!


The Crafter’s Workshop provided me with some product to create this project.  The opinions I share are solely my own.
the-crafters-workshop-gesso-white-8-ounces-2 the-crafters-workshop-gesso-clear-8-ounces-2 the-crafters-workshop-modeling-paste-light-and-fluffy-8-ounces-2 the-crafters-workshop-gesso-gold-8-ounces-2 the-crafters-workshop-modeling-paste-8-ounces-2
               
 I started my spread by using the new Clear Gesso Medium as a base for my pages.  It is a lovely texture and was a nice change to the normal white gesso I use that can sometimes be splotchy.

After the gesso had dried, I used several colors of blues and rose gold acrylics to lay the foundation.


I continued to add layers with darker blues, allowing drying time in between.


I used the piece of this 12×12 stencil that had a grid/receipt and some dark dye ink.


I added several layers of tissue paper and random cards with text on them over the base.  Then I used the TCW White Gesso in a thin layer over most of the background.  Letting some of the text read through.


After letting the Gesso dry again, I used this new Light & Fluffy Modeling Paste and I cannot say enough good things about it!!


From the super cute graphics on the label to the texture and finally the way it feels in on a palette knife.  True to its’name, it is light and fluffy, and more than that, it holds it shape beautifully.


It is like a perfect meringue frosting holding its height and dimension on this stencil I thought of as a stem or vine for flowers.


I added some of the Gold Gesso to the thick Modeling Paste to use on a few of the flowers.  Unfortunately, the gold didn’t transfer as well with the paste, it was more of a pale peach.


I did use the Gold in adding color around the other stenciled designs.


I continued to add layers of mist and markers, defining edges and adding shadowed lines to make the modeling paste areas pronounced.


Using the 6×6 Corncob Etching stencil and black archival ink, I stenciled small areas to add more interest around the spread.


Finally, I finished up with some white marker and a quote from Thomas Hardy that is one of my favorites.  I love adding doodles around the stenciled areas, and continued to do so until I almost ran out of ink!


Here are a couple detail pictures:


Here is the final spread below.  I am pleased with how it evolved after so many layers.  The new TCW Mediums are amazing and all very good quality. 

Thanks so much for stopping by the Blog today!
STENCILS Used:
TCW619s – 6×6 Mini Corncob Etching

Proudly designed by Mlekoshi playground