Showing posts with label Crate Paper. Show all posts

SNUGGLE (&video**) - TONIC Studios USA - November 2018

Wednesday, November 7, 2018

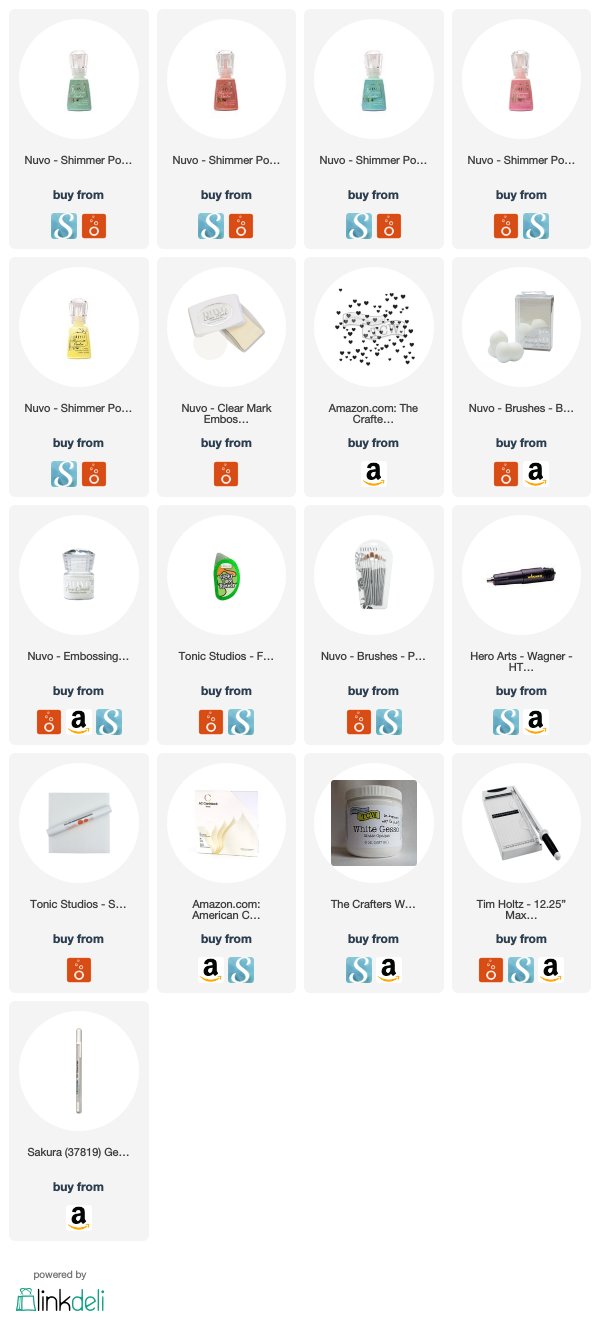
Hello everyone!!  I am excited to share a traditional scrapbook layout for my second project for Tonic Studios!  I played with so many of the lovely Nuvo Shimmer Powders.  All of the tools and supplies I used are linked at the end of this post.


You can click on the video below to watch my process creating the project or click HERE to go to my YouTube Channel.


I wanted to create my own 'patterned paper.'  I started by heat embossing a large stencil onto white cardstock using the Nuvo Fine Detail Embossing Powder in Glacier White.


I wanted the hearts to act as a resist to the Shimmer Powder technique that I imagined as a colorful contrast to my black & white photo.  I used the Green Parade, Atlantis Burst, Catherine Wheel, Solar Flare and Cherry Bomb colors of Shimmer Powder in multiple layers to achieve the pastel colors I wanted.


I added some patterned paper and tags behind my photo and some light turquoise alphas with a gold accent as well.  All of the embellishments and papers are at least a year old, but are among my favorites that couldn't be "purged" from my latest clean out!


I adhered my painted cardstock background onto another piece of navy patterned paper and tried to use several other accents in Blue...our puppy's name. :)


You can find the links to all the products I used below.
Thanks so much for stopping by and I hope you check out the video as well!
Have an amazing day!


together - introspective sappines (& start to finish video)

Monday, October 29, 2018

Hi guys and Happy Monday!  
Today I am sharing a scrapbook layout I created using lots of items I had been hoarding or hiding by accident.  I recently did a massive clean out of my craft room and came across so many of my favorite papers and embellishments.  I also came across lots of printed photos.  Some of these have been previously scrapped as single photos, but I loved seeing these all together.


To watch my process video, click below or HERE to go directly to my YouTube Channel


P

I also came across lots of printed photos.  Some of these have been scrapped before, mostly as single photos , but I loved seeing them all together.  This layout was inspired solely by the need to see my children's faces together.


I tried to balance out the reds, yellows and blues of the photos and papers, using the embellishments and tags I had gathered.  I added some washi and a chipboard photo frame strip over part of the photo collage.


Not sure about you guys, but I am totally one of those people that when I bought some new products or got a new kit, I did one of two things.  I either used my favs immediately or set them aside for the perfect project.  Then they inevitably become buried and forgotten.  In my personal life, we have have a challenging few months...
and I’ve been saying that for a few months.


I’ve also come to the conclusion, in this crazy time we live in, that we shouldn’t keep things to use for that “perfect project.”  Life is fragile and tumultuous and precious...even for something as seemingly insignificant as scrapbook products, why wait, why save them for some other day??   Shouldn’t we use them now, today, whether it be paper, formal dinnerware, a fancy pair of earrings or calling that friend to reconnect with??  In other words,  Carpe Diem!!

Thanks for stopping by today.  I hope you have a wonderful day and an amazing week and remember, even in the smallest of things, live in the moment!

Remember This - Scrapbook Layout *& video*

Sunday, September 9, 2018

On my continuous journey to clean out my craft room, I decided to use several of the papers I had been saving and combined this color palette of navy, grey, white and olive.


You can either click HERE to go to my YouTube Channel or click below to watch the process video I filmed.


I used some Distress Inks and Distress Oxide Inks to paint a wash of several colors on a white cardstock background.


Using a combination of papers and embellishments, I created a cluster of layers to mat my photos on top of.


I used lots of the Pinkfresh Studio chipboard hearts and a chipboard Thickers title. 


Thanks for stopping by today and make sure you check out the video.
Have an amazing day!

Jot It Down - Scrapbook Circle February

Sunday, April 9, 2017

Delayed, but I wanted to share the '1 Product 2 Ways' post because of this amazing layout below!  This week’s assignment was to use the Shimelle ‘Little By Little’ Wood Buttons from the February “So This Happened” kit.
Jot it Down_SBC_February 2017 border
I have been wanting to go to CHA, i.e. Creativation for years and finally, last month I got to go!  Not only, did I get to meet some of my scrapbooking idols like Heidi Swapp and Amy Tan, but I got to put real life voices and personalities to these amazing talents from Scrapbook Circle!  That was the highlight of the weekend and this photo was from the Saturday.
Jot it Down_SBC_February 2017 (16)

I decided to make this project a play on the graphic patterns in the papers and embellishments.  I layered papers and stickers, creating associations between the angles and colors.  I used the buttons as bullet points for other stickers.  I also combined them under matching colors creating clusters following the diagonal half of the patterned paper I cut.
Jot it Down_SBC_February 2017 (14)
I loved this kit, it is full of some of my favorites colors and classic patterns that never go out of style!
Thanks for stopping by!  Have a great week!

HASHTAG - Scrapbook Circle December Kit

Thursday, February 2, 2017

Ok. so I am a little late sharing this!
This was a page I created just for me, using the Scrapbook Circle December kit, "Everyday Stories." 
Even though this kit was from two moths ago, it has lots of colors and patterns perfect for early Spring!


I started seeing this 'pineapple' quote all over my daughter's school stuff, Instagram accounts and Pinterest.
I didn't really appreciate the pineapple trend until I read it, which I think is a perfect mantra for young girls today.


I basically just created my favorite type of page, a black and white photo, (my daughter's first Selfie)
a heavily layered paper cluster as a photo mat, and some ink and embellishments!  


The leatherette splattered alphas from Pinkfresh Studio help tie in all the pastel colors I used.
It is a fairly dimensional layout, but I plan to put it into a Scrapbook shadow box frame..


Slowly but surely, I am working my way through my stack! Thanks for stopping by today!
I hope you have have an amazingly creative and crafty weekend!

best ever - Scrapbook Circle 1 Product 2 Ways

Sunday, January 8, 2017

Hello my friends!  I have been sitting in the sleet rain and "snow" of the Winter Storm Helena, which didn't amount to much, writing blog posts  This one, part of the 1 Product 2 Ways post has been a total ray of sunshine.    Along with DT member Allie, I used the Jillibean Soup Label Stickers from the December ‘Everyday Stories kit to create a colorful layout. 


I wanted to use the stickers, almost as a banner description, for each of the photos.  I printed several photos, throughout the day, from my son’s birthday last year.  I added a square piece of patterned paper being each photo as well as a vellum ‘banner’ that I placed the sticker onto.

  I wanted to create a fairly light page, keeping the focus on the Jillibean script stickers.  I added a couple other color coordinating stickers around each photo and used the exclusive SC acrylic words for my title…’best ever.’


Still playing catch up from some of my December projects, so I thanks for stopping by!!
Have an amazing day and stay warm!


LIGHT - Scrapbook Circle November - Take 2

Wednesday, November 23, 2016


I can’t believe Thanksgiving is tomorrow and more than that, the Holidays are around the corner!  The thing I do like this is the time of year, is that I can look back at previous holiday celebrations and start to get into the spirit for the coming season!
Recently, I used Creative Team member Jung’s LO from the Spring, in honor of her being on maternity leave with her sweet new baby girl!  This is my page below, using the new November “Wonderland” kit and highlighting some Instagram pics of our decor.
light_sbc_nov-2016-border
Jung’s layout below is so fresh and bright and is a great inspiration for any page.  I love the subtle alignment she creates between the edges of her photos and the title and embellishments.  It may look random at first glance, but it is beautifully deliberate.
Jung's One Fine Day ideas
I thought the wood grain background with tiny snowflakes would make a nice contrast to the white cardstock.  Jung punched a lot of her shapes and embellishments that bridge the background and photo cluster.  I used stickers, and shapes from Pinkfresh Studio & Crate Paper to create the same effect.
light_sbc_nov-2016-14
I used a snowflake punch and snowflake die cut to create some additional pieces using the Pinkfresh Studio 6×6 pad that is part of the “Hot Cocoa” Add-On.  I also used an acetate square from Pinkfresh instead of a 4th photo in my grid.
light_sbc_nov-2016-12
 I love this LO because it is a bridge of fun embellishments over photos that tell a story. Thanks for the inspiration Jung!
I am very grateful for being part of this amazing team for my patient family who humors my need to create and provides lots of scrapbook fodder!!  Thank you for stopping by the Blog today!  Wishing you all a blessed Thanksgiving!

give thanks - Scrapbook Circle Digital Cut Files - October

Thursday, November 10, 2016

Hey there!  I love the Fall for so many reasons;  football season, cooler weather, Fall colors and the Holidays!  Looking through my scrapbooks, November is notably a time of reflection and acknowledging the blessings in my life.  I focused on the Digital Cut File, part of the monthly subscription at Scrapbook Circle, to create a layered, textured background for this page.


I knew I wanted to use this photo and after sifting through the kit, I decided to print it in black & white and use the black and white chevron patterned paper behind my cut file paper.  The cut file is a triangular pattern that I randomly folded both back and front, giving the piece texture and a peek at the pattern behind.


I also used the black and white drawn leaf patterned paper and watercolored it using yellows, oranges and peach colors.  Fussy cutting a portion of that painted pattern, I layered it under the photo as well as a white tag and some other embellishments.


I also used the exclusive Scrapbook Circle acrylic script word embellishments, which are clear, and colored the pieces by painting the back with a matching Copic marker.


I love the warmth this layout conveys and more than that, I love the story that the photograph tells!   Thanks for stopping by the Blog today.  You can see the original Blog post HERE!


capture - Scrapbook Circle October kit

Saturday, November 5, 2016

Can you believe it is November?  Time seems to be slipping by faster than normal this past several weeks...An even better reason for trying to slow down and 'capture' a moment!  This was a LO I made using the Scrapbook Circle October kit, 'The Weekender.'


I did lots of fussy cutting between the patterned paper from Shimelle and the metallic gold cards from Pretty Little Studio, cutting leaves.  I created a cascade of the leaves to highlight the theme and background of my photo from a Fall photo shoot.


I made a photo mat using another of the metallic cards and a piece of the paper from Pretty Little Studio from the Oakley Avenue collection.  I added lots of the cut apart tags from the Oakley Avenue collection and some of the gold foam American Crafts Thickers.


The 'capture' title was perfect for this day, this time of year and the reason for memory keeping itself!
Thanks for stopping by the Blog today.
Have a wonderful weekend!

Stencils & Metallic Foil - The Crafter's Workshop

Tuesday, May 31, 2016

Hello everyone!  I am excited to share a new experiment I tried with 4 of the smaller stencils, from both the previous Summer collection and the newly released ones from The Crafter’s Workshop..
The Crafter’s Workshop provided me with some product to create this project.  The opinions I share are solely my own.


 I was inspired by watching a video earlier in the week that I replicated using the stencils above.  I picked out several stencils and cut some plain white cardstock.
I used the art screen ink that is made to react with the Minc machine  and metallic foil.  I applied it fairly quickly, using a palette knife and wasn’t too careful around the edges, wanting some imperfections.  The ink I used is silver and does have a sheen to it, but doesn’t compare to the look of silver foil.
After letting the ink completely dry, I ran it through the machine, laminating the foil to the reactive ink.
This was an experiment, so I guessed about the heat setting, but it worked perfectly!
After pulling off the foil, you can see the negative of the stencil so well.  I will definitely be using it in another project!
Meanwhile, I added Distress Inks to a laminated piece cardstock, that I use as a slick surface.  After misting it with water, I dipped watercolor paper into it adding puddles of ink.
Using the Mini Art Deco Numbers stencil, I added a ’15’ to the paper using silver stamp ink.

I punched out the number and mounted it to another punched piece of glittered paper.  I trimmed the card face and decided to mount it onto another piece of patterned paper.
 I thought it needed a but more color and it helped bring out the blues and greens in the ink.  I added a little bit of silver paint around the circle edge with my finger.
Now, on to the second card!  I used this stunning 6×6 Mini Doodle Bloom stencil and the same silver reactive ink.  This time, I took a chance and used a copper/gold foil, not knowing if the silver would prevent it from staying copper.
It turned out beautifully and I was so impressed because of the intricacy of the stencil.  Once again, the negative of the stencil is almost prettier to me!
This time, I used several pinks and purple Distress Inks to color a background piece.
Using a dark grey stamp ink and dauber, I added the ‘LOVE’ from this tiny ‘Remnant’ stencil.  I trimmed the word out to a small banner shape and added gold paint around the edges.
I also cut down the foiled stencil and mounted it onto a patterned kraft paper.  I added some twine under the banner with hot glue to add some extra color.
I am so excited at the final product, mostly because I found a new way to use my stencils and combine them with the foil trend that is so hot now!  These made lovely cards for my 15th wedding anniversary and to celebrate our Goddaughter’s engagement.  My mother always said there is no greater gift, than one that is handmade!
Thanks for stopping by today!  You can follow the link below to the stencils I used:
STENCILS Used:
Proudly designed by Mlekoshi playground