Showing posts with label Dear Lizzy. Show all posts

Cards from Creativation 2019 - Tonic Studios

Monday, June 10, 2019

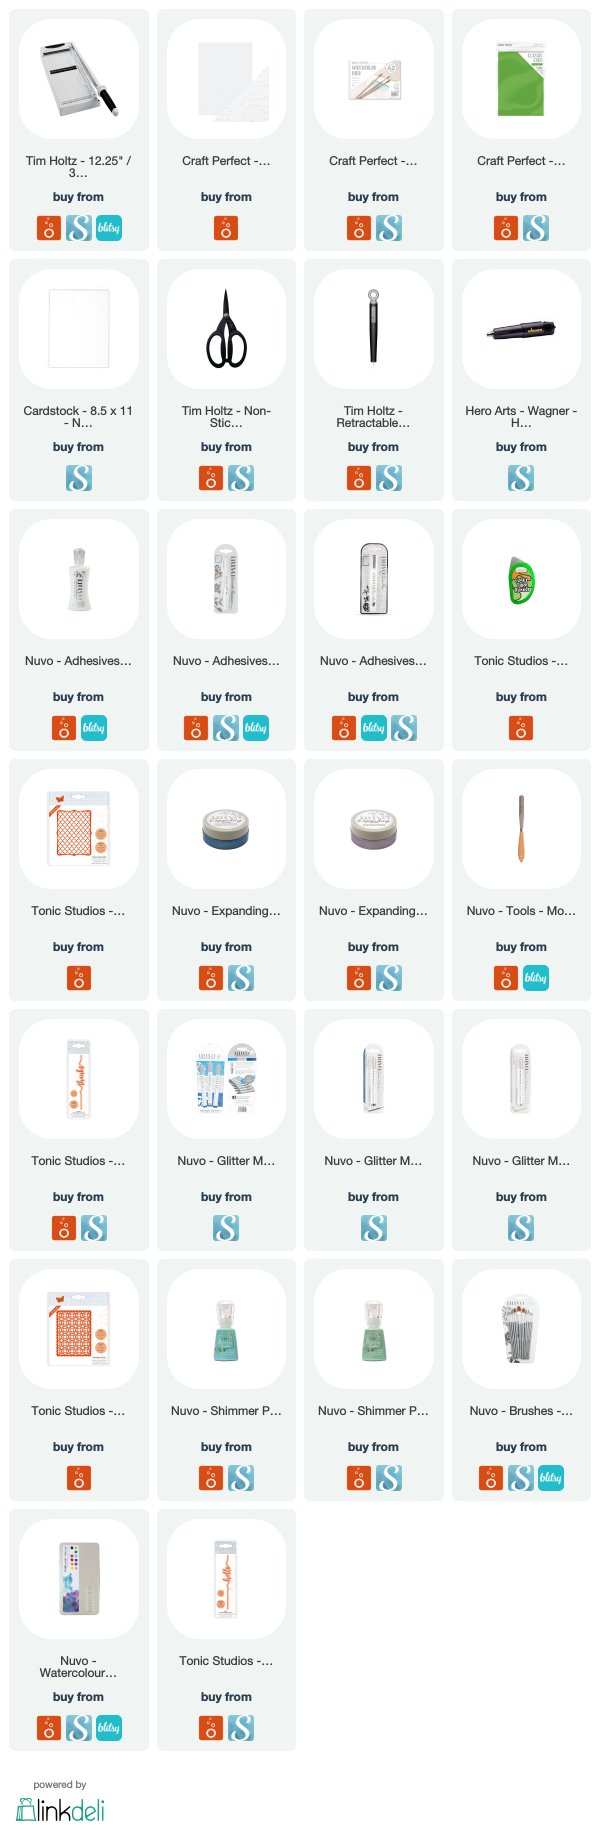
Even though it is June, I still wanted to share the cards I created for the Tonic Studios booth at Creativation 2019 this past January.  All of these cards were created using the ‘Adorables’ Stamp & Die Sets and colored with Nuvo alcohol markers, as well as other Tonic products.


This first card I used different sizes of the Tonic Basic circle dies to cut out circles for these colored images from the ‘Ellie Goes Nuts’ set.  I used some of the Hybrid Inks to blend color underneath the circles.  I heat embossed the sentiment that is parts of the stamp set.  I covered the balloon in Nuvo Crystal Drops to give it the shine.


The next card, I used one of the Patterned Panel Dies to cut a panel out of white cardstock.  I adhered it to another piece of A2 sized cardstock and misted them both using Nuvo Mist in Turkish Rose.  I cut out a scalloped circle from the misted piece and added foam tape to the back.


I used Distress Oxide Inks to blend the area behind the scalloped opening and added this skunk and other elements from the ‘Scent Wiff Love’ set.  I love the speech bubble with its hearts and free form shape. 


For the final card, I used the Adorables ‘Kirby & Lulu’s Wash Day’ stamp set to create this window border shaker card.  I used a couple different stitched border frame dies for both the window and outside frame.  I used a combination of acetate & vellum behind the frame as a background for my shaker elements and the sentiment.


I used dimensional foam tape to pop up the center shaker portion and add some patterned paper between the two frames.  I used several types of Nuvo confetti and glitter for the shaker bits.  I adhered all my colored images from the stamp set and from a couple other new Tonic ones to the outside the acetate.  I heat embossed the sentiment in black onto vellum and added Some detail with a white gel pen.


That’s it!  It took a while to post these, but wanted to spread them out between several weeks and other projects!  There are so many recent, fun examples of projects using the Adorables sets, check them out! 
Thanks for stopping by and I hope you have a great week!
Cards for Creativation - Tonic Studios

Wednesday, April 10, 2019

Today, I am going back in time a little bit to share a couple cards I created a few months back for the Tonic Studios booth at Creativation in January.  I wanted to feature the new metal panel dies combined with a some different Nuvo mediums.


I filmed my process which can view by clicking on the video below or HERE to go directly to my YouTube Channel.


For this 'hello' card, I used two of the Nuvo Shimmer Powders in Green Parade and Atlantis Burst on some of the Craft Perfect watercolor cardstock.  Once it dried, I used the 'Sunflower Array' panel die to cut out this intricate layer for the top of my card.


I mounted it onto some white cardstock, a layer of foam and finally a piece of pink patterned paper.
Next, I took the 'hello' Sentiment Strip die to cut out a piece of watercolor paper I had colored with a couple of the watercolor pencils.


I layered the sentiment onto a piece of vellum cut from the border that is part of the sentiment strip and adhered it to the front of the die cut panel.  To finish off the card, I added a few white sequins into the center of some of the flowers.

For this thank you card, I used the Nuvo Expanding Mousse in 'Boatyard Blue' & 'Misted Mauve' in a thick layer onto some plain cardstock.  I heated up the mousse to expand it and create that dimensional texture that the mousse is named for.


I die cut the moussed piece using the 'Classic Quatrefoil' panel die and the coordinating border.  I leave some of the pieces in place and popped some out.  I used some 3D foam squares onto the parts of the panel I left in place and adhered it to a piece of white Pearlescent Cardstock.


I used the same idea with the 'thanks' Sentiment Strip die using the vellum as the border.  I cut the sentiment itself out of some cardstock I colored using the 'Imperial Blue' & 'Silver Mist' Shimmer Markers from Nuvo.  I cut the sentiment twice to stack and give a little bit of blue shadow under silver one.


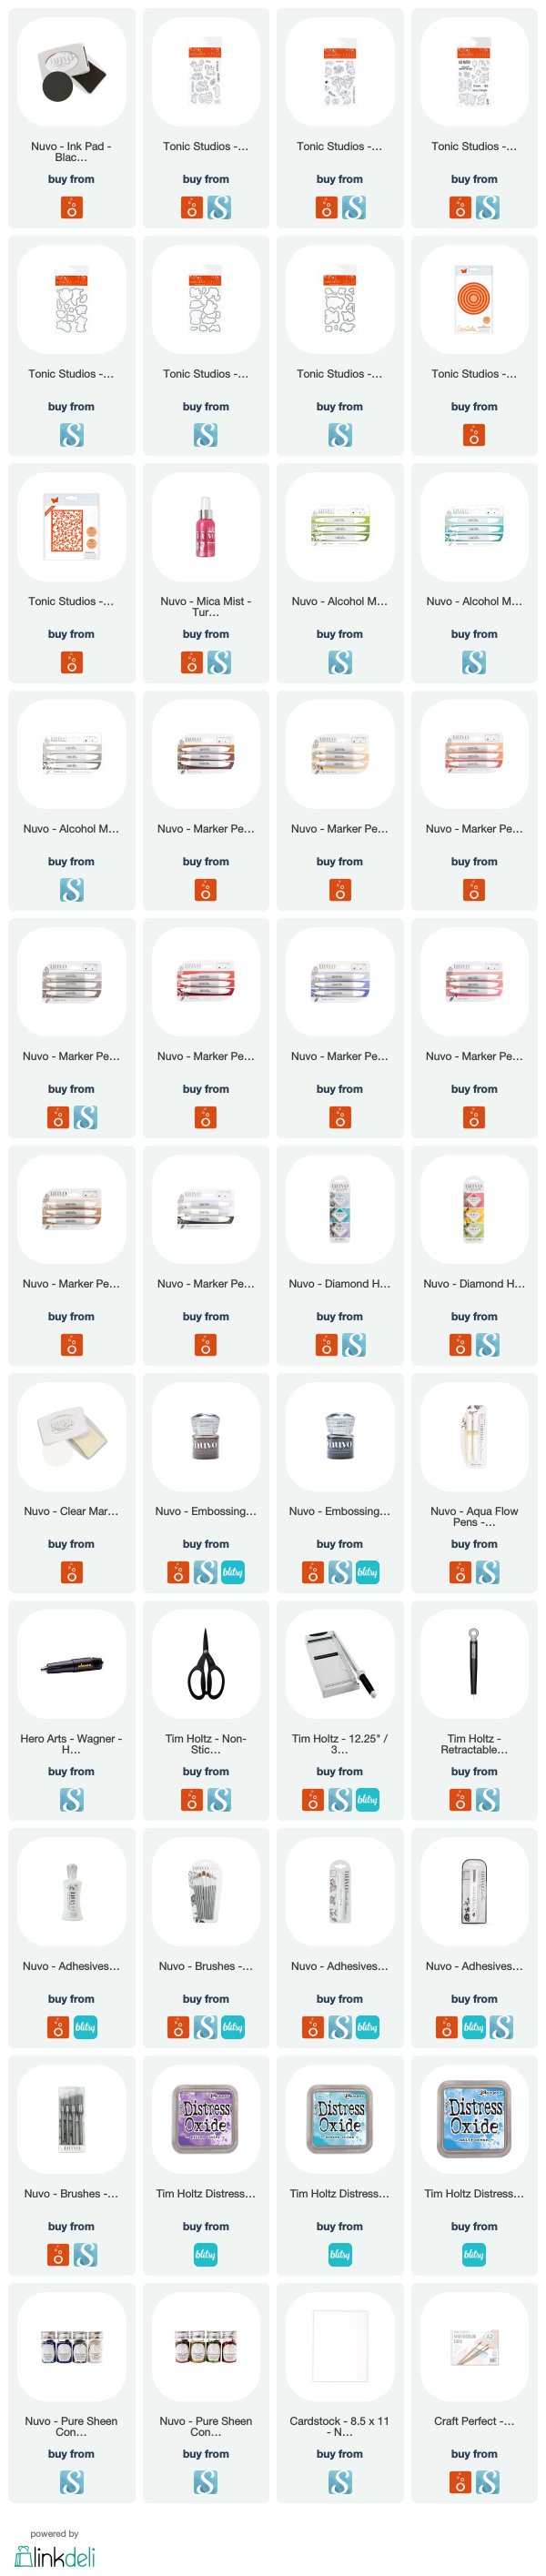
Thanks for stopping by the Blog today and I hope you check out the video as well!  Below is a list of the products I used, some of which are affiliate based, and at no cost to you to link to.  

SNUGGLE (&video**) - TONIC Studios USA - November 2018

Wednesday, November 7, 2018

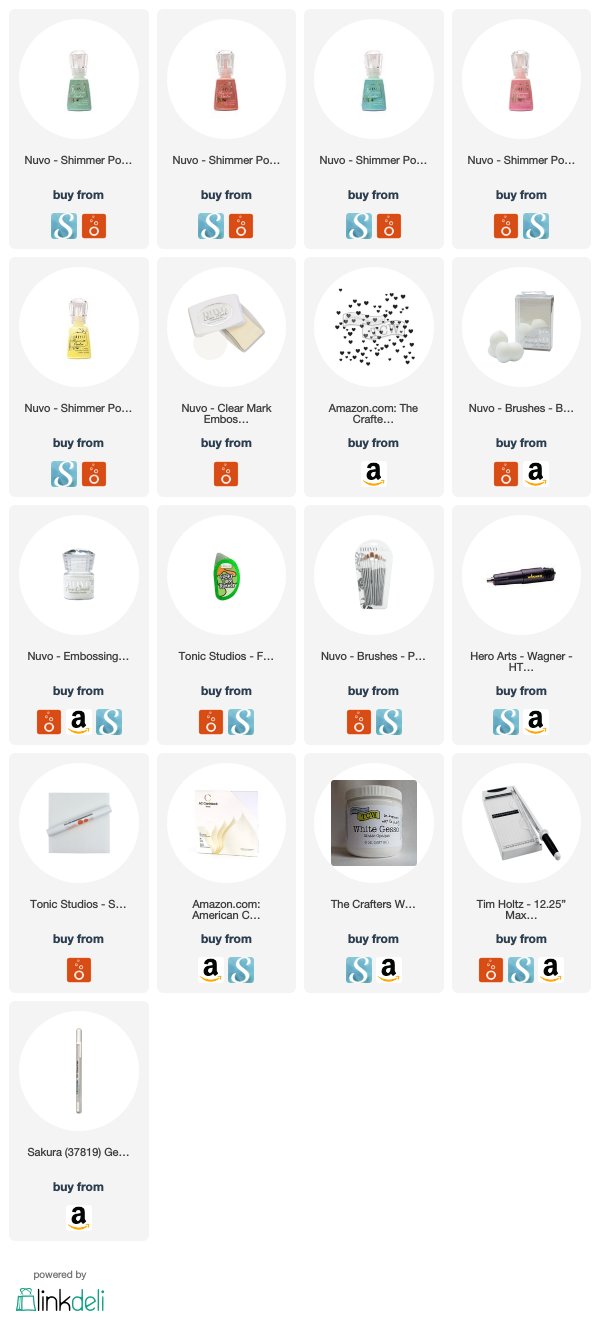
Hello everyone!!  I am excited to share a traditional scrapbook layout for my second project for Tonic Studios!  I played with so many of the lovely Nuvo Shimmer Powders.  All of the tools and supplies I used are linked at the end of this post.


You can click on the video below to watch my process creating the project or click HERE to go to my YouTube Channel.


I wanted to create my own 'patterned paper.'  I started by heat embossing a large stencil onto white cardstock using the Nuvo Fine Detail Embossing Powder in Glacier White.


I wanted the hearts to act as a resist to the Shimmer Powder technique that I imagined as a colorful contrast to my black & white photo.  I used the Green Parade, Atlantis Burst, Catherine Wheel, Solar Flare and Cherry Bomb colors of Shimmer Powder in multiple layers to achieve the pastel colors I wanted.


I added some patterned paper and tags behind my photo and some light turquoise alphas with a gold accent as well.  All of the embellishments and papers are at least a year old, but are among my favorites that couldn't be "purged" from my latest clean out!


I adhered my painted cardstock background onto another piece of navy patterned paper and tried to use several other accents in Blue...our puppy's name. :)


You can find the links to all the products I used below.
Thanks so much for stopping by and I hope you check out the video as well!
Have an amazing day!


Traveler's Journal CHA 2017 - The Crafter's Workshop

Monday, May 15, 2017

Hello there friends!!
Today, I am sharing a traveler’s journal that I used to document my trip to Creativation in Arizona this past January.
The Crafter’s Workshop provided me with some product to create this project. The opinions I share are solely my own.
               
I was planning to create something special to remember this trip and had always had the cactus/stars stencil in the back of my head to use.  I printed out some of my favorite pictures using my Instax printer.The blank traveler’s journal I used has a kraft cover, which I stenciled the cactus and stars blending several colors of Distress Inks.After the front cover dried, I started adding stencils to the inside pages as backgrounds for my photos and journaling.  I chose stencils that I thought would match the photos & subjects of the pages.I thought this 6×6 would make a good radiant abstract sun.I mostly added the stencils to opposite corners, varying size to add a dynamic visual!Besides the cactus stencil, I thought these succulents would be perfect and tried to add some depth with the inks.I added a loose watercolor rectangle and then stenciled some of these flowers on top in contrasting colors.I used a pink mist with the small stencil as a light background for my journaling on this page.Finally for the last page, I layered the postmark piece of one stencil and the ‘correspondence’ text on top of a bookmark and sticker to compliment the photo and story I had for this page.I tried to keep it simple, adding journaling to one side, and just a couple embellishments to each spread.I used the stickers from the entry into Frank Lloyd Wright’s Talesin West to this page.I added some pink colored pencil to the centers of the stenciled succulents.
I love this washi tape with the colors & ink of the flowers.Although the colors and patterns are subtle in these pages, I think they add a nice texture and scale to compliment the other patterns I used.This turned out to be one of my favorite pages with the ink bottle and feather; I loved the layered look it achieved.
I added some of the Gold Gesso under the cactus for a little shine and title block for my Thickers.
Thanks for stopping by the Blog today and I hope this inspires you to document a special trip or event in your life!
PRODUCTS used:

Jot It Down - Scrapbook Circle February

Sunday, April 9, 2017

Delayed, but I wanted to share the '1 Product 2 Ways' post because of this amazing layout below!  This week’s assignment was to use the Shimelle ‘Little By Little’ Wood Buttons from the February “So This Happened” kit.
Jot it Down_SBC_February 2017 border
I have been wanting to go to CHA, i.e. Creativation for years and finally, last month I got to go!  Not only, did I get to meet some of my scrapbooking idols like Heidi Swapp and Amy Tan, but I got to put real life voices and personalities to these amazing talents from Scrapbook Circle!  That was the highlight of the weekend and this photo was from the Saturday.
Jot it Down_SBC_February 2017 (16)

I decided to make this project a play on the graphic patterns in the papers and embellishments.  I layered papers and stickers, creating associations between the angles and colors.  I used the buttons as bullet points for other stickers.  I also combined them under matching colors creating clusters following the diagonal half of the patterned paper I cut.
Jot it Down_SBC_February 2017 (14)
I loved this kit, it is full of some of my favorites colors and classic patterns that never go out of style!
Thanks for stopping by!  Have a great week!
Proudly designed by Mlekoshi playground