Showing posts with label Spray Mist. Show all posts

JOY - A simple Holiday Card (& video)

Tuesday, November 26, 2019

Hi there!  I am sharing a Card I created with the intent to make it within 5-7 minutes!  Ha!
That didn't work.  But, it is still a simple, fairly quick card, that would be easily replicated.
I filmed the process so you can see how I made it and exactly how long it did take.


You can click on the link below or HERE to go directly to YouTube Channel.


I used an Snowflake embossing folder from Sizzix on a plain piece of white cardstock and after
running it thru my Gemini Jr. I misted it with Clear Shimmer Mist from Avery Elle.
I added foam tape to the back of it and adhered it to another piece of Pearlescent Cardstock
from Tonic Studios that was glued onto the face of my card base.


Using a piece of 6x6 silver cardstock from Tonic Studios, I die cut this large,
intricate snowflake from Tim Holtz for Sizzix.


I die cut the "Adore Alpha" letters from Pinkfresh Studio out of this gorgeous red glitter
cardstock and only used the outside halo card of the letters. Layering all the die cuts,
I adhered them onto the dry embossed piece with liquid glue.


To finish up the card, I added two colors of Nuvo Crystal Drops around the snowflakes.


Thanks for stopping by the Blog today.
I'm going to try again with another timed card, but will definitely give myself more time.
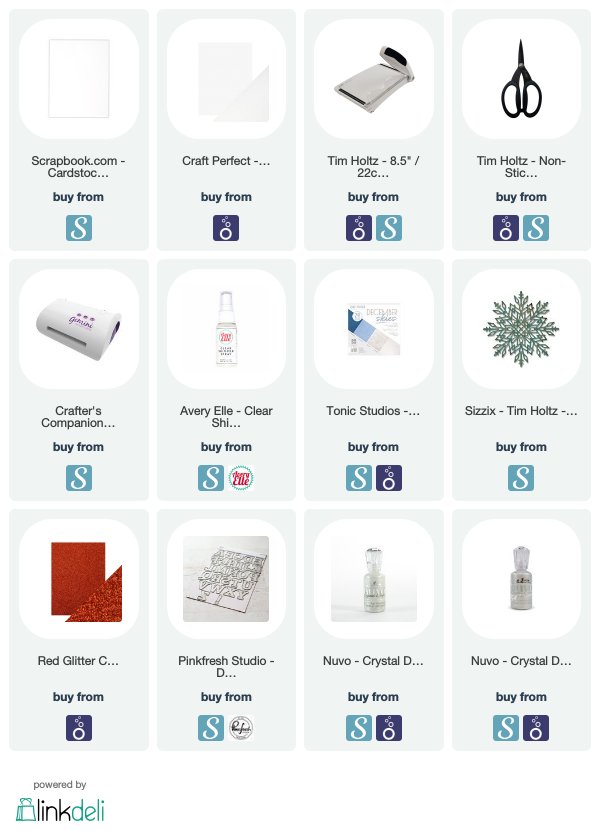
A list of the supplies I used are listed below and there are affiliate links used at no cost to you.
Have a great day or if you're in the U.S., Happy Thanksgiving!
Learning To Fly - Art Journal Tribute - October 2017

Friday, October 20, 2017

Hi there crafty friends!  Today, I am sharing a new spread in my art journal that is very special to me.  Recently, one of my all time favorite musicians, Tom Petty, passed away suddenly.  His music was such a big part of so many important events in my life.  I felt I needed to document his music and loss in some way.  I loved the movement in this stencil, like music notes and lyrics rising and falling and this is the result!
The Crafter’s Workshop provided me with some product to create this project. The opinions I share are solely my own.
I used the one 12×12 stencil below as well as these mediums.
    The Crafters Workshop - Modeling Paste - Light and Fluffy - 8 Ounces
These are some of the mediums I gathered to create my spread. I prepped the pages using the White Gesso then added some watered down Distress Inks, using plastic cling film.
After the inks dried, I laid out the stencil, placing it so it would be mirrored about the spine.  I traced the lines on the pages at the points where the stencil pattern changes.I painted areas into the pattern alternating between the Gold and Silver Gesso. After the Gesso dried, I added a fairly thick layer of the Light & Fluffy Modeling Paste to the right page.Next, I repeated the same thing on the left side of the pages.The inks seemed a little more washed out than I wanted, so I added some more watered down Distress Ink over the top pf the blue areas.Finally, I started adding lines with different widths of black markers.
I continued adding lots of lines and details around the stencil design and most importantly, wrote lyrics to one of my favorite songs along the top and and bottom.The chorus contains four lines, so between the two areas of lyrics, I added each line of the chorus between the modeling paste.I had so much fun creating this art journal spread and it was a great way for me to spend some time reliving some precious memories using a little art therapy.Thanks for stopping by today and letting me share something a little more personal.  I hope this inspires you to remember a special memory.
Stencils Used:

You Are My Sunshine - The Crafter's Workshop & Canvas Corp. Team Up!

Friday, February 17, 2017

Today I'm share my creations with a team up between The Crafter’s Workshop & Canvas Corp.!  Along with an amazing array of inspiring mediums, stencils and embellishments that we were given, the theme we were assigned to convey is “Spring Is In the Air…”  And since the weather in our part of the country is so completely unpredictable, it is easy to associate with the beginning of a new season!

The newly released mediums from The Crafter’s Workshop have outdone their previous release.  The Black Modeling Paste and the Heavy Body Acrylic paints are like working with cake frosting, without the calories…the texture and consistency is so amazing and easy to work with…perfectly combining with their intricate stencils.
I used a combination of the mediums pictured below, some are new and some are from the last release.
    
With the idea of Spring, looking thru the new stencils, the one that popped out at me has intricate sunflowers and the coordinating famous song & quote.  These are a few of the products I laid out to use during my process.

I started with a small 8×8 canvas and used the Gold Gesso to add a layer of background shine as well as prep the raw canvas…perfect application!

Next, I used the Clear Matte Medium with one of the new 12×12  leaf stencils to add a repetitive pattern onto the background.

After the Gel Medium dried, and most of it looked completely clear, I misted a generous coating of the Tattered Angels “French Lime” mist that we were given from Canvas Corp.


I dabbed some of the extra mist off the canvas in places.


While the mist dried, I used a piece of small muslin from Canvas Corp. to stencil a sunflower using several colors of Distress Ink.


  The sunflower is the singular one that is part of a larger 12×12 stencil.  It was the perfect size for this piece of muslin and a good ratio to the 8×8 canvas.


I frayed the edges of the fabric to give it a rougher edge and kept it in place with washi, while I stenciled it with ink.
After the ink dried, I experimented with a tiny bit of texture using the Heavy Body Acrylic paint in Iridescent Gold.  I carefully added the paint to the end pieces, after lining up the stencil over the previously inked portion.


Waiting for all the other pieces to dry, I grabbed my new favorite medium, the Black Modeling Paste, and layered it over the Sunshine phrase on more muslin fabric I had misted.

Even after two attempts, part of my stencil ended up thicker at the ‘My,’ but I added some more Tattered Angels mist and trimmed up the edges into a banner shape.


Finally, I used my glue gun to layer the stenciled muslin piece onto a burlap square, and adhered both to the canvas.  I cut out a piece of the muslin center of the sunflower to add some burlap pieces, gold thread and tiny faux flowers.


I dabbed a tiny bit of the Gold Gesso to the edges of the muslin, burlap, canvas and flower petals, adding more definition and texture.


Finally, I used my hot glue gun to add the banner sentiment to the canvas, using some Canvas Corp. tiny brown clothespins to the ends.


Actually, before that final step, I adhered this large braided twine to the back of the canvas for it to be hung from a wall!


 I am so pleased with the way this project turned out and it does make me excited for the beginning of Spring!  Our first daffodil bloomed on recently, hope it lasts a little while longer!  The first signs of a new season are such a positive reinforcement into all of our lives!
Thanks for stopping by the Blog today!
PRODUCTS Used:

JUMP - The Crafter's Workshop

Wednesday, July 20, 2016

Hi there friends!  I am sharing a scrapbooking layout today perfect for summer fun!  I used 3 different stencils from The Crafter's Workshop to create this watery background for my photo from the lake.
The Crafter’s Workshop provided me with some product to create this project.  The opinions I share are solely my own.

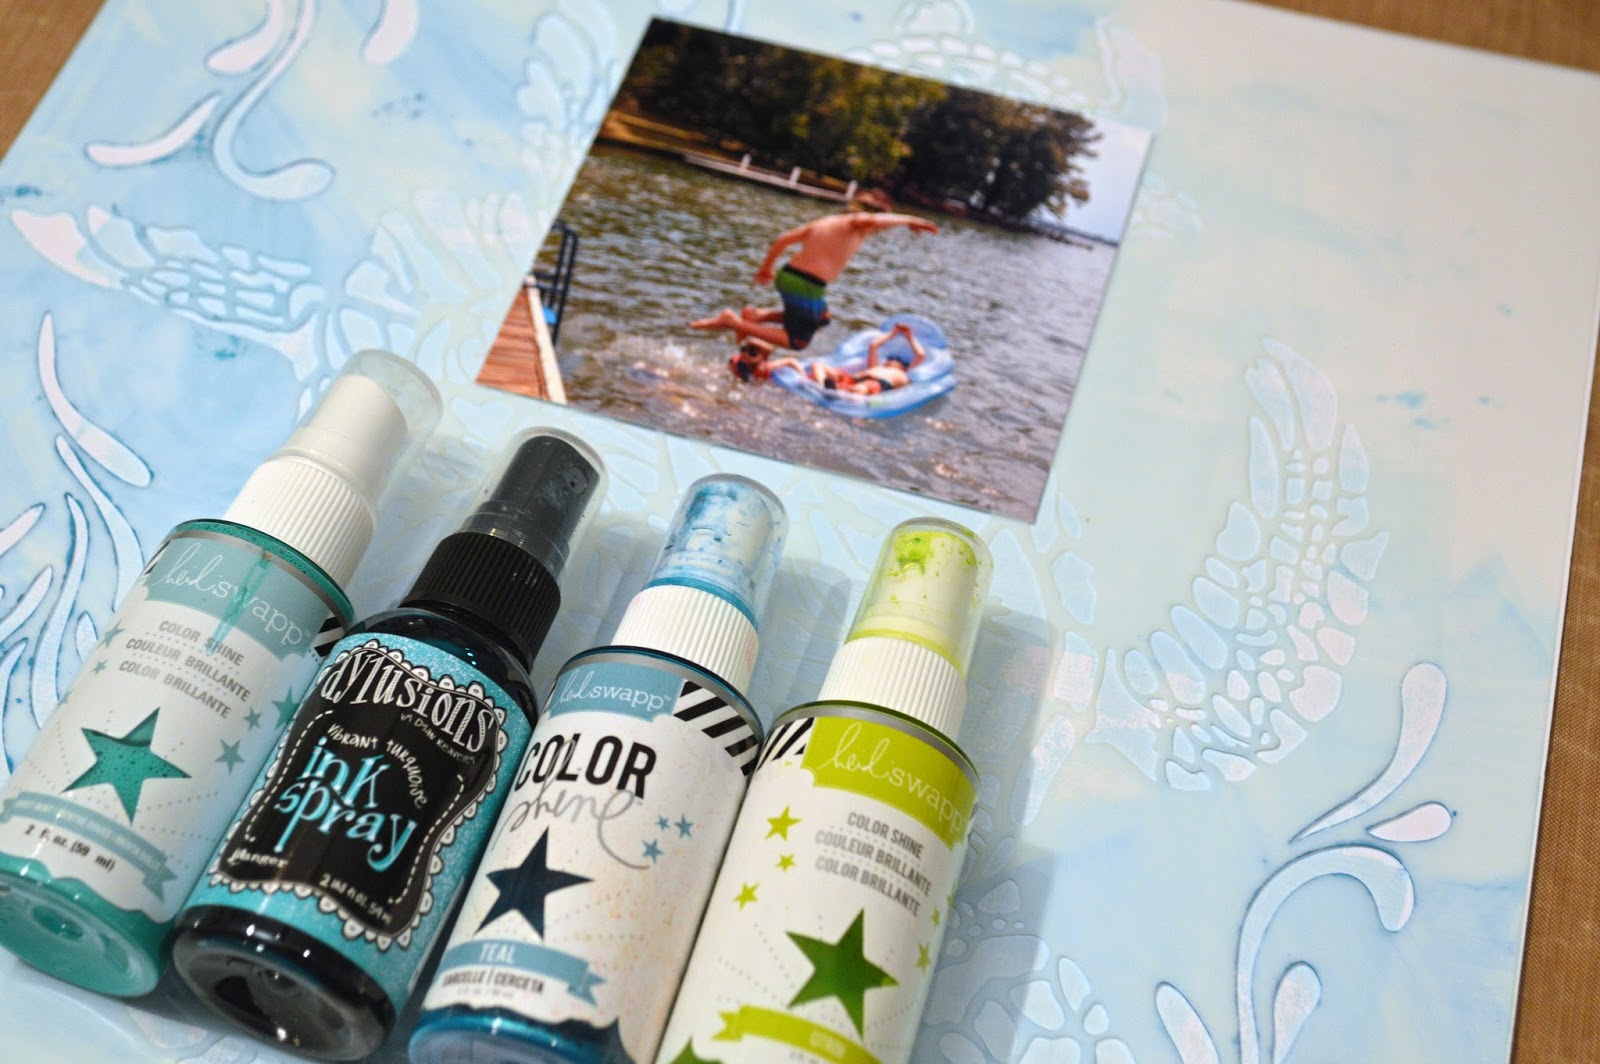
We just spent a lovely weekend at the lake with friends.  I took some fun action shots and slow-mo videos of all the kids jumping into the water.  I knew the photos would be fun to document, a beautiful day & summer memories, and it made me think of these sea/water stencils.
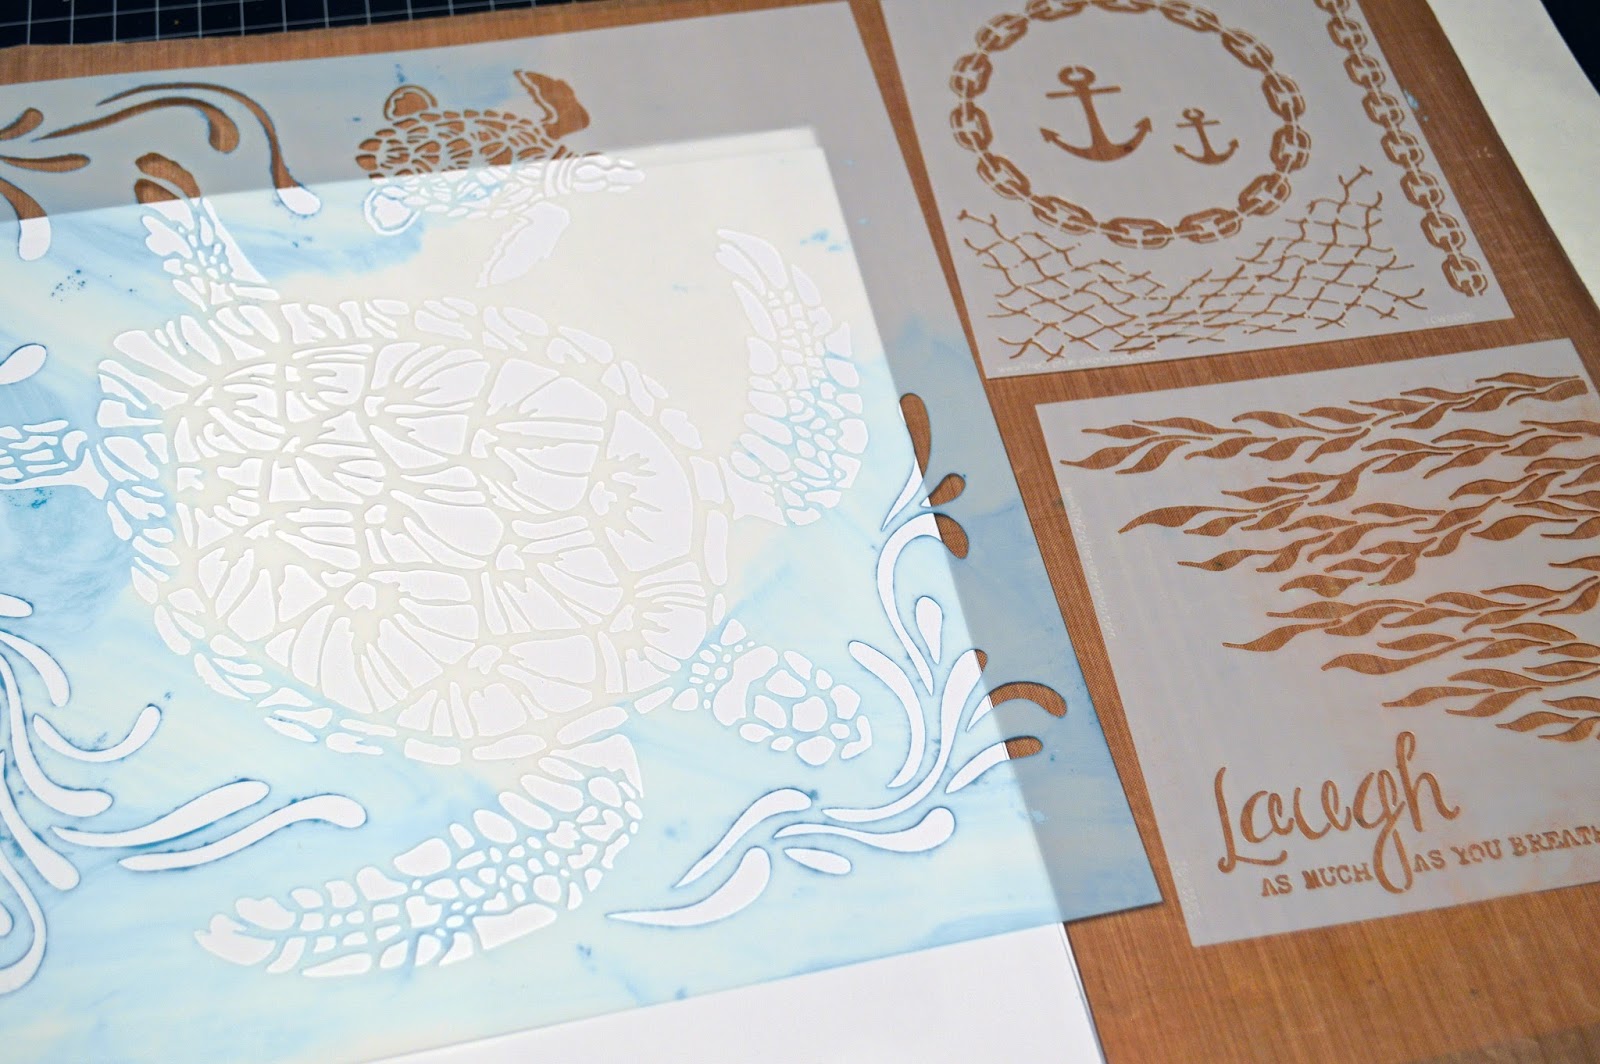
I used the 12×12 Sea Turtles stencil for the main design of the background.
I added this large stencil to cardstock that I had already loosely painted pale aqua acrylic paint using a brayer.
I used several spray inks to stencil this design onto a piece of white cardstock.

After the turtle dried, I used 3 or 4 of the Distress Inks shown in the photo to add ‘seaweed leaves’ in the corners of my background.

Deciding I needed a little bit of black, I used another stencil to add some of the ‘net’ pieces on this 6×6 nautical stencil.
Finally, I used a piece of this woodgrain patterned paper to stencil the smaller anchors in navy ink.
Obviously, I thought the woodgrain worked with the photo of the kids jumping off the dock.  Finally, I added some labels for the date & title, puffy stickers and photo corners.


Here is the finished layout!  The photo fails to grasp the kaleidoscope of blues and greens that were in our surroundings, but my goal was to capture a bit into my stenciled background.
Thanks so much for stopping by the Blog today!
STENCILS Used:
Proudly designed by Mlekoshi playground