Tonic Studios - Mixed Media Mini Album Cover

Wednesday, February 20, 2019

Hello there crafty friends!  Today, I am going to share a Mini Album Cover I made using lots of Nuvo mediums and some new Tonic metal dies.  I wanted to use all the metal dies I chose in a way that was different and think out of the box!


Tonic Studios provides me with some products, but the ideas are solely my own.
*Affiliate links are used at no cost to you and the profit goes to helping fund more supplies and this channel...*

You can Click on the video below or HERE to go directly to my YouTube channel.


I started my project using an 8"x8" canvas board that I primed with a thin layer of white gesso.  I added several colors of Shimmer Powder and lots of water to give a watercolored look to the base of my piece.  I added a little Mica Mist and used my heat tool to move the colors around a bit.  I sprinkled some Sparkle Dust on top of the drying paint.

I used the Tonic Studios Tangerine Die Cutting Machine to cut out the Sunflower Array die, the Dimensions Gesture Box die and the Keepsake Photostrip die out of basic white cardstock. I used the Sunflower Array panel die as a stencil for the Aquamarine Embellishment Mousse.


Next I used the main piece of the Gesture Box die to create a base for a "floral" cluster and applied a coat of Expanding Mousse to it.  Tearing strips of tissue wrap from Tim Holtz, I created another layer and stapled it together.  I added a thick layer of Expanding Mousse to the heart from the Box die and added more Sparkle Dust in the color Rose Quartz.  I dried both of the piece with my heat tool to expand the mousse and create lots of texture.


Using the cut out pieces of the Filmstrip and some hot glue, I created yet another layer and "flower" that I colored with the Nuvo Watercolor pencils and added to the top of the other layers with lots of silver and turquoise thread.  The heart was the final topper along with some silver glitter Thickers in my daughter's initials, since this will be a mini album about her.  I tucked the actual Filmstrip die cut pieces under the tissue wrap and painted the edges with Mica Mist from the bottle, adding some splatters too.


I finished off the entire piece with three different colors of matching Nuvo Vintage Drops sprinkled around the canvas and over the pattern of the stenciled Mousse.  I had a lot of fun creating this project and simply playing with lots of products!

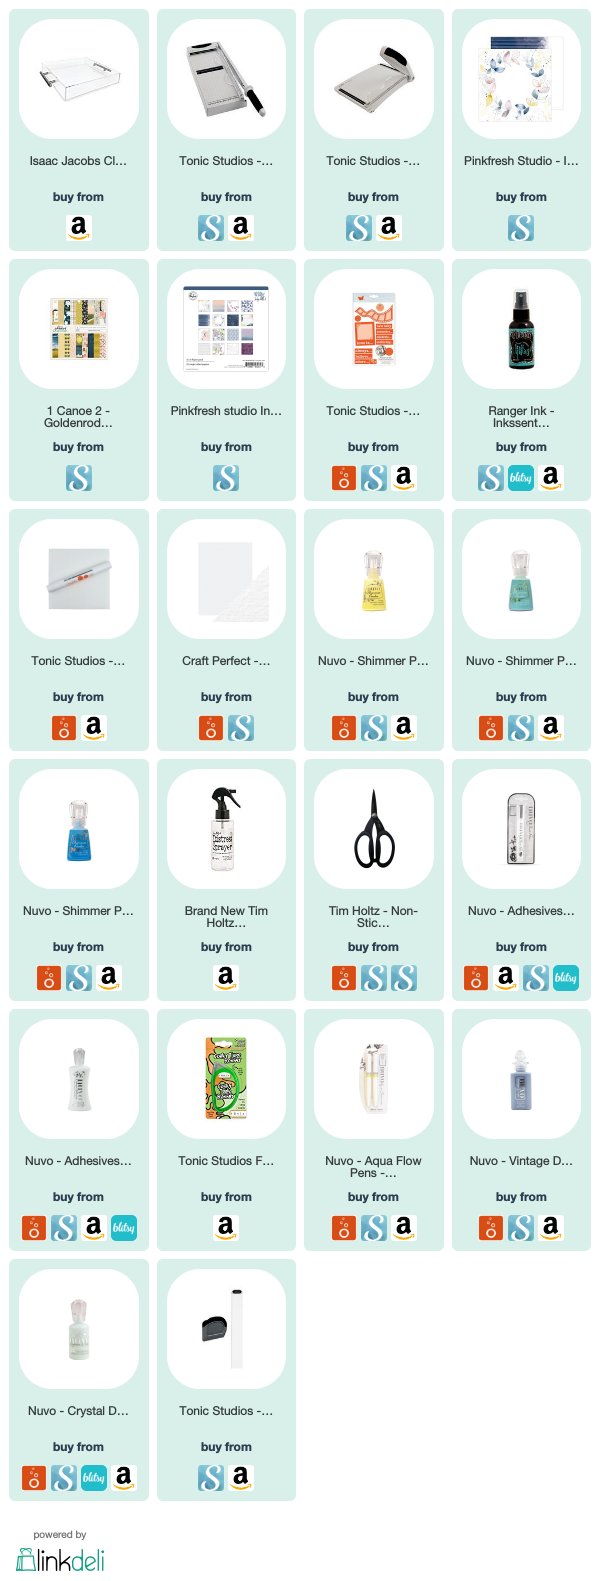
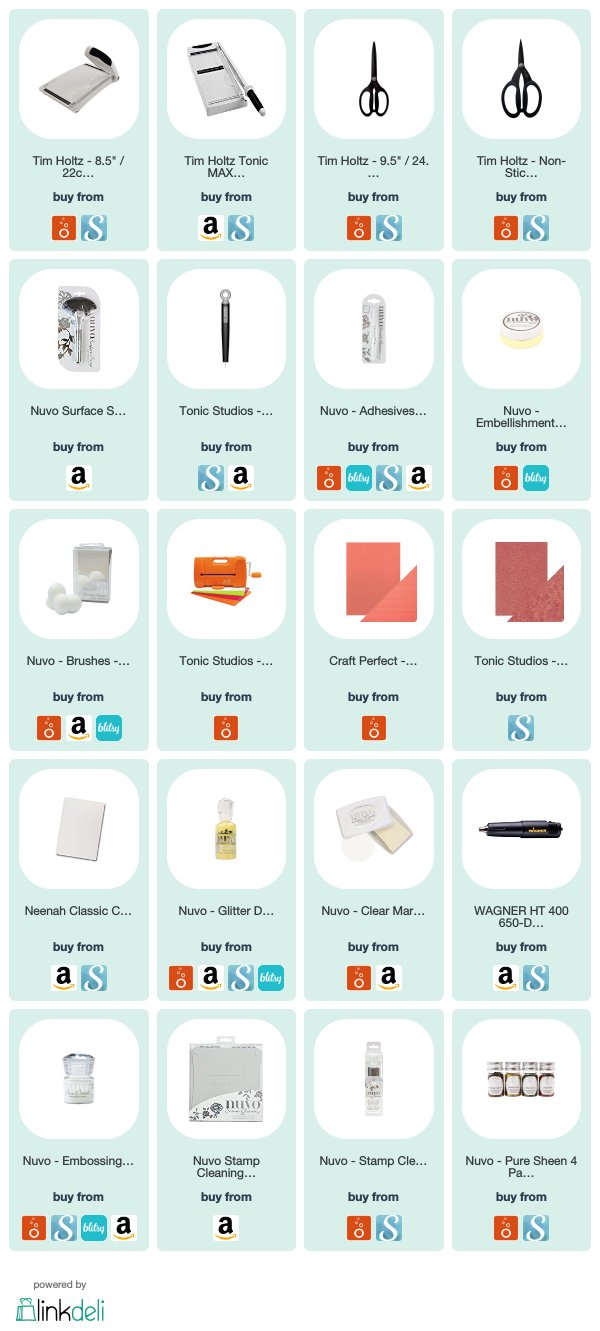
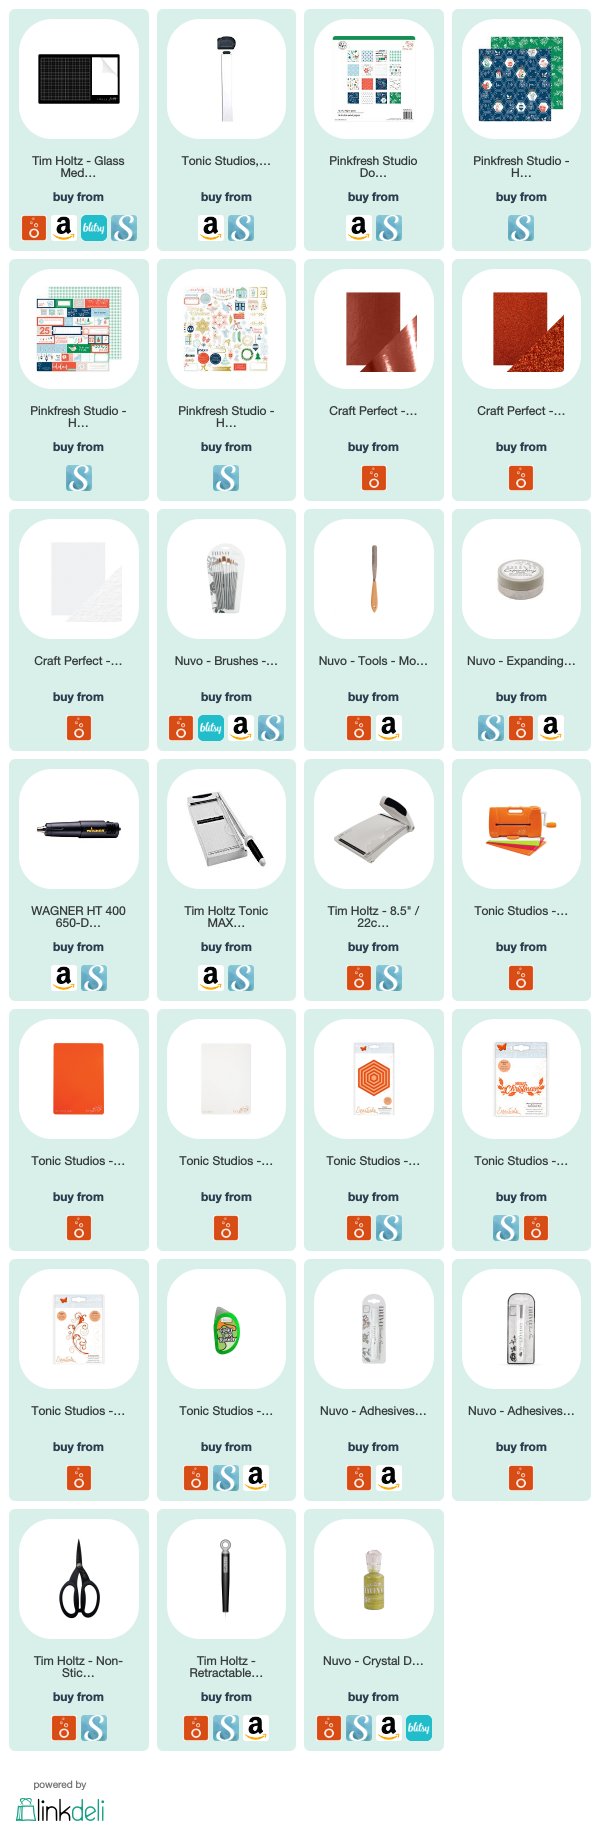
Thanks for stopping by the Blog today.  Below is the list of products used.
Have a wonderful Wednesday!


Tonic Studios - Filmstrip Die

Friday, February 15, 2019

Hello there crafty friends!  Today I am going to share a traditional Scrapbook Layout I created for Tonic Studios.  I wanted to focus on the newly released ‘Photos & Filmstrip’ die for my page.
There is a complete list of supplies used at the end of the post.


All products used were purchased by me and used with no influence of suggestion of anyone but myself!
*Affiliate links are used at no cost to you and the profit goes to helping fund more supplies and this channel...*

I started by die cutting plain white cardstock with the retro photo frame with the Tonic Tangerine die cutting machine.  I cut the die 4 times and used a couple of the different titles to cut into the frames.  The frame is a piece that you fold over to encase your photo.  I used 4 photos from our recent photo shoot before Christmas.


I chose this patterned paper from Pinkfresh Studio with the faded navy and white strips and a piece of plain white cardstock.  I cut them roughly in half and adhered them to a full piece of patterned paper as a mat for the layout.  I added Gesso to the large piece of white cardstock on the right and a little bit to the center of the right side pattern, planning to add some Nuvo Shimmer Powders!


I used 3 colors of the Shimmer Powders and lots of water to get a soft watercolored look over the dried gesso areas.  While that dried, I misted the die cut photo frames using some Dylusions Ink Spray, backed the titles with colored paper and slipped my black and white prints inside the frames.  I lined up the photo frames over the seam between the two papers and added some washi just for decoration.

Finally I added a few other die cuts, some Thickers for my title, and some flowers and leaves I fussy cut from another piece of Pinkfresh Studio paper that is part of the same collection as the main patterned paper.  I finished up with some journaling and lots of Nuvo Drops scattered around the page!


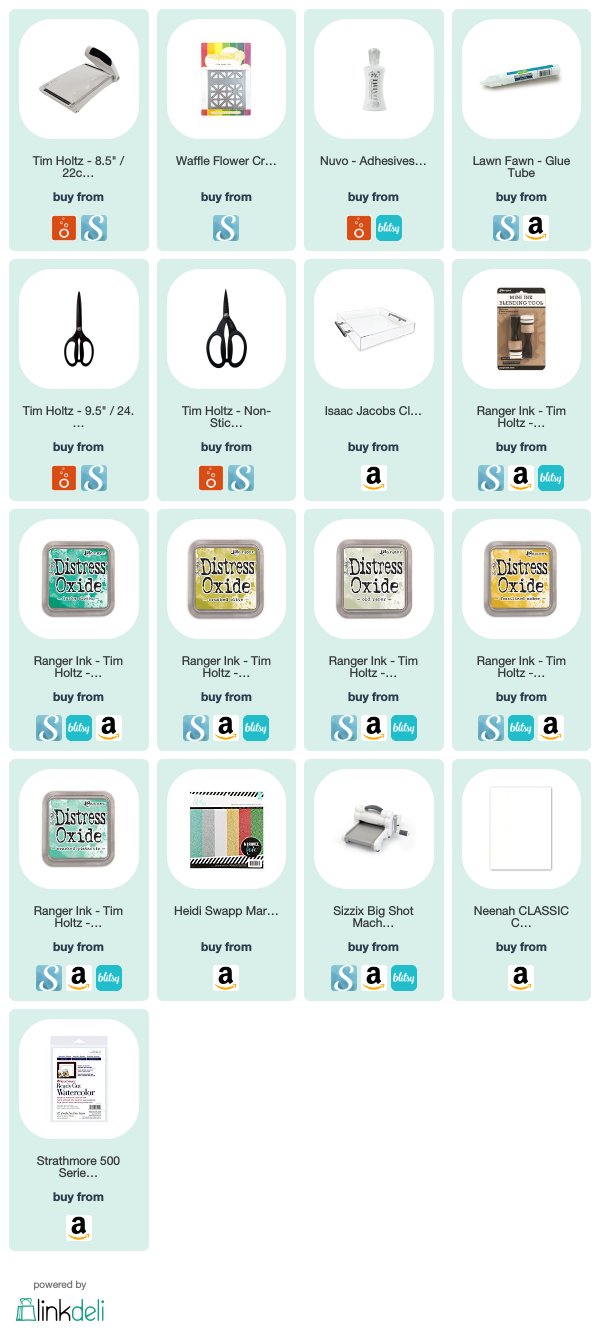
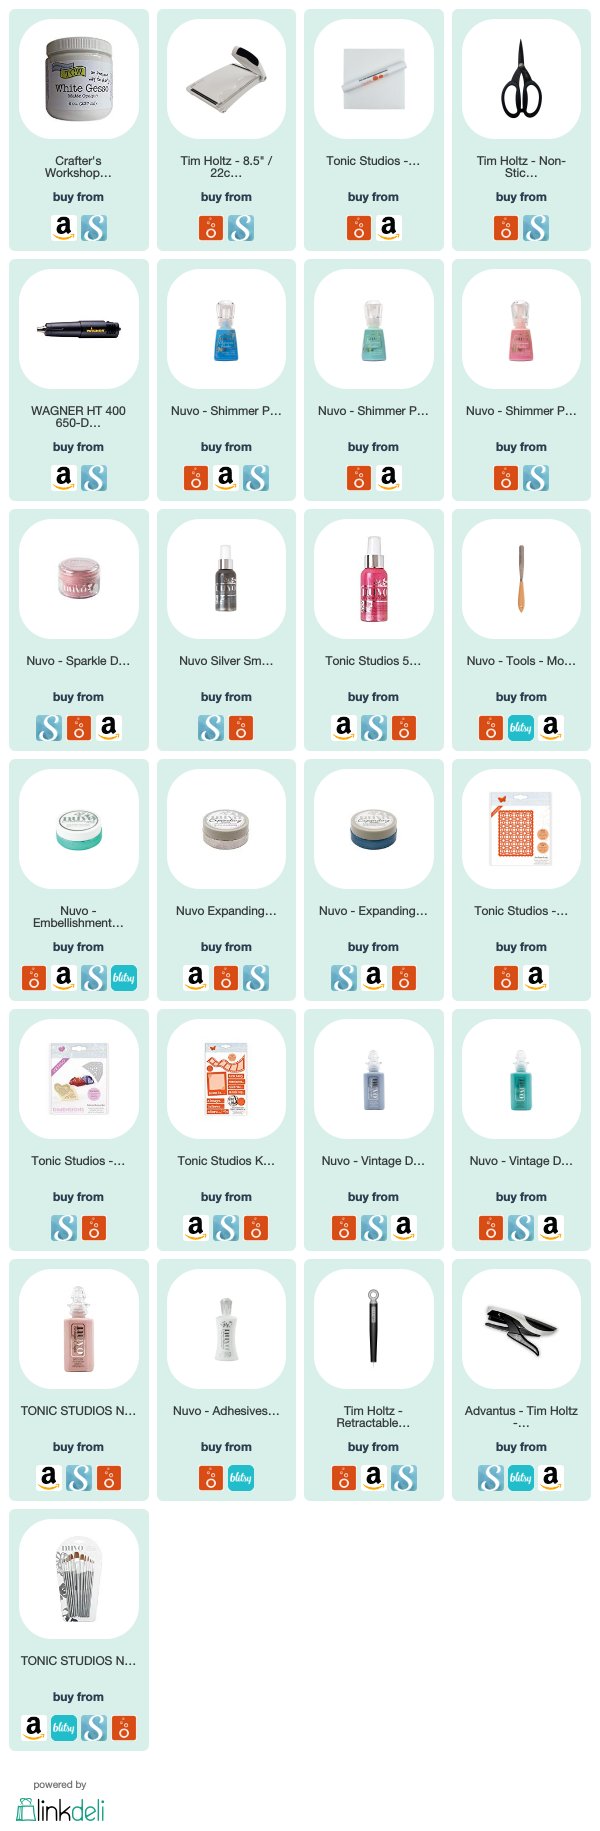
Thanks for stopping by the Blog today!  Below is the list of products used.

I hope you have a wonderful weekend!


wishes - Birthday Card *VIDEO* (new Waffle Flower & Distress Oxides)

Wednesday, February 13, 2019

Hello friends!  I am sharing a card I created for a masculine birthday using a new Die from Waffle Flower over a blended Distress Ink background.  I also filmed my process, so check that out in the link below!


All products used were purchased by me and used with no influence of suggestion of anyone but myself!
*Affiliate links are used at no cost to you and the profit goes to helping fund more supplies and this channel...*


You can click on the video below or HERE to go directly to my YouTube Channel.


I wanted to create a a birthday card that was more masculine and so I chose this new Tile Panel Die from Waffle Flower.  I cut it out of bright white cardstock and mounted it onto another piece of fun foam I cut out using the same die.  This gave a little dimension without too much fuss.  I used a cold press watercolor paper to blend a background using 5 different Distress Oxide Inks adding some splatters of water for interest.


After adhering the blending background to my card base and the die cut piece over it, I added another word die from Lawn Fawn cut out of gold glitter paper.  I finished off the card with several gold sequins and I was done!


Thanks for stopping by the Blog today and make sure you check out the video!  I would love any feedback and appreciate all the support! :)
Have a great Wednesday!


'You Color My World' Cards - Tonic Studios

Wednesday, February 6, 2019

Hello friends!  I am sharing two cards I created for Tonic Studios using a new Die Set from Tonic and a new stamp set from Waffle Flower.  I also filmed my process, so check that out in the link below!


 You can click on the video below or HERE to go directly to my YouTube Channel.


Tonic Studios provided me with some of the products used, but the ideas are completely my own.
*Affiliate link used at no cost to you...*


I adore this sweet stamp set from Waffle Flower and the painter palette inspired me to use Nuvo Drops as the “paint” on the palette itself, and match the paint on the stamped brushes.


I used the Nuvo Shimmer Powders to create a watercolor like background for each card using the ‘Blue  Blitz’ & ‘Atlantic Burst’ colors.  I love the soft colors you can achieve and the subtle shimmer they give to the background is such a lovely touch.


I used the Nuvo alcohol Markers to color in the stamped images and fussy cut them out using scissors.  I came up with two different layouts for each card and added some dimension using foam on one background and dimensional adhesive on the images of the other.


I finished off the cards using some Aqua Shimmer and of course, the Nuvo Vintage Drops on the painter’s palette.  I made the dots really large and I think they look so fun!


Thanks for stopping by the Blog today and make sure you check out the video!  I would love any feedback and appreciate all the support! :)
Have a great Wednesday!


Llama Love Valentine Cards & VIDEO - Tonic Studios

Wednesday, January 23, 2019

Hello friends!
Today, I am sharing two similar Valentine cards I made for Tonic Studios.  I used several of the mediums to create two backgrounds, both in different tones of pinks and a Llama stamp & die set I picked up.


You can click on the video below to watch, or click HERE to go directly to my YouTube channel.


Tonic Studios provided me with some of the products used, but the ideas are completely my own.
*Affiliate link used at no cost to you...*


I started by stamping out the llamas onto Neenah Classic Crest paper using the black Nuvo Hybrid Ink that is perfect for using with the Nuvo alcohol makers.  While the ink dried completely, I worked on the backgrounds.  I had a square card base already cut and folded in a dove grey color, so I used watercolor paper in the same size.


One one background piece, using lots of water and two of the Nuvo Shimmer Powders, I created a pale wash of pink paint.  On the other background piece I used one of the blending brushes to add a light background color of the Nuvo hybrid ink color Panama Rose.  After that first layer of mediums dried, I added Glimmer Paste in Moonstone to the watercolor wash background using a 6x6 stencil.


I added a layer of embellishment mousse in Pink Flambé using the same stencil and a blending sponge.  I wanted to create a tone on tone background to give it some interest, while not taking away too much from my colored images.


Setting my backgrounds aside to dry, I began to color my llamas.  There is a die to cut out the entire llama and one smaller die that is for the blanket on its back.  I had stamped out 4 llamas, 2 to color completely and 2 to color just the blanket of.  After coloring and cutting out the images using my new Sidekick, I began to assemble my cards.


First, I trimmed the background pieces and adhered them to the card bases.  I had already cut out a scalloped circle and some fun foam out of the same circle die.  I added some light blue ink around the edges on the circle and glued it to the card backgrounds using the Nuvo Deluxe Adhesive glue.  It is really strong and perfect for using on a textured & mixed media background.  Next, I glued the colored llama images with another layer of the cut fun foam to the scalloped circles.  I added the little  blanket pieces to the top of the image using a pop dot for even more dimension.


I stamped one sentiment using the black ink on white cardstock and heat embossed the other sentiment onto vellum.  I added each of the sentiments to the right side of the llama in the middle of the card.  I used several colors of Vintage Drops and the Crystal Drops in Bright Gold to the Pom-poms around each llama.  I finished off the card with the Glimmer Paste using a couple of the stamped hearts that are part of the set and adding some Aqua Shimmer to the blankets.


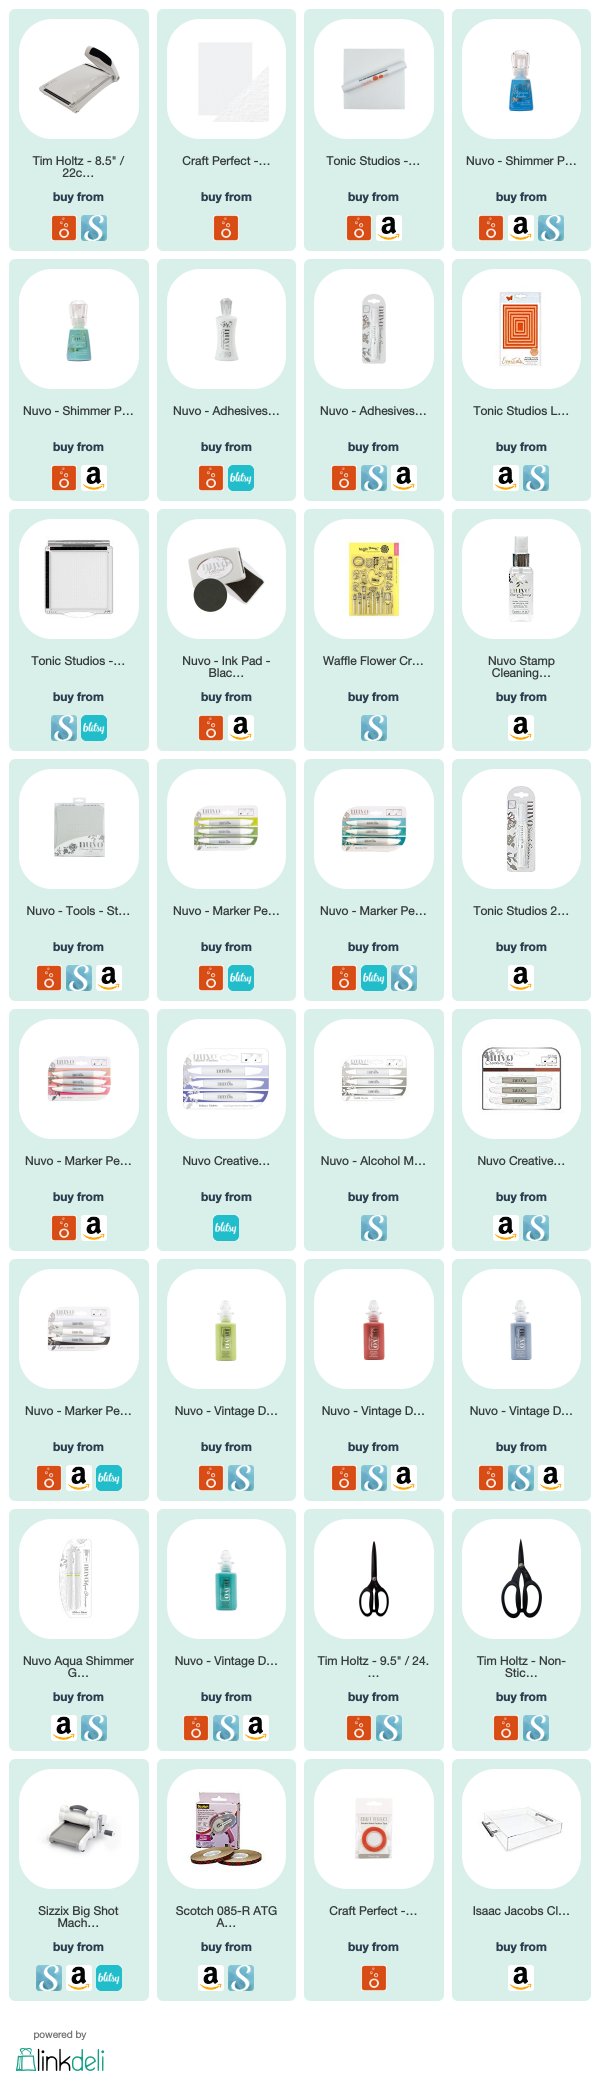
Below is a complete listing of the supplies used.

Thanks so much for stopping by today and make sure you check out the video!
Have a great day!


Blooming Fabulous Card - Tonic Studios Kit 17

Wednesday, January 9, 2019

Hello Friends!  Today I am sharing a shaker card I created using the Tonic Studios Craft Kit No 17.
It is a lovely box of happy, fresh colors, embellishments and stamps & dies.  It was such a nice breath of fresh air after all the holiday products and projects, not to mention the rainy weather!


You can click the video below or HERE to go directly to the my YouTube channel.


Tonic Studios has provided me with some of the products used but the ideas and opinions are totally my own.
*Compensation affiliate links used.*


I wanted to concentrate on the intricate die set as the frame for the inside shaker bits.  I used the stamp from the kit to add a heat embossed sentiment onto some heat resistant acetate.  I used this gorgeous specialty textured paper “Pink Sunset” from the kit as the background inside the shaker.  

I also used that specialty paper to create a liner for the square envelope I also made.


I love the elements of this Craft Kit and I encourage you to check out some of the other videos using the kit.  Here is a link to the official un-boxing from Tonic USA:   https://youtu.be/s_ZzEOPB4iU

Merry Christmas LO & VIDEO - Tonic Studios December 2018

Friday, December 28, 2018

Hello friends!  Today I am sharing a Scrapbook layout for Tonic Studios USA using a photo from Christmas Eve.  I was inspired by this patterned paper from Pinkfresh Studio that has graphic background of hexagons and the Hexagon Layering Dies from Tonic Studios.


Tonic Studios provided me with some of the products used but the ideas and opinions are totally my own.
*Compensation Affiliate Links Used.*

You can click on the video below or HERE to go directly to my YouTube channel.


I used the Hexagon Layering Die Set to cut out several sizes of hexagons that would layer in the pattern of the paper.  I used the Red Satin Cardstock, Red Glitter paper and plain cardstock that I coated with Expanding Mousse in the color ‘Worn Linen.’


I love the texture that the Expanding Mousse gives and think it looks a little like faux snow.  I added some of the delicate pieces I watercolored from this 'Twirling Arches' die under the photo cluster and layered die cuts.


I die cut the 'Merry Christmas' Sentiment Die for the title out of a dark navy and watercolor cardstock that I misted with gold Color Shine.  I offset the navy die to add a bit of shadow and contrast to make the title stand out more.  I added dozens of the metallic Bright Gold Nuvo Crystal Drops everywhere I could!


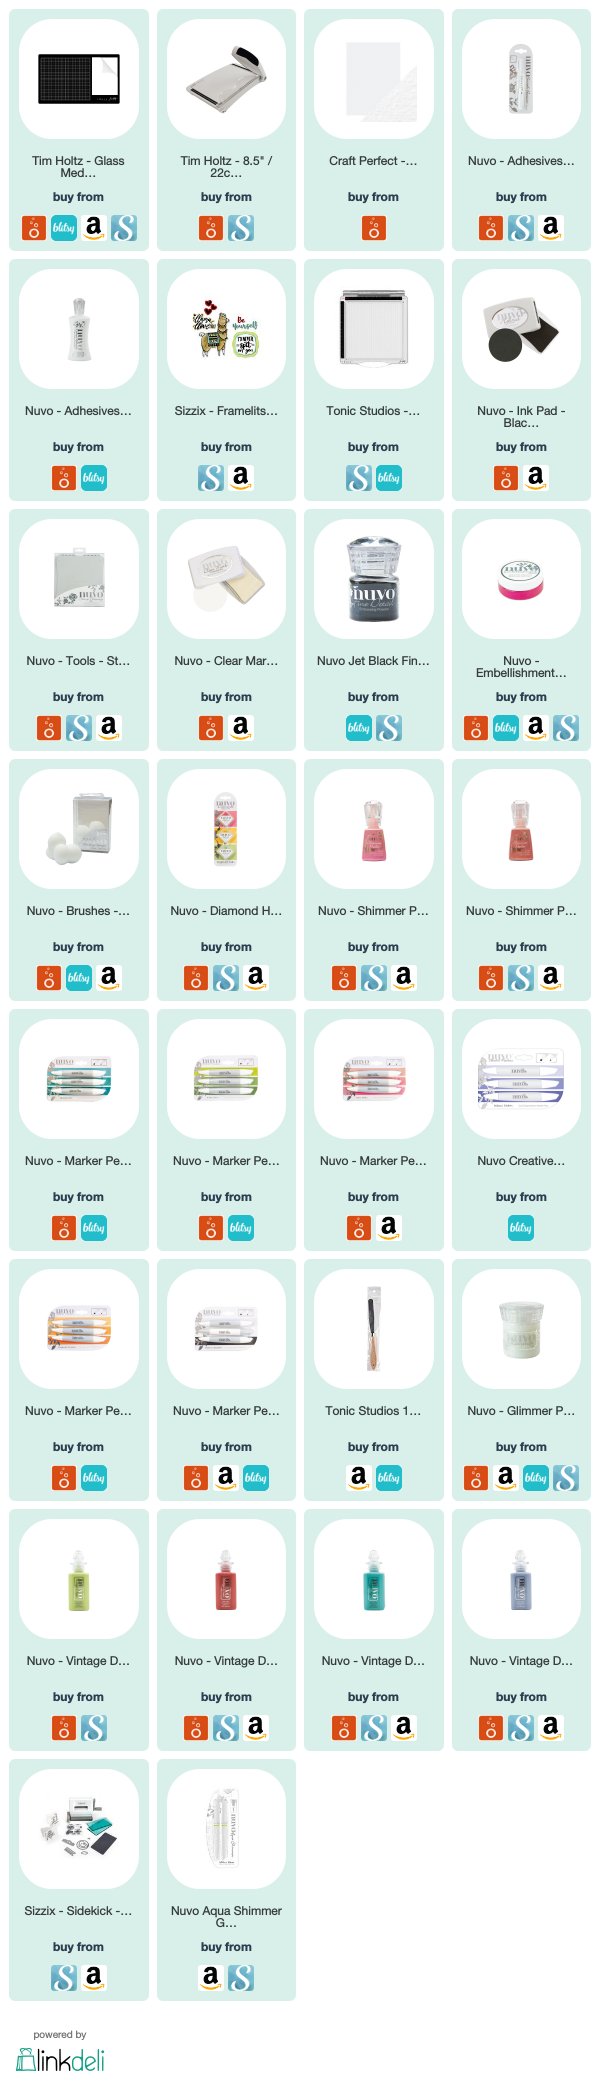
Thanks so much for stopping by the Blog today and check out the video too!  Below is the list of supplies I used and links to where you can find them.

I hope you have a happy & safe weekend!


Proudly designed by Mlekoshi playground