Showing posts with label Gina K.. Show all posts

JOY - A simple Holiday Card (& video)

Tuesday, November 26, 2019

Hi there!  I am sharing a Card I created with the intent to make it within 5-7 minutes!  Ha!
That didn't work.  But, it is still a simple, fairly quick card, that would be easily replicated.
I filmed the process so you can see how I made it and exactly how long it did take.


You can click on the link below or HERE to go directly to YouTube Channel.


I used an Snowflake embossing folder from Sizzix on a plain piece of white cardstock and after
running it thru my Gemini Jr. I misted it with Clear Shimmer Mist from Avery Elle.
I added foam tape to the back of it and adhered it to another piece of Pearlescent Cardstock
from Tonic Studios that was glued onto the face of my card base.


Using a piece of 6x6 silver cardstock from Tonic Studios, I die cut this large,
intricate snowflake from Tim Holtz for Sizzix.


I die cut the "Adore Alpha" letters from Pinkfresh Studio out of this gorgeous red glitter
cardstock and only used the outside halo card of the letters. Layering all the die cuts,
I adhered them onto the dry embossed piece with liquid glue.


To finish up the card, I added two colors of Nuvo Crystal Drops around the snowflakes.


Thanks for stopping by the Blog today.
I'm going to try again with another timed card, but will definitely give myself more time.
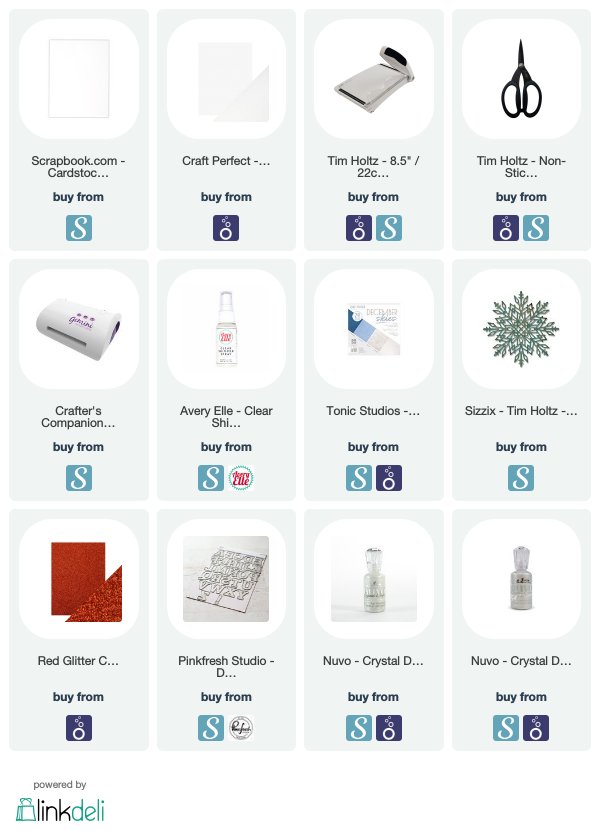
A list of the supplies I used are listed below and there are affiliate links used at no cost to you.
Have a great day or if you're in the U.S., Happy Thanksgiving!
Llama Love Valentine Cards & VIDEO - Tonic Studios

Wednesday, January 23, 2019

Hello friends!
Today, I am sharing two similar Valentine cards I made for Tonic Studios.  I used several of the mediums to create two backgrounds, both in different tones of pinks and a Llama stamp & die set I picked up.


You can click on the video below to watch, or click HERE to go directly to my YouTube channel.


Tonic Studios provided me with some of the products used, but the ideas are completely my own.
*Affiliate link used at no cost to you...*


I started by stamping out the llamas onto Neenah Classic Crest paper using the black Nuvo Hybrid Ink that is perfect for using with the Nuvo alcohol makers.  While the ink dried completely, I worked on the backgrounds.  I had a square card base already cut and folded in a dove grey color, so I used watercolor paper in the same size.


One one background piece, using lots of water and two of the Nuvo Shimmer Powders, I created a pale wash of pink paint.  On the other background piece I used one of the blending brushes to add a light background color of the Nuvo hybrid ink color Panama Rose.  After that first layer of mediums dried, I added Glimmer Paste in Moonstone to the watercolor wash background using a 6x6 stencil.


I added a layer of embellishment mousse in Pink FlambĂ© using the same stencil and a blending sponge.  I wanted to create a tone on tone background to give it some interest, while not taking away too much from my colored images.


Setting my backgrounds aside to dry, I began to color my llamas.  There is a die to cut out the entire llama and one smaller die that is for the blanket on its back.  I had stamped out 4 llamas, 2 to color completely and 2 to color just the blanket of.  After coloring and cutting out the images using my new Sidekick, I began to assemble my cards.


First, I trimmed the background pieces and adhered them to the card bases.  I had already cut out a scalloped circle and some fun foam out of the same circle die.  I added some light blue ink around the edges on the circle and glued it to the card backgrounds using the Nuvo Deluxe Adhesive glue.  It is really strong and perfect for using on a textured & mixed media background.  Next, I glued the colored llama images with another layer of the cut fun foam to the scalloped circles.  I added the little  blanket pieces to the top of the image using a pop dot for even more dimension.


I stamped one sentiment using the black ink on white cardstock and heat embossed the other sentiment onto vellum.  I added each of the sentiments to the right side of the llama in the middle of the card.  I used several colors of Vintage Drops and the Crystal Drops in Bright Gold to the Pom-poms around each llama.  I finished off the card with the Glimmer Paste using a couple of the stamped hearts that are part of the set and adding some Aqua Shimmer to the blankets.


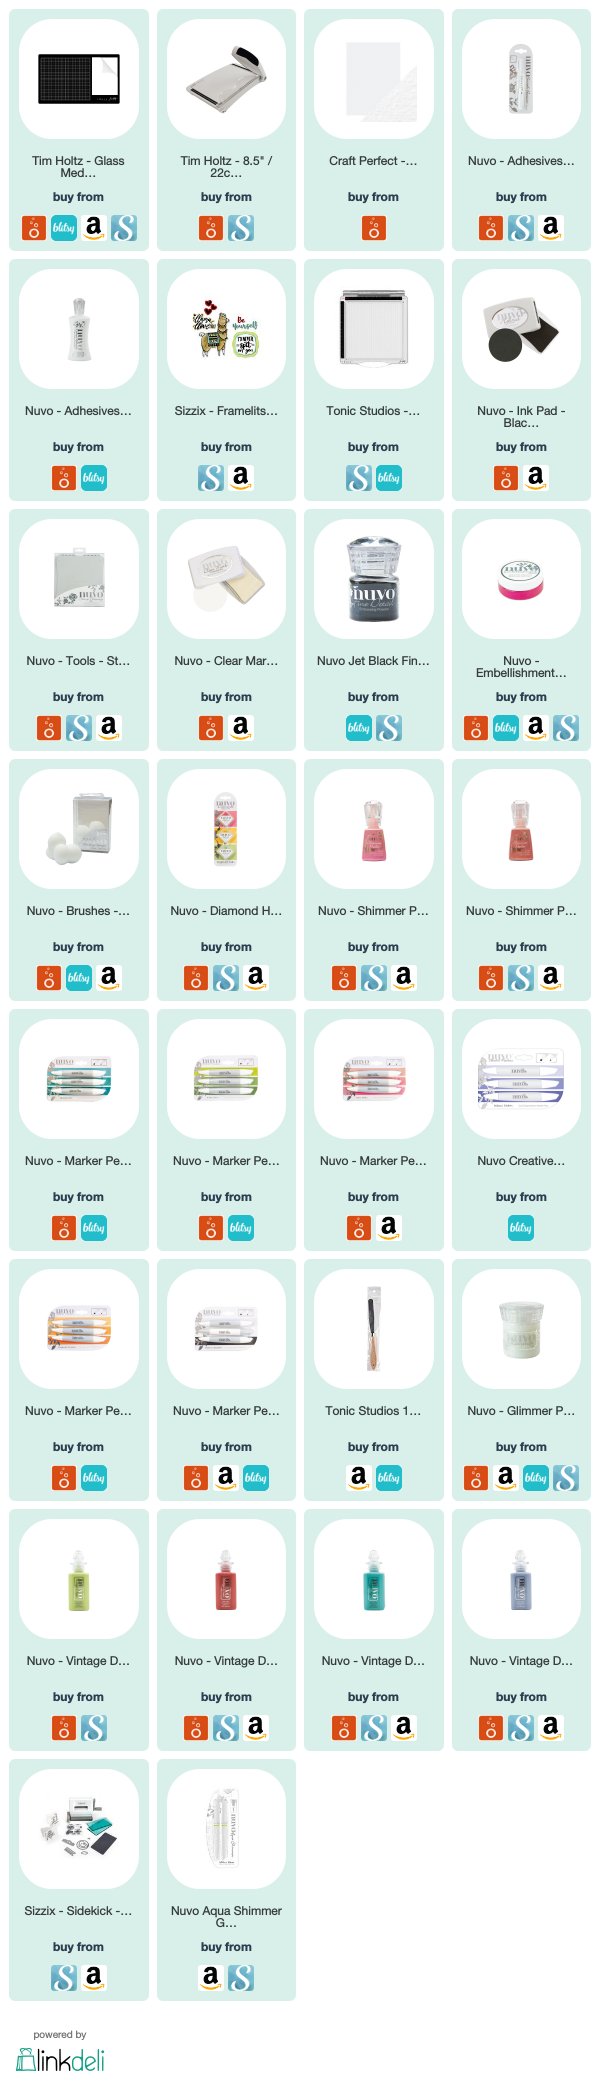
Below is a complete listing of the supplies used.

Thanks so much for stopping by today and make sure you check out the video!
Have a great day!


Learning To Fly - Art Journal Tribute - October 2017

Friday, October 20, 2017

Hi there crafty friends!  Today, I am sharing a new spread in my art journal that is very special to me.  Recently, one of my all time favorite musicians, Tom Petty, passed away suddenly.  His music was such a big part of so many important events in my life.  I felt I needed to document his music and loss in some way.  I loved the movement in this stencil, like music notes and lyrics rising and falling and this is the result!
The Crafter’s Workshop provided me with some product to create this project. The opinions I share are solely my own.
I used the one 12×12 stencil below as well as these mediums.
    The Crafters Workshop - Modeling Paste - Light and Fluffy - 8 Ounces
These are some of the mediums I gathered to create my spread. I prepped the pages using the White Gesso then added some watered down Distress Inks, using plastic cling film.
After the inks dried, I laid out the stencil, placing it so it would be mirrored about the spine.  I traced the lines on the pages at the points where the stencil pattern changes.I painted areas into the pattern alternating between the Gold and Silver Gesso. After the Gesso dried, I added a fairly thick layer of the Light & Fluffy Modeling Paste to the right page.Next, I repeated the same thing on the left side of the pages.The inks seemed a little more washed out than I wanted, so I added some more watered down Distress Ink over the top pf the blue areas.Finally, I started adding lines with different widths of black markers.
I continued adding lots of lines and details around the stencil design and most importantly, wrote lyrics to one of my favorite songs along the top and and bottom.The chorus contains four lines, so between the two areas of lyrics, I added each line of the chorus between the modeling paste.I had so much fun creating this art journal spread and it was a great way for me to spend some time reliving some precious memories using a little art therapy.Thanks for stopping by today and letting me share something a little more personal.  I hope this inspires you to remember a special memory.
Stencils Used:

Art Journal - The Crafter's Workshop September

Thursday, October 12, 2017

Hello and Happy Fall!  This is one of my favorite times of the year.  It is the changing of seasons and for me, cooler weather, which is always invigorating!  This week, I chose the stencils and products I wanted to use, but had no real plan…which is what I wanted, to play and let my creation evolve naturally.  This is the outcome!
I used the two stencils below as well as the White Gesso and Black Modeling Paste.  I also used several products from ThermOWeb, which I have linked within the post.
 
 
The Crafter’s Workshop provided me with some product to create this project. The opinions I share are solely my own.
First, I spread a light coat of the White Gesso onto my pages.After the Gesso dried, I used a few of the ink cubes from Gina K. for ThermOWeb to add color to the right side of my journal.  I used some plastic packaging and added the ink directly to it, then sprayed it with water.Using the highly sophisticated “smooshing” technique, I added layers of the ink, leaving a little dry time in between each layer.While the right side dried, I used the green inks and an ink blender to add a leaf border to the left side of the spread.  These inks blend so easily, especially over the gesso.I thought the stark contrast of the Black Modeling Paste over the light water washes would  create an interesting dynamic.  Covering the majority of this floral stencil with a good coat of the paste, I loved the outcome.
I thought a pop of metallic would look great combined with these subtle colors and the dimensional black paste.These Mixed Media Adhesive sheets from Rebekah Meier for ThermOWeb are amazing! I added a sheet of the ‘New Penny’ Transfer Foil to the adhesive sheet to cut up and add to my spread.I cut small leaf shapes to layer on top of the outer pieces of this stencil.I also added some longer pieces to parts of the stencil, for more definition and shine.  I love this bright copper metallic with the pink hues of the ink.
I used a ruler to add some lines for a quote from Maya Angelou that I wrote using 2 different pen weights.After all the media was dry, I grabbed some of my favorite pens and markers to add some sketchy lines and detail around the stenciled areas.I continued to add more detail using pens and paint markers in a few places.Thanks so much for stopping by today! I hope this inspired you to try some mixed media pages and new products in a fun way!

STENCILS Used:
Proudly designed by Mlekoshi playground