Showing posts with label My Mind's Eye. Show all posts

Scrapbook Circle Paradise Cove kit

Tuesday, September 26, 2017

Hey there!  I am sharing one final project for the Scrapbook Circle September kit using the ‘Paradise Cove’ Exclusive Bundle.

I documented my process with a video you can see HERE or click on the video below!


After using the kit for a Summer edition Traveler’s Notebook, I decided to use the remaining kit for a traditional scrapbook layout.  I decided to use a grid with the square cut apart pieces in the kit that were either just graphics, or phrases.
After laying out a design using a couple square Instagram pics I printed out, I added lots of the embellishments included int he kit to add interest and texture.
I used one of the cut apart quotes from Helen Keller which I though was perfect for pictures of these crazy kiddos!
I added some of the Washi Tape, Puffy Stickers, Corner Embellishments and Ephemera Stickers for interest to each grid piece.
Finishing with a few paint splatters in coordinating colors, this layout was done!
Thanks for stopping by and be sure to check out the video and the Scrapbook Circle YouTube Channel for more ideas!  Also, share your comments, thoughts and ideas on the Scrapbook Circle of Friends Facebook Community page!

SERIOUSLY - Heart Stitched Paper Challenge

Wednesday, February 24, 2016

Hi there everyone!
I have had a busy month and trying to get caught up in my personal blog posts has proved more difficult lately!  With this girl in the 6th grade and last year at her school, things are gearing up to be one crazy, busy Spring!

This is the layout I created for the Scrapbook Circle Stitched Heart Challenge. The assignment was to use this heart stitched paper as inspiration and I chose something a little different.


In using this black and white photo, I gave myself room to really play with pattern and color using the February 'Only You' main kit and 'Date Night' Add-On. I decided to use the stitched heart paper as a sort of frame for my photo and add random stitching underneath.


Using dimensional adhesive under my photo let me tuck lots of cards, embellishments and stickers around and under my photo cluster. I even used the gold dot glassine bag that held the tiny pink metallic hearts in the kit as an embellishment itself.


Using several colors of reds and pinks I stitched a random criss-cross pattern in a square pattern onto the black and white striped paper.  After trimming out the square inside the stitched heart paper, I laid it over the stitching and used my sewing machine to add stability and a border.


It's a bit chaotic and I would still like to do a layout with traditional stitched hearts, but it was fun to try something completely different!  Hope you all have a seriously awesome hump day!


make it HAPPEN - The Crafter's Workshop January

Sunday, January 31, 2016

Hi there everyone!  Last week on The Crafter's Workshop I shared a fun & different way to use your stencils.  It was definitely a labor of love, but therapeutic and I love the end result!

*The Crafter’s Workshop provided me with some product to create this project. The opinions I share are solely my own.*

Using the ‘Wagon Wheel’ stencil and white cardstock , I traced the negative spaces, taping my stencil and paper to my board.  I didn’t trace every part of it, leaving some areas that would just be white space.  I think doing this makes it unique and the graphic more dynamic!
Then using my X-acto blade, I cut out the lines I traced.  I used a metal ruler for the straight lines and just cut the curves free hand.
This technique is a great way to use scraps and 6×6 paper pads.  I chose a variety of patterns and colors,  knowing that my photo would pop on a piece of black patterned paper.
I used a couple of the cut out pieces for a loose template and washi tape on the back side to hold the papers in place.  I left a few of the small spaces blank, since I put another black cardstock behind my pieced background.  The additional cardstock secured all the paper pieces and I stitched some of it with my sewing machine.

I added my photo with dimensional adhesive and clustered a few embellishments and tags around my photo.  Actually, all the embellishments I used were out on my desk, but found a home on this layout!


Thanks for stopping by today!  Enjoy your afternoon.  
You can follow the link below to the stencils I used:
STENCIL Used:

ALWAYS THINK THAT YOU ARE MAGIC - Scrapbook Circle September Take 2

Thursday, September 17, 2015


Hi there!  This was my Take 2 assignment using the September ‘Hello, Hello’ main kit and Embellishment kit.
I chose to take inspiration from the super talented DT member Gina Lideros and this fabulous page she made using the January  ‘All You Need is Love’  kit.  This is my finished page below.
019
This is Gina’s gorgeous page that inspired me with the lovely. large title which dominates the page.
I also loved the circles scattered around the layout and the photo at the bottom.
035
I decided to lift her title directly, using the fun Amy Tangerine Finders Keepers Thickers.  I also painted a faint pink stripe wash on the white cardstock background.  I loved the striped paper Gina used and wanted to add a little something to ground the title and photo.
015
I fussy cut some of the speech bubbles from this patterned paper using them around the page like Gina’s circles.  I added some of the Crate Paper chipboard pieces and added some stitching too.
018

Have an amazing day!


you and me {+video} - The Crafter's Workshop July 2015

Tuesday, July 14, 2015

Hi there!  I wanted to share this layout I posted on The Crafter's Workshop Blog yesterday including a start to finish video of my creative process.

I wanted to focus on using small stencils for this layout and do something very simple with 3 main elements; the title, the photo and some embellishment.  You can click on the video below or HERE to take you directly to my YouTube Channel and the video.


This was a fairly fast process for me, only taking about 45 minutes.  I did have a basic idea what I wanted to do and had the colors picked out with the help of my photo, but it still went fairly quickly.  I tend to use stencils on traditional scrapbook layouts with less layers and bulk only to fir into albums, so that helps the time.  If this were an art journal page, I would probably lay on the layers quite thick, therefor making the process, drying time included,longer.


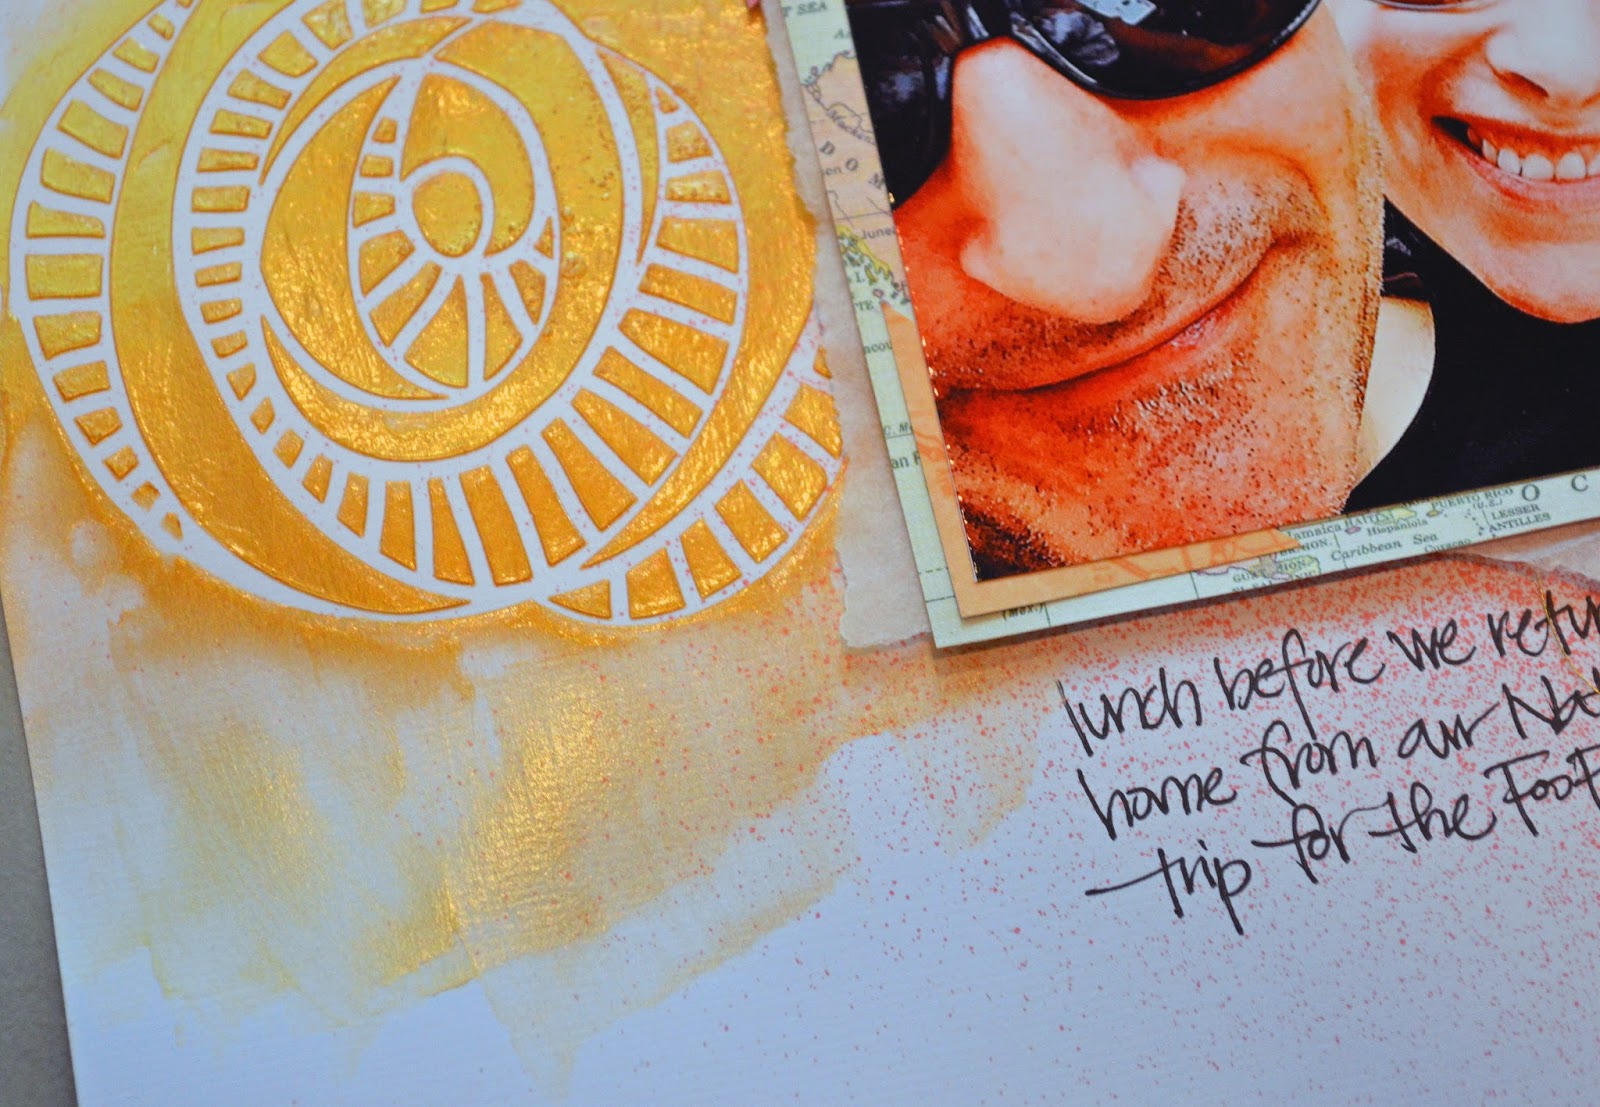
At any rate, I used the 'Doodling Stencil - you and me' misting it with Distress stain for my title.  On the opposite side I used gold embossing paste onto the 'Scribbled Rose' stencil to add some texture and movement.  I placed several layers of 6x6 patterned paper, tracing paper & some gold thread.


I used the 12x12 'Believe Script' stencil to add a single layer of pattern at the bottom edge to anchor the layout.  I wanted to add third color and something a little extra.  I used a 6x6 stencil called 'Mini Life Tidbits' which has several different patterns and some great planner stencils to add a couple points of interest in the top left and bottom right corners.


Adding some black India ink and gold Liquitex ink splatters and a little journaling under the photo finished off my page!  Thanks for stopping by and I hope you check out the video and the other great ideas at The Crafter's Workshop Blog!

Stencils Used:
Have an amazing week!

explore - Scrapbook Circle June 2015

Wednesday, June 17, 2015

Hello there!
Today I am sharing my layout inspired by the June ‘Have a Little Fun Today’ kit as well as the ‘List Keeper’ & ‘You Are Here’ Add-ons.  It is also on the Scrapbook Circle Blog today as my Designer's Choice layout.
I have been waiting for the Scrapbook Circle summer kit that might be geared towards vacation and traveling and perfect to work on our Universal Studios album!
explore_SBC_June 2015 border
This Pink Pasislee silver foil vellum, with repeating airplanes is one of favorite papers in the last year.  I thought it looked great against this dark navy blueprint background paper.
I used ink, gelatos and watercolors to add some teal to the background paper and tie some of the die cuts into the color scheme.
explore_SBC_June 2015 (4)
The vellum on top of the navy patterned paper was enough of a neutral background to use several of the Pink Paislee vellum die cuts and let that color stand out.
The Scrapbook Circle exclusive acrylic word ‘explore’ was the perfect addition to the colors and theme of the page.
explore_SBC_June 2015 (9)
I grouped several of the tags from Pink Paislee together with a plain tag and tied them with a twine clasp salvaged from a clothing tag.
explore_SBC_June 2015 (8)
This could end up being the first page in my album from this trip, even though it was 3 months ago.  Thanks so much for stopping by the Blog today!
Hope you have an amazing day!!

Fly Away Art Journal - The Crafter's Workshop June

Friday, June 12, 2015

Hi there stencil lovers!!
I shared an Art Journal layout for my post on The Crafter's Workshop Blog last week, inspired by all the butterfly stencils and a lyric from the amazing James Morrison.  I am new to Art Journaling as we know it now, but have always kept a journal or sketch book within hands reach.
TCW_Fly Away Art Journal_June 2015 Final 2
Below are the stencils I used on my project!
Fly Away Art Journal Stencils
I started with several different mists on my pages and misted them heavily with water let them blend naturally and give a watercolor effect.
TCW_Fly Away Art Journal_June 2015 (2)
I used the 6x6 Mini Believe Script stencil and some dark brown mist on a neutral wood grain paper.
TCW_Fly Away Art Journal_June 2015 (12)
I hand cut circles in varying sizes out of the misted paper and arranged them across the pages.
TCW_Fly Away Art Journal_June 2015 (16)
I used an ink blending tool and black ink with the 'Chlorophyll' stencil to "bookmark" the edges.
TCW_Fly Away Art Journal_June 2015 (20)
Using matte medium, I adhered the stenciled circles and to seal both pages with an even coat.
TCW_Fly Away Art Journal_June 2015 (21)
One of my favorite new stencils is the 'Mini Butterfly Collage.'  I used it to add an iridescent modeling cream over the tea stain like circles.  Using washi tape to mask of the butterfly in the center of the larger circle, I added them around all the patterned paper.
TCW_Fly Away Art Journal_June 2015 (26)
I also used some tiny wood alpha stamps to stamp out my song lyric in a wavy pattern around the spread, ending the phrase with a larger, bolder font.
TCW_Fly Away Art Journal_June 2015 (29)
Using a plain white modeling paste, I added different sized butterflies and dragonflies to each circle using both the 'Whimsy Garden' and the 'Butterfly Collage' stencil again.  Once the modeling paste was dry, I painted them with watercolors and gelatos.  Originally I was fairly loose and let the paint drip and puddle, but later went back and cleaned them up a bit.
TCW_Fly Away Art Journal_June 2015 (31)
Then I just doodled and played with markers and paint pens in curvy winding lines around the words and circles.  The black and white reminds me of 'The Nightmare Before Christmas' by Tim Burton.
TCW_Fly Away Art Journal_June 2015 (34)
Finally, I added more doodling and markers around the butterflies and misted the title using the 'Fly Away' stencil in the bottom right corner.
TCW_Fly Away Art Journal_June 2015 (41)
The last thing I did was to drop some ink splatters across both pages.
TCW_Fly Away Art Journal_June 2015 (43)
One of my favorite inspirations for anything creative is music!

Stencils used:
Thanks for stopping by the Blog today hope you have an amazing day!

Scrapbook Circle / Cut Shoppe BLOG HOP!

Monday, June 8, 2015

Hey everyone!
This week we are teaming up with The Cut Shoppe to bring you loads of inspiration using our June 'Have a Little Fun' Kit plus our favorite cut files from The Cut Shoppe.

Hop along with the Scrapbook Circle team and comment as you go. We will be selecting a winner from all of the blog hop comments to receive $20 to The Cut Shoppe Hop. Be sure to stop by The Cut Shoppe blog and hop along to see what their team created with the Scrapbook Circle June kit. Comment on The Cut Shoppe hop and you are entered to win one of our June Kits!
 

I used a combination of 2 cut files from The Cut Shoppe, the 'Hello, Let's Chat' file and the 'Flocked & Feathered' cut file.  As well as the main kit, I used the 'List Keeper' Add-on and the 'You Are Here' Add-on kits.
 
 
I chose to cut the speech bubble file from patterned paper and back the open hearts with another patterned paper and some of the Scrapbook Circle exclusive printed kraft sticker.  I also superimposed the bird and the 'My Peeps' phrase into the speech bubbles in the Silhouette software.  I sized the Hello, Let's Chat file to fit around the bird so it would be large enough but still leaving room for my photo.
 
 
I layered some other embellishments on top of the cut file and used lots stitching to add texture.  I misted the little bird that came from the negative space of the cut file and added it to the bottom.  I love birds, so I had to use it!


Hope you find loads of inspiration as you blog hop at Scrapbook Circle and then over at The Cut Shoppe too!  Now get to hopping!

Next up:  Click HERE for Gina's Blog!!


Proudly designed by Mlekoshi playground