Sparkly Shaker Cards - Tonic Studios November 2018

Sunday, November 25, 2018

Hello crafty friends!  Happy Thanksgiving weekend, for those in the U.S.!
Today, I am going to share a couple cards I created for Tonic Studios using loads of their products and one very anticipated just released one!


I wanted to create two cards that was similar in the overall design but with two very different color schemes.  I planned to center each card around the Circle Die & Shaker Set from Tonic that is such a great idea and easy way to create shaker cards.

Tonic Studios provided me with products but the ideas and opinions are totally my own.
*Compensated affiliate links used*


You can click the above to watch the video or HERE to go directly to my YouTube channel.

I used the Nuvo Hybrid Inks and the Nuvo stencil brushes to blend a background from pale turquoise to lavender on my base piece of cardstock.  I used a stencil from The Crafter's Workshop and the Fine Detail Embossing Powder to add the snowflakes onto my blended background.  I used several types of the 'Let It Snow' confetti inside the shaker. 


I finished up the card by adding a heat embossed sentiment in silver and some of the Nuvo Crystal Drops.


The next card had the same basic setup.  I created a patterned background to accent the circle shaker as an ornament.  I used the just released Expanding Mousse from Nuvo in Bramley Green over a holly leaf stencil from The Crafter's Workshop.  It is a really innovative product that has lots of uses.  Check out the video for the details about it!


I die cut a sentiment from this Mirror Card in red from Tonic and mounted it onto the vellum border piece of the same "Merry Christmas" sentiment die.

Using the circle die from the shaker set, I used it to be the background of my ornament.  I again used several of the Nuvo confetti in the 'Jingle Bells' set.  I added a piece of twine to my ornament and some Nuvo Crystal Drops in Gold where the holly berries would be.  Lastly, I mounted the entire piece onto Pistachio Green cardstock and then onto my card base.


I really love how festive this second card turned out!  These Die &  Shaker sets come in other shapes too...think I may need to get my hands on some of those!

Thanks for stopping by today!  I appreciate all the support and hope you check out the video as well.  Have an amazing week!
Name Place Cards for Fall Tables (&video**) - The Crafter's Workshop - November 2018

Monday, November 12, 2018

 Hello and happy Monday!!

I am always trying to find a new way to use my mixed media products for home decor projects.  Today I am sharing a project I created for out Thanksgiving table, (or any Fall table) and The Crafter’s Workshop.


You can click on the video below or HERE to go directly to The Crafter's Workshop YouTube channel.


The Crafter’s Workshop provided me with products but the ideas and opinions are totally my own.


This is a photo of the cards at a simple place setting...


I used both the copper foil and gold foil to mix up the cards just a tiny bit. 


Thanks so much for stopping by today!

All of the products I used are listed and linked below...I hope you check out the video and leave any comments or ideas you might have and I’ll be back soon for another video hopefully later this week.  Have an amazing day!


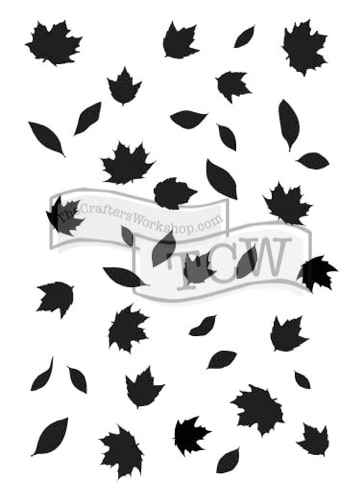
TCW2164 Falling Leaves | The...
[ THC | SBC | AMZUS | BLT ]
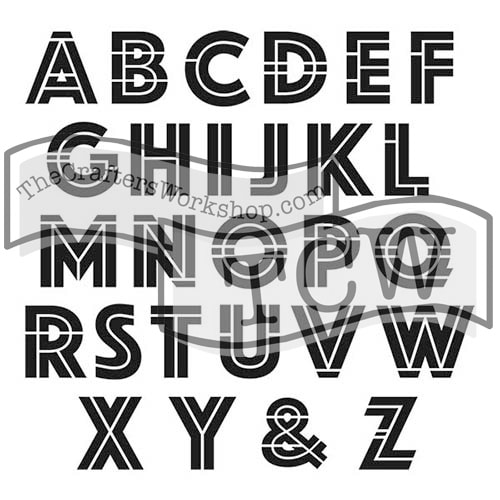
TCW555 Art Deco Alphabet | The...
[ THC ]
The Crafter's Workshop - 6 x 6...
[ SBC | AMZUS ]
The Crafters Workshop 8 Ounces Copper...
[ SBC | AMZUS | BLT ]
Amazon.com: The Crafter's Workshop...
[ AMZUS | SBC | BLT ]
The Crafter's Workshop - Modeling...
[ SBC | AMZUS | BLT ]
The Crafters Workshop 8 Ounces...
[ SBC | AMZUS | BLT ]
The Crafters Workshop 2 Ounces Hot...
[ SBC | THC | AMZUS | BLT ]
Amazon.com: Rebekah Meier Designs...
[ AMZUS ]
Amazon.com: Rebekah Meier Designs...
[ AMZUS ]
Heidi Swapp - MINC Collection -...
[ SBC ]
Lawn Fawn Lawn Cuts Small Stitched...
[ SBC ]
Amazon.com: Sizzix 660425 Big Shot...
[ AMZUS | SBC ]
Bazzill Kraft 12 x 12 Cardstock Bulk...
[ SBC ]
Amazon.com: Martha Stewart Crafts...
[ AMZUS ]
Nuvo Glue Pen Large
[ SBC | TNC | BLT ]
Ranger Ink - Tim Holtz Distress Ink...
[ SBC | AMZUS ]
Ranger Ink Inkssentials Ink Blending...
[ SBC ]
Amazon.com: Silhouette Cameo Starter...
[ AMZUS ]
American Crafts White 12 x 12...
[ SBC | AMZUS ]
Amazon.com: Singer Heavy Duty 4432...
[ AMZUS ]


SNUGGLE (&video**) - TONIC Studios USA - November 2018

Wednesday, November 7, 2018

Hello everyone!!  I am excited to share a traditional scrapbook layout for my second project for Tonic Studios!  I played with so many of the lovely Nuvo Shimmer Powders.  All of the tools and supplies I used are linked at the end of this post.


You can click on the video below to watch my process creating the project or click HERE to go to my YouTube Channel.


I wanted to create my own 'patterned paper.'  I started by heat embossing a large stencil onto white cardstock using the Nuvo Fine Detail Embossing Powder in Glacier White.


I wanted the hearts to act as a resist to the Shimmer Powder technique that I imagined as a colorful contrast to my black & white photo.  I used the Green Parade, Atlantis Burst, Catherine Wheel, Solar Flare and Cherry Bomb colors of Shimmer Powder in multiple layers to achieve the pastel colors I wanted.


I added some patterned paper and tags behind my photo and some light turquoise alphas with a gold accent as well.  All of the embellishments and papers are at least a year old, but are among my favorites that couldn't be "purged" from my latest clean out!


I adhered my painted cardstock background onto another piece of navy patterned paper and tried to use several other accents in Blue...our puppy's name. :)


You can find the links to all the products I used below.
Thanks so much for stopping by and I hope you check out the video as well!
Have an amazing day!


together - introspective sappines (& start to finish video)

Monday, October 29, 2018

Hi guys and Happy Monday!  
Today I am sharing a scrapbook layout I created using lots of items I had been hoarding or hiding by accident.  I recently did a massive clean out of my craft room and came across so many of my favorite papers and embellishments.  I also came across lots of printed photos.  Some of these have been previously scrapped as single photos, but I loved seeing these all together.


To watch my process video, click below or HERE to go directly to my YouTube Channel


P

I also came across lots of printed photos.  Some of these have been scrapped before, mostly as single photos , but I loved seeing them all together.  This layout was inspired solely by the need to see my children's faces together.


I tried to balance out the reds, yellows and blues of the photos and papers, using the embellishments and tags I had gathered.  I added some washi and a chipboard photo frame strip over part of the photo collage.


Not sure about you guys, but I am totally one of those people that when I bought some new products or got a new kit, I did one of two things.  I either used my favs immediately or set them aside for the perfect project.  Then they inevitably become buried and forgotten.  In my personal life, we have have a challenging few months...
and I’ve been saying that for a few months.


I’ve also come to the conclusion, in this crazy time we live in, that we shouldn’t keep things to use for that “perfect project.”  Life is fragile and tumultuous and precious...even for something as seemingly insignificant as scrapbook products, why wait, why save them for some other day??   Shouldn’t we use them now, today, whether it be paper, formal dinnerware, a fancy pair of earrings or calling that friend to reconnect with??  In other words,  Carpe Diem!!

Thanks for stopping by today.  I hope you have a wonderful day and an amazing week and remember, even in the smallest of things, live in the moment!

'happy AUTUMN' Card for Tonic Studios

Friday, October 26, 2018

Hello!!  I am so excited today to share my first Tonic Studios USA Design Team project!

I loved this whimsical tree metal die from Tonic Studios and decided to use that as my inspiration for a Fall card.  Starting in October, I have an overwhelming need to use glitter paper and glittery embellishments, from Halloween through Valentines!  So, I grabbed this taupe-ish glitter paper.


Tonic Studios provided me with some product to create this project.  The opinions I share are solely my own.

You can click on the video below o see my process or HERE to go directly to my YouTube Channel.


I had originally planned to to use the die cut and have the glitter paper as the shadowed paper behind the face of the card.  I began by watercoloring a light wash of warm colors on some watercolor paper.  After cutting the face out of that paper, I decided it might be interesting to use the glitter paper as an inlay instead.


After cutting the same piece of glitter cardstock with this Dot & Drop Die from Tonic Studios, I decided to inlay the pieces.  I used several of the new Nuvo Vintage Drops in the places that the die embosses for them.  It is perfect for a newbie to these drops like I am.  The new Vintage Drops are all matte and are in the loveliest  soft colors.


I finished the card off by using some off the Nuvo Embossing Powder in Copper Blush, along with the Nuvo Embossing Ink Pad, to heat emboss a sentiment on vellum.  I added it under the tree panel that I mounted onto a layer of brown cardstock and then the heavy card base.


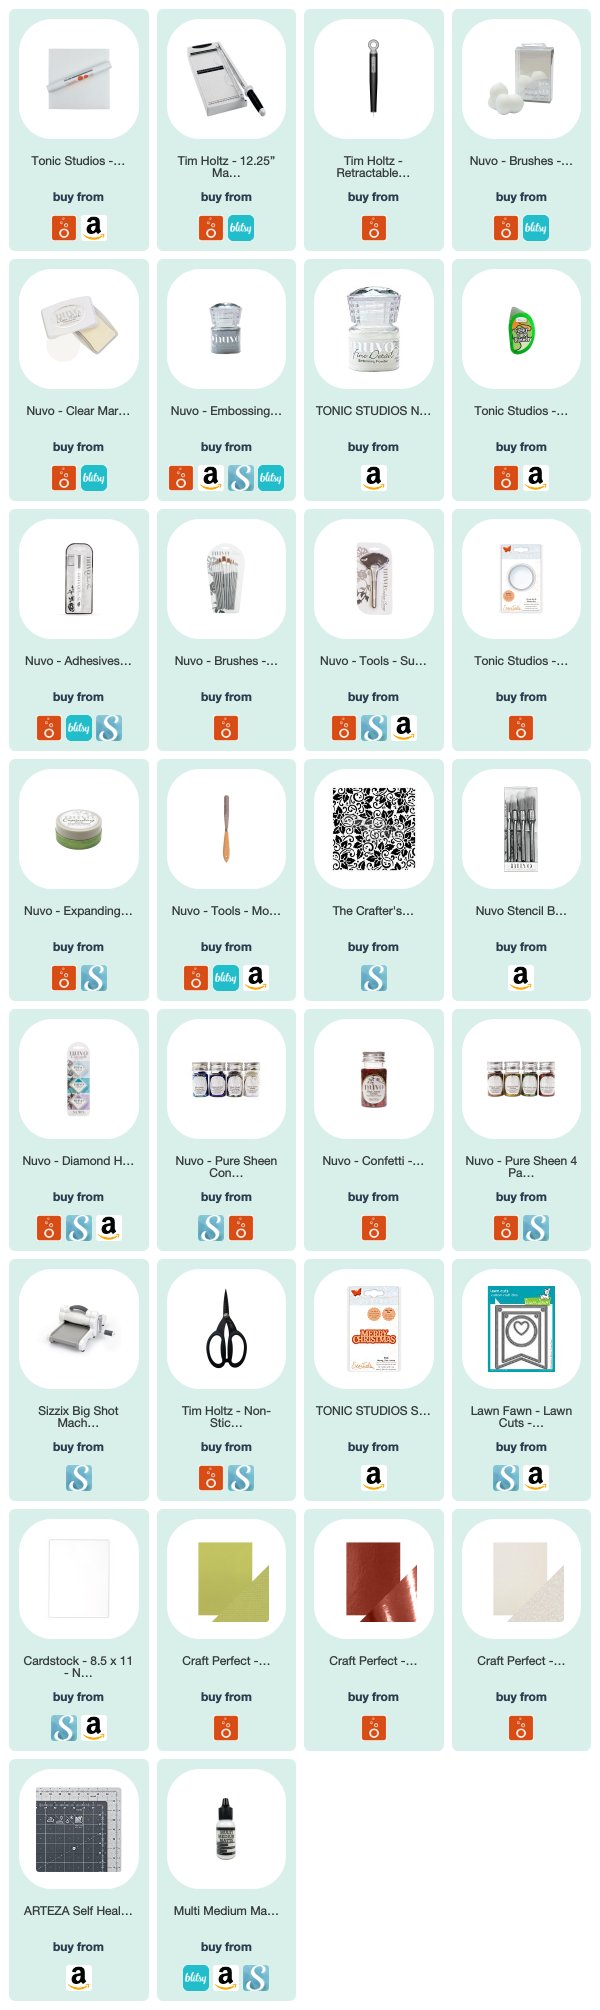
Thanks for stopping by!  I hope you check out the video and subscribe for new content and inspiration!  A complete list of linked supplies from Tonic Studios is listed below.
I hope you all have an amazing weekend and are inspired to create a little bit of Fall in a project too!

Supplies Used:

Tonic Studios Time Holtz - East Clean Mat
Tonic Studios Tim Holtz- Retractable Craft Pic
Tonic Studios Dot & Drop Die - Twirling Branches
Tonic Studios - Funky Tape Runner
Nuvo Fine Detail Embossing Powder - Copper Blush
Nuvo Vintage Drops - Chocolate Chip
Nuvo Vintage Drops – Postbox Red
Nuvo Vintage Drops - Saddle Bag
Tonic Studios Tim Holtz - 12.25" Maxi Guillotine
Nuvo Embossing Pad


Lesson Obsession - Part 4 - with Danielle Donaldson

Monday, October 22, 2018

Sharing the 4th post in my work inspired by workshops and/or books by Danielle Donaldson, today is all about imitating style, trying to find your own and of course lots of color.


One of my favorite things Danielle does is to create an “inspiration block” on the sides of some of her pieces, using fabrics, patterned paper, ribbon and anything else to spark & encourage a layer of tactile brainstorming.


This green haired gal started out by just playing with watercolors and how they mixed.  Then she her skirt of giant, fluffy layer of tulle began to appear out of the paint.  I have painted several different girls with this technique but the first is still my fav!


Thanks so much for stopping by today!
Proudly designed by Mlekoshi playground